Installation Steps for Flex Builder Plugin in MyEclipse
Before doing this I advice you guys to backup all the important things along with the workspace and projects which you have in your system. I want you to do this, just in case you endup doing something wrong or screw your distribution, I don’t want you guys to CURSE ME!!!. So please do backup and then follow the steps.
Note : The article or post is governed by following disclaimer policy. You will be doing this update with your own risk. Neither me or any of the corporates.. [Adobe, MyEclipse or anybody] is responsible for the end result.
Saying this, lets start with the installation. I assume you guys would have already installed MyEclipse on your system. If not please do it first. I am running MyEclipse on Mac, so windows folks kindly bare with me and follow the same steps, it should be fine. I will try to mention the paths or changes all the way accordingly with respect to windows & Mac. I believe the same process can be used for all Eclipse distribution. I confess, I have not tested on all of those, but for sure I will do the research and confirm in my next post.
Apart from explaining the steps below, I have also made a video which runs through these steps [Note: Video does not have JS Eclipse & Cold Fusion Plugin Update part]. Kindly bare with the video resolution as I was using a freeware version screen capturing tool, ended up in something like this. By next video blog, I will update or upload with something better than this. If you know few cool tools for the same please let me know. you can watch it below or at following location “Flex Builder Integration with MyEclipse 7.0“.
Below are the steps to be followed. I will be adding snapshots which I took while I did this. Kindly bare with the colours. It might occur different than usual.
- Download the Flex builder Plugin version from Adobe Site
- Mount the “*.dmg” file [- Not applicable to Windows Folks], after you do this you would see as below.

- Double click on the installer. Installer starts up with the following screen

- You know what to do next. Yes go ahead click on Ok [After choosing language you want], so you get below screen

- So next screen is Introduction, you know what to do, just click on Next
- Next Screen is License Agreement. Click On I accept Radio Button, Click on Next
- Next Comes Choosing Installing Folder

- Here Folks, I have left the default folder as it is in my case as I am using Mac it would be “/Applications/Adobe Flex Builder 3 Plug-in” and for Windows Folks it would be “C:\Program Files\Adobe\Flex Builder 3 Plug-in”.
- Next comes very important one “Choosing Eclipse Folder to Extend From”. For this as I don’t have Eclipse or something on which I need to extend, What I have done is created a temporary folder “Eclipse” in “/Application” folder itself. This temporary Eclipse folder acts as a container for “links” folder which Flex Builder Installer places it. It does lot more than that, but as there is no configuration folder, It would skip them. For windows folks, just create an “Eclipse” Folder in “C:” and select it.

- Once you select & Click on “Ok” or “Choose” button, A window pops up notifying that the folder does not have any eclipse version in it. Here click on “Proceed with Caution” button.

- Next would be selecting Additional Installations, select whatever you need & click on “next”.
- Once you click “Next”, the installer takes you to Installation Summary Section, showing all the details. Please make sure you have the things you had chosen before.

- Click on “Install” & relax till the installer goes ahead and install the Flex builder plugin, Flash Player for the browsers etc.. and ends up with final screen as below.

- You can see the above image shows a message notifying error during installation, ignore, just click on “Done”.
- Now, open MyEclipse and in Menu navigate to Help > Software Updates > Add Software
- You are now in “Add or Remove Software Screen”

- Click on “Add Software”, you will end up in “Add from Update Site” page, where you will find “Manage Sites” button, click on it

- Once you do that, you will end up in “Add Update Site” Window.

- Here Click on “Local” Button & browse through the path where you installed the Flex Builder Plugin. Under this installation, there would be a folder “com.adobe.flexbuilder.update.site”, select it, click “ok” or “Choose”.
- Once done you will be back in “Add Update Site” Window, with url field being filled in, now Fill in “Name” field with “Flex Builder” and click “ok”.

- Now you will end-up in “Manage Update Site”, with a list of what you added just now. ie., Flex 3 Builder : [with path information], when you click on arrow you would see list of features available. You cannot multiple select and click “Next”, so you need to go back and forth to get final listing to be installed. In the list “Core Feature” & “Localized Core Feature” is what you are looking at. You can either select only these two or select all of them it’s your wish.


- Once all selected, now click on “next” to see “License agreement” window. Select “I ….” checkbox and click “Next

- Next Screen Click on “Update”

- So MyEclipse Updates & Finally asks you for restart. Click on “YES” & myEclipse should restart for you
- Now go through few menu’s like Help, you would observe Flex related menu’s appearing there and you can click on “About Flex Builder” in Help to see the version details or Click on “About Myeclipse” to see Flex Builder Plugin shown.
- So you have done installing Flex Builder. Is this the end…… Naaaaa, lets create a small Test Flex project and check.
- Switch to “Flex Development Perspective”.
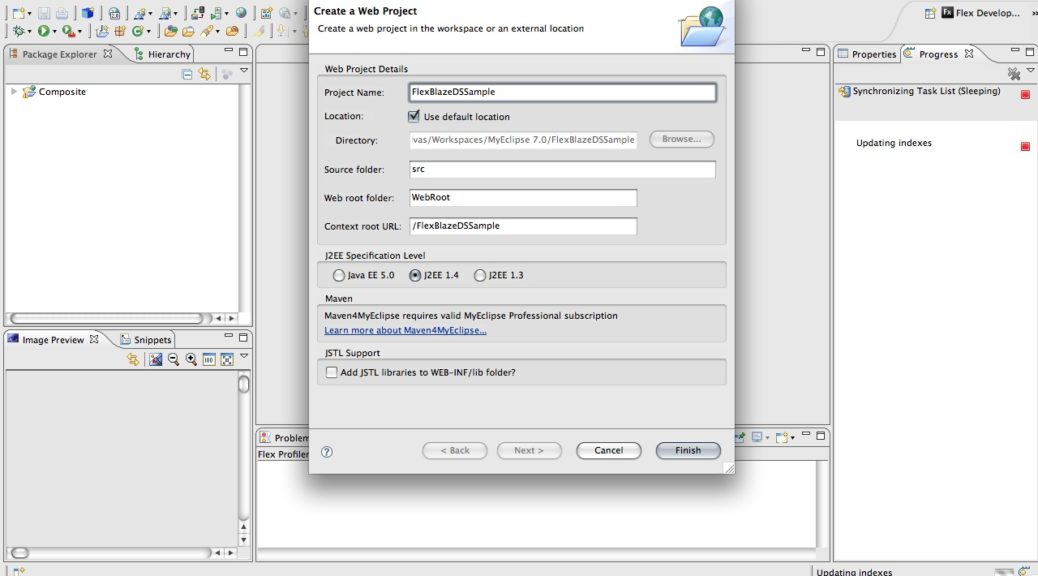
- Create a new project “Test”, Click “Finish”
- Once done, you would see that in Problems window “Error” message popups.
- If you move to “design mode”, you would see error there too
- So let’s fix these errors now. Before that I want you guys to delete the project.

- This error or problem occurred due to MyEclipse or the builder is unable to locate the SDK’s folder. To fix this, lets go to “Preferences” of “myEclipse.
- Click on “Flex” > “Installed Flex SDKs”. Ahh!! there you go, error appear here too and shows the reason too.
- Now Select First one of the list, click “Edit”, would end in “Edit Flex SDK” window. Here browse through and point it to “[Flex Builder Plugin Installation]\sdks\[Version First.. it’s 2.0.1], click “OK”.
- Update Flex SDK Name field with “Flex 2.0.1” & click “Ok”, now you see the first one stops showing error.


- Do the same thing for next one in the list, this time you will select “3.x.x” version under “sdks” folder & name it properly according to version & click “Ok”. There you go even the second error vanishes.
- Folks, you can download as many SDKs version as you wish, install it under “SDKS” version of Flex Builder plugin or which ever location you want, all you need to do is come here in preferences and point the SDK by adding new version as we did now.

- Now click “Apply” & then “Ok”.
- Now let’s create a new project and test functionality of builder. there you go all functionalities works well!!!.. Hurray…. you are done.
- I would like to mention one point here that, these preferences what you set now sometimes is for your workspace, so make sure you follow same when you switch to new workspace or something.
- Similarly, I understand Flex builder comes up with two more plugins, one for Cold-fusion & other JS Eclipse. For these two plugins, repeat the following steps individually
- open MyEclipse and in Menu navigate to Help > Software Updates > Add Software
- You are now in “Add or Remove Software Screen”
- Click on “Add Software”, you will end up in “Add from Update Site” page, where you will find “Manage Sites” button, click on it
- Once you do that, you will end up in “Add Update Site” Window.
- Now Click on “Archive”/ “Local” and browse through the following paths for Cold Fusion & JS Eclipse plugins respectively
- JS Eclipse [Click on “Local”]- /Applications/Adobe Flex Builder 3 Plug-in/Installers/JSEclipse/
- Cold Fusion [Click on “Archive”] – /Applications/Adobe Flex Builder 3 Plug-in/Installers/ColdFusion Extensions for Flex Builder/ColdFusion_Extensions_for_Eclipse.zip
- Windows Guys : Same thing holds good except the path, in my case path starts “/Applications” for you guys it would be “C:\Program Files\ Adobe\”, and rest remains same.
- Update Field Name accordingly for both of them & click Next. This would take you back to “Manage Update Site”, where in along with Flex Builder 3 List, you would now see “JSEclipse” & “Cold Fusion” too.
- Click on Arrow icons, Select the features, Click next to add them. Same way as before, you can’t add them together by selecting together, so go back and forth and add them individually.
- “Coldfusion Extension for Eclipse” is the feature for Cold Fusion & “JSEclipse” is for JS Eclipse
- Once done you will end up seeing the above two features along with Flex Builder features under Locally Installed Software Section in “Add/Remove Software” Window.
- Now click on “next” to see “License agreement” window. Select “I ….” checkbox and click “Next
- Next Screen Click on “Update”
- So MyEclipse Updates & Finally asks you for restart. Click on “YES” & myEclipse should restart for you
- That’s it the two plugins are installed for you & you can start using them without any problems.
0 thoughts on “Installation Steps for Flex Builder Plugin in MyEclipse”
I have been using FlexBuilder 3 with MyEclipse since version 6.01 with no problems. My only beef is when you upgrade versions of MyEclipse, I have had to re-install FB to the new version. Am I missing something?
Hi Aaron,
Flex builder 3 the older versions [Initial Builds] were built on Eclipse Europa Version [main Dependency], the latest builds are based or support Ganymede Versions of Eclipse too. If you upgrade MyEclipse 6 to 7, means that you are leaping towards Ganymede Distributions [Dependency]. I believe, you might need to reinstall or reconfigure the Flex Builder on it. As the dependency files are quite messy. I say this, as I have done quiet a lot research on this. One such research was that I downloaded Eclipse Ganymede version, installed Flex builder on top of it. Work fined, and then upgraded same with MyEclipse plugin, it totally screwed my Eclipse distribution. If I install MyEclipse first, & then Flex Builder on Ganymede version of Eclipse, then only MyEclipse works fine & other way[Viceversa] is also true. So I concluded that it’s not possible to have both of them together on Eclipse Ganymede version as they have dependency factors or jars [Error logs proved me right too].
There are only two options for you as I see now:
1. If you don’t need or have any requirements to upgrade MyEclipse 6 to 7, then I suggest you to keep the things as it is.
2. If you seriously in need of upgrade, then Uninstall Flex Builder First, upgrade MyEclipse 6 to 7. Download latest Flex Builder Plugin Version installer from Adobe site & follow the steps shown in my blog to make it work together.
A very useful material. Thank you!
yes, please use Flex Builder 3.0.2 for myeclipse 7.0.
Thanks for writting this blog. very useful material.
Keep it up, great job!
Just confirmed: Flex 3.3 installs and works perfectly with MyEclipse 7.5. Fresh reinstall of course…
Great post! It works perfectly with MyEclipse 7.5
Excellent Job Srinivas
I’ve been struggling with this for days.
You think they’d fix the installer … are we technical folks !!??
Appreciate ou man.