Working with AIR Native Extensions on the Mac
Note: This post or article are governed by following disclaimer policy.
Prior to Adobe AIR 3, only Adobe could add core features to the runtime. Developers requiring new features could only wait. Now developers can extend the runtime themselves. This new capability allows developers to:
- Achieve deeper integration with target devices
- Incorporate legacy native code in their application
- Achieve maximum performance for critical code
With that said, lot of articles are available on web which explains how to build AIR Native extensions, the below are few among populars
- Oliver Goldman has nice explanation of ANE in his article in Adobe Developer Network.
- In Nick’s blog you will find good article on developing ANE on Windows using CDT & MinGW. He also has an article on developing ANE on Mac.
- You can find popular ANE’s in adobe site.
- Daniel Koestler has good article on developing ANE for Android.
Even though lot of these article should help you run through samples, understand how ANE works, issues would arrise when you try to build these samples from scratch by yourselves, especially in Mac platform. I guess the problem is with the steps we follow to build ANE’s. Each of those samples, articles we follow sometimes works for particular version of editor, SDK’s etc.. With that said this post should help you build ANE for Mac using Xcode with ease. I have followed the same steps which I am going to explain here & tested on Snow Leopard & Lion with Xcode 4.2.x as well as Xcode 4.3.x, and it works great.
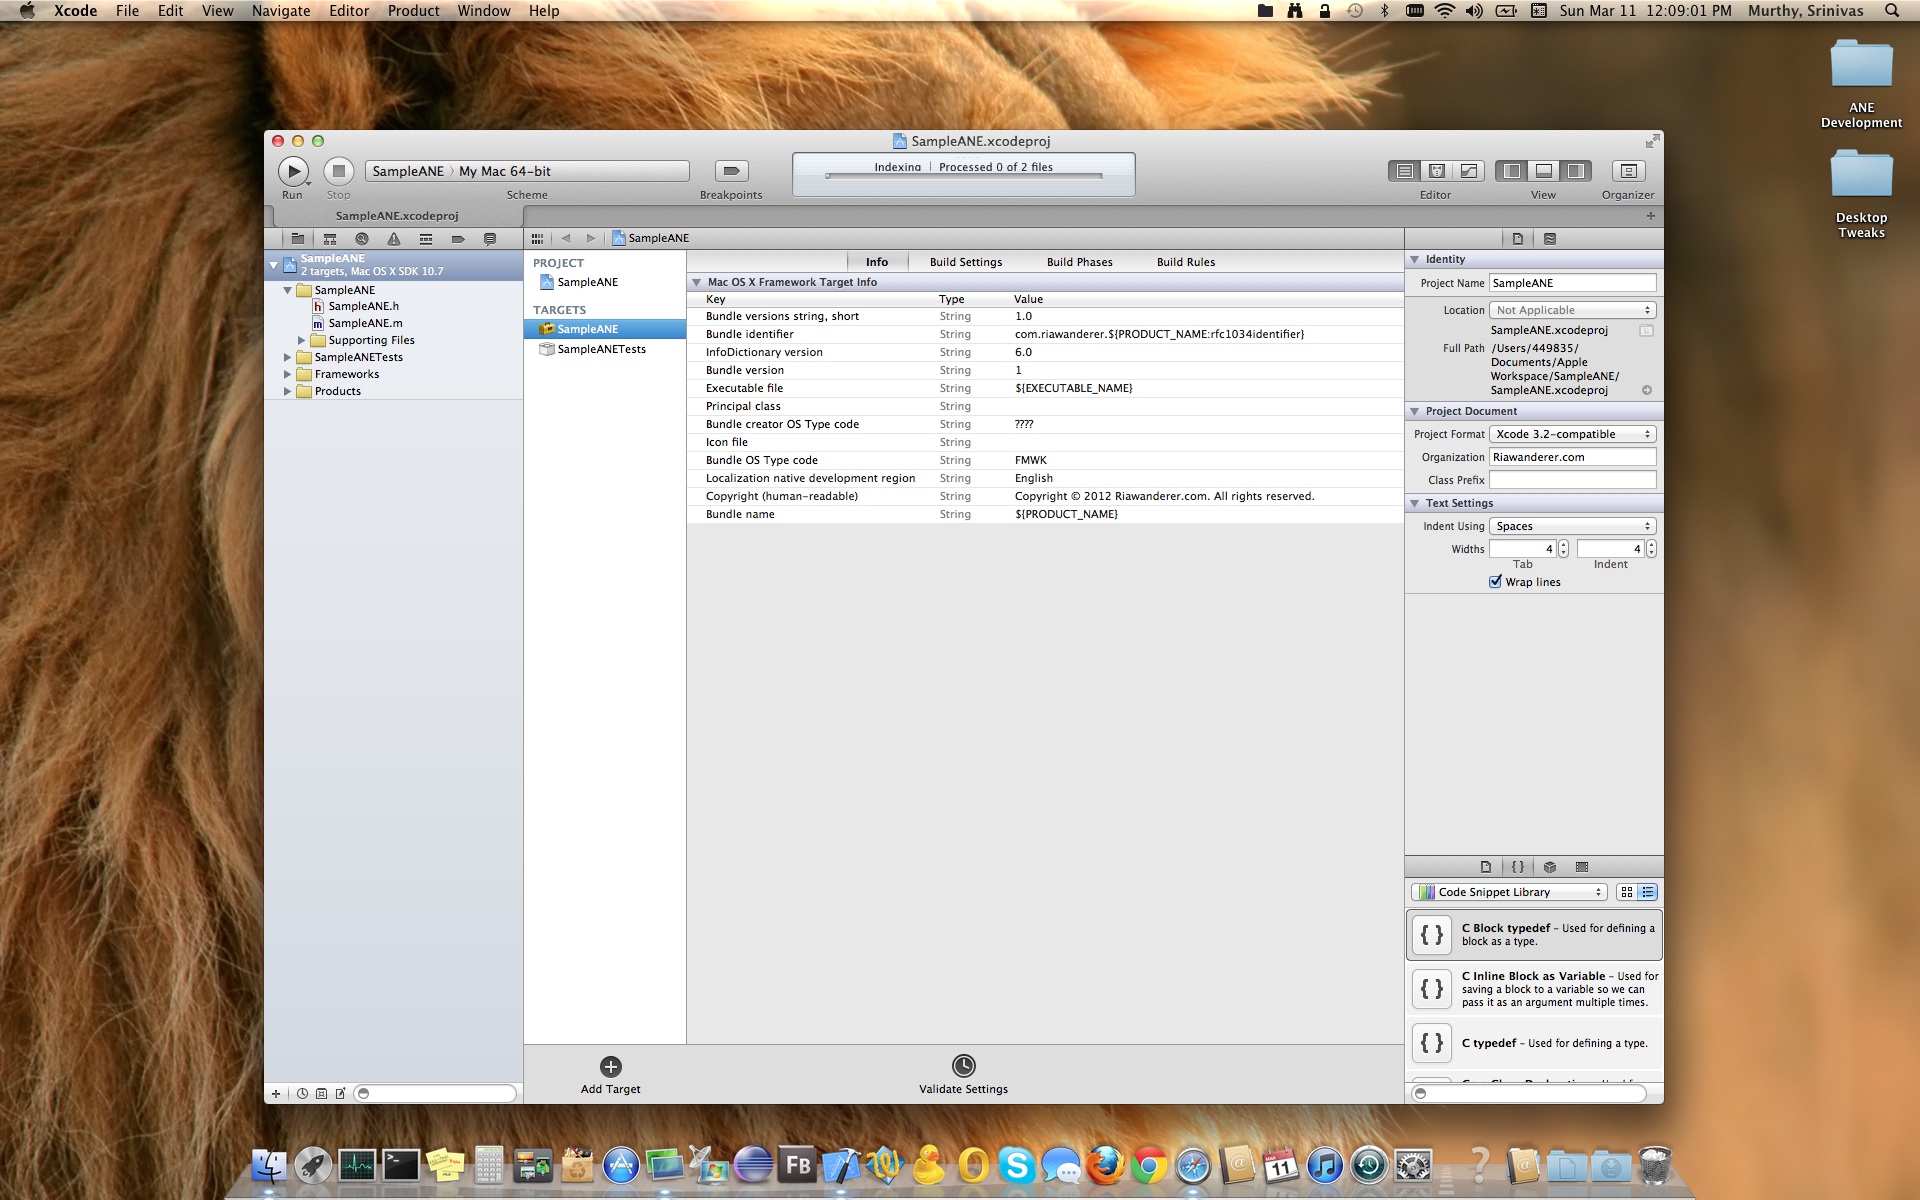
Without further delay let’s start on developing an sample ANE. I hope you have already has installed Xcode, Flex Builder 4.6 [4.6 had a free upgrade from 4.5.1].
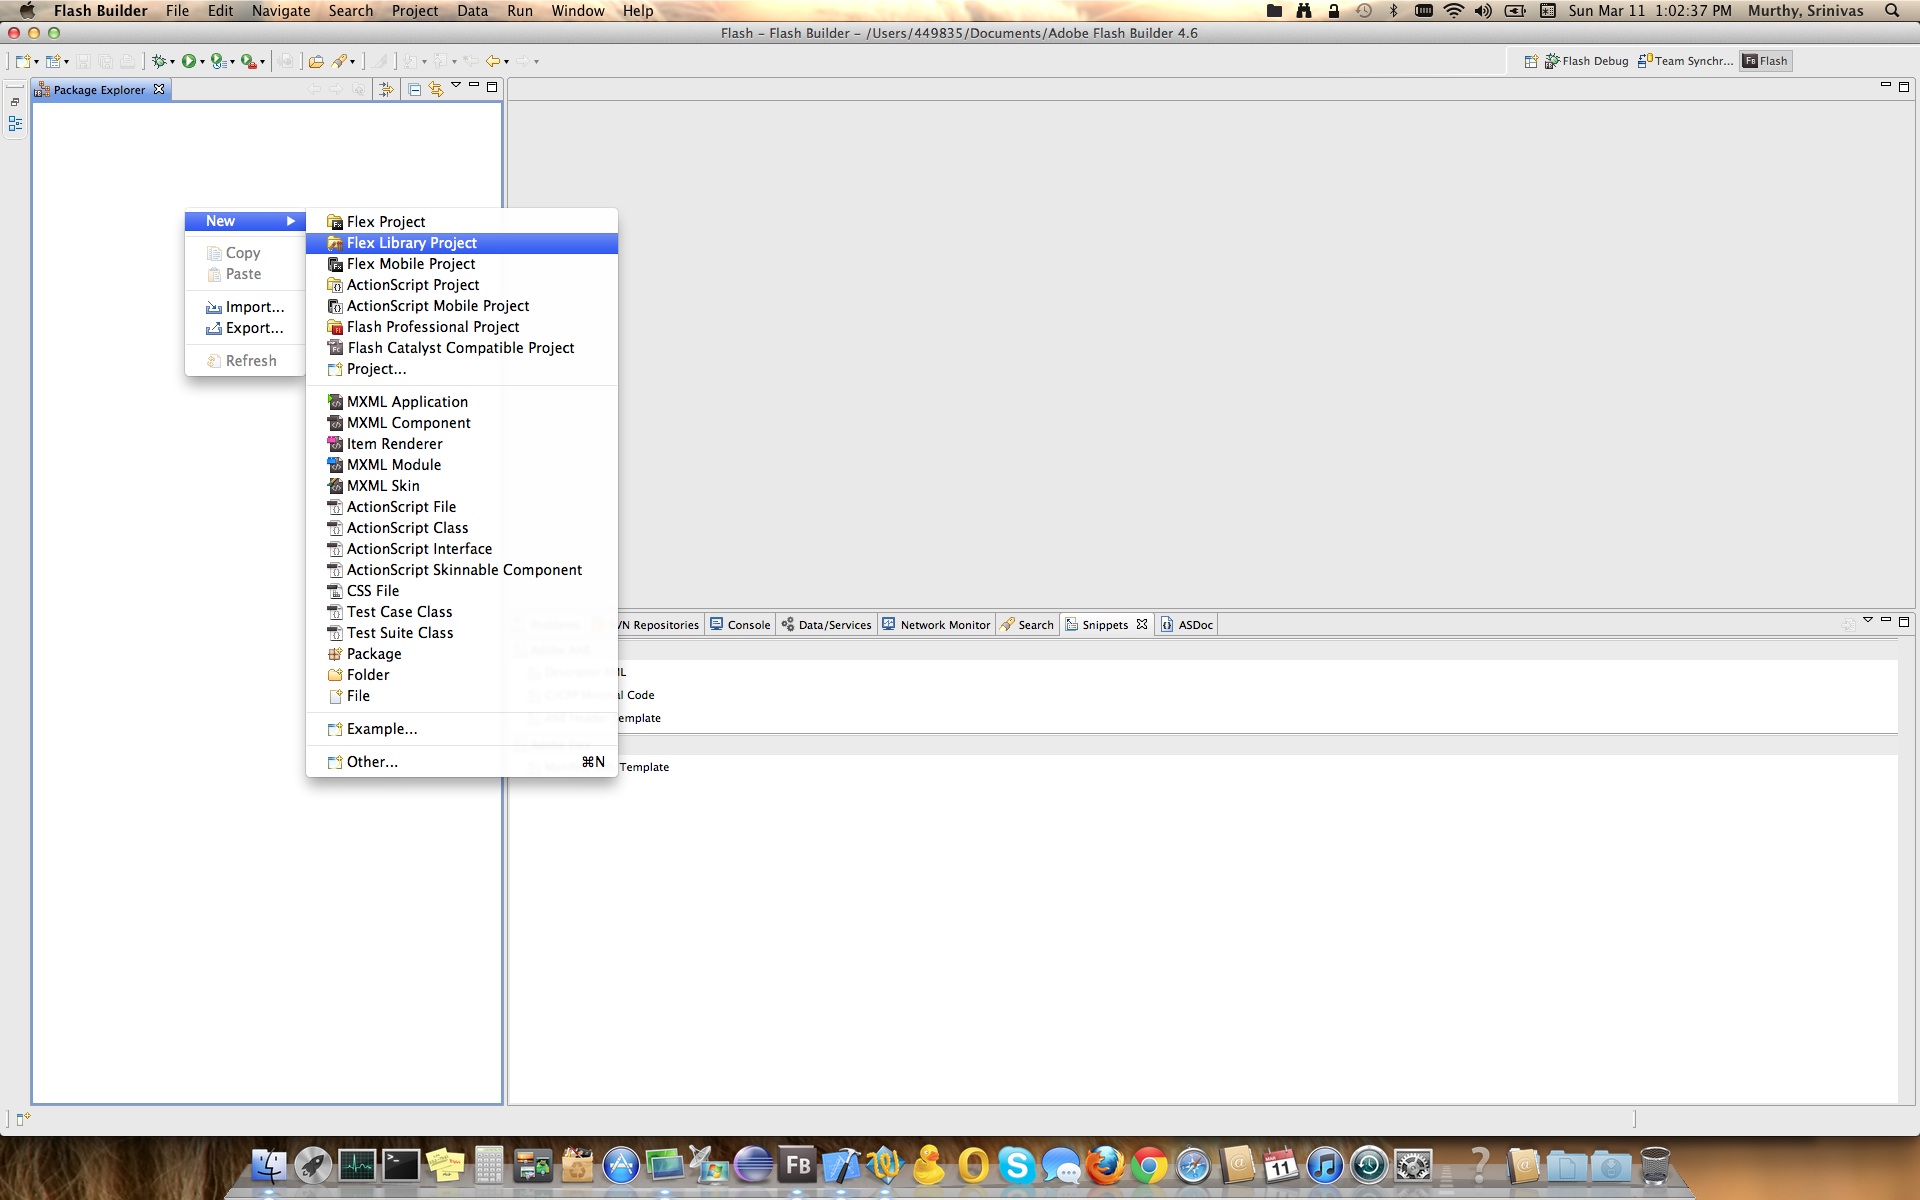
Generally I prefer to write Flex library project and then to support that I like to write an extension, then build ANE and then use it in projects. For this tutorial I will be doing exactly opposite meaning first writing extension, then library, then ANE and a sample project which would use this ANE. To begin with as I said, let’s start writing native extension, for doing so open Xcode and you should see the welcome screen as below
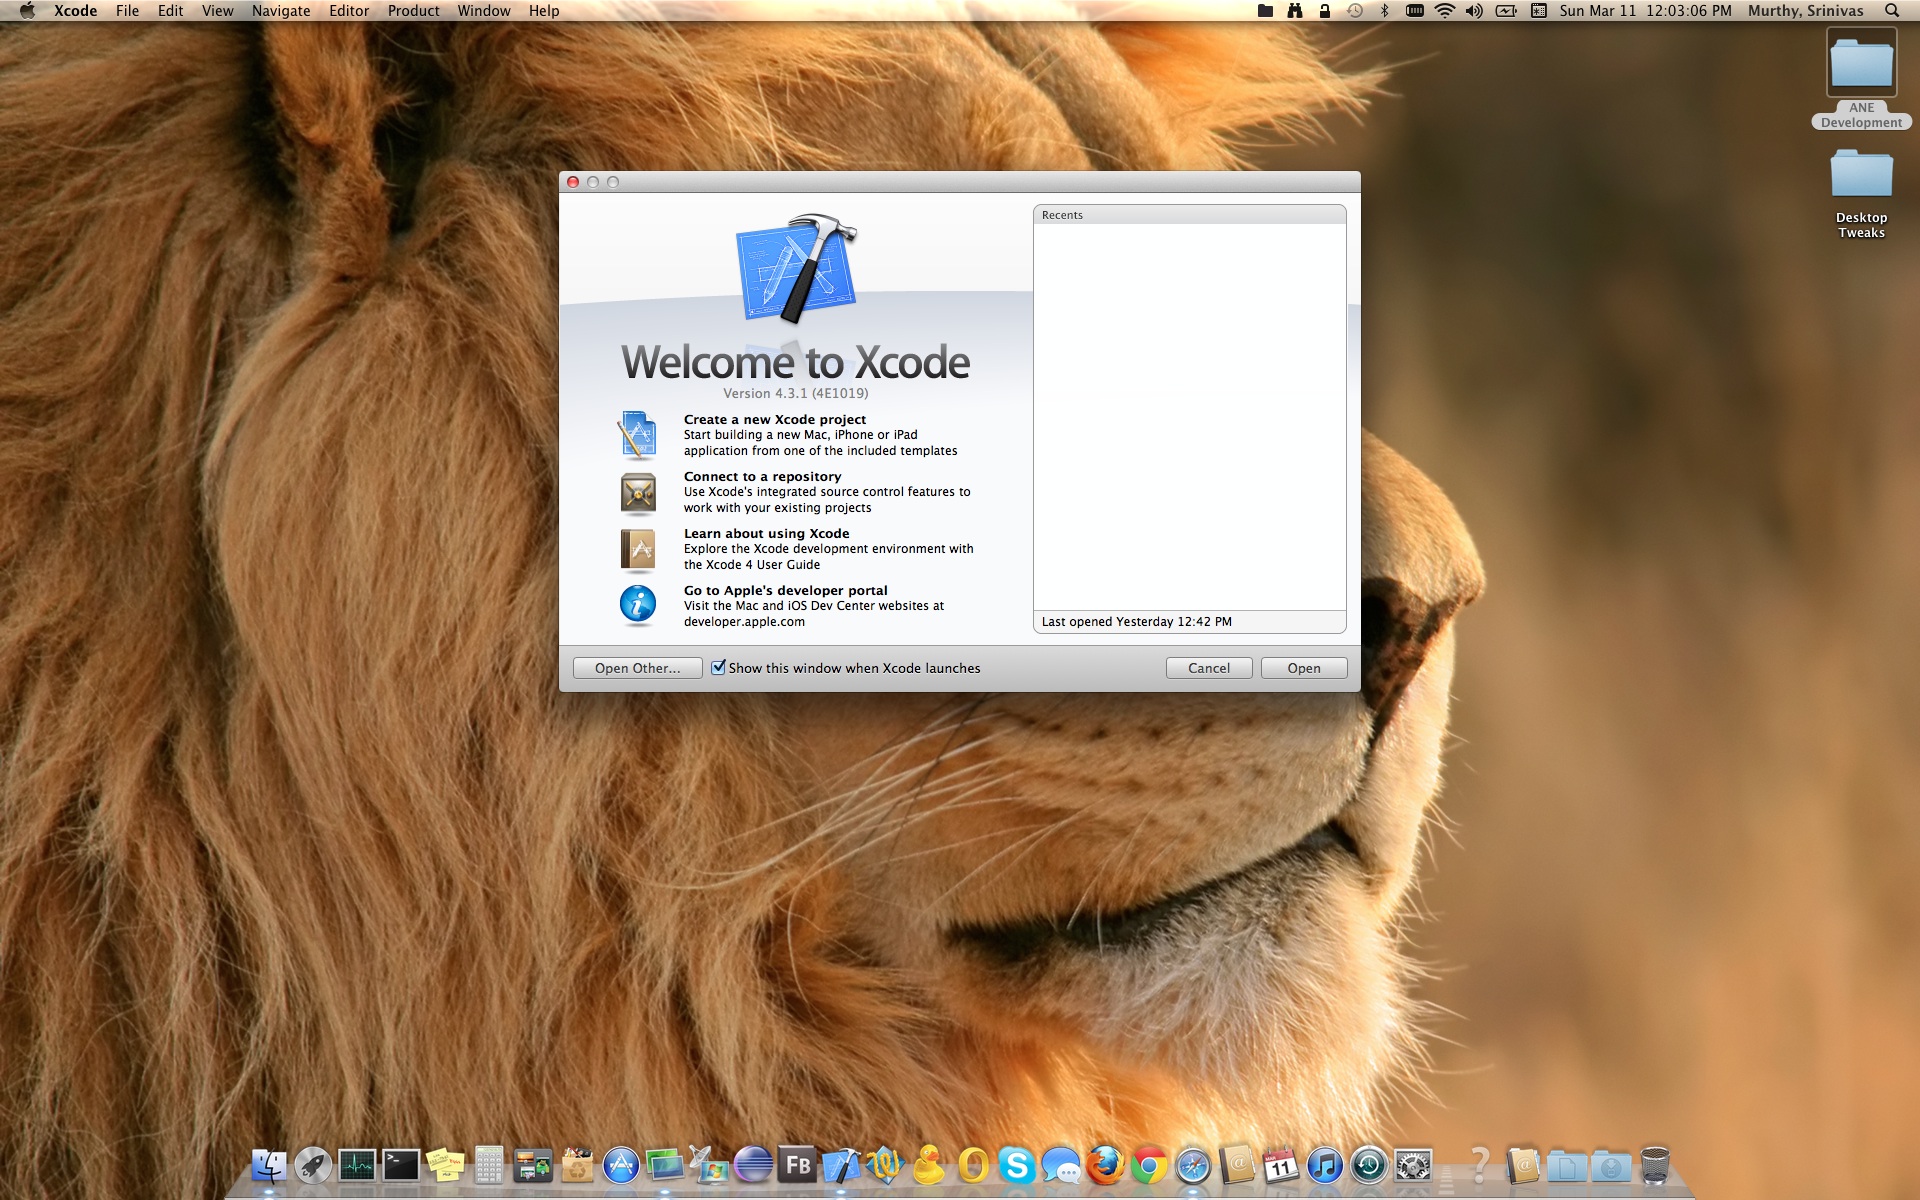
I don’t want to explain Xcode user interface and get distracted from the actual topic, I guess the screenshots are self explanatory. so here you would click on “Create a New Xcode Project” which would result in below
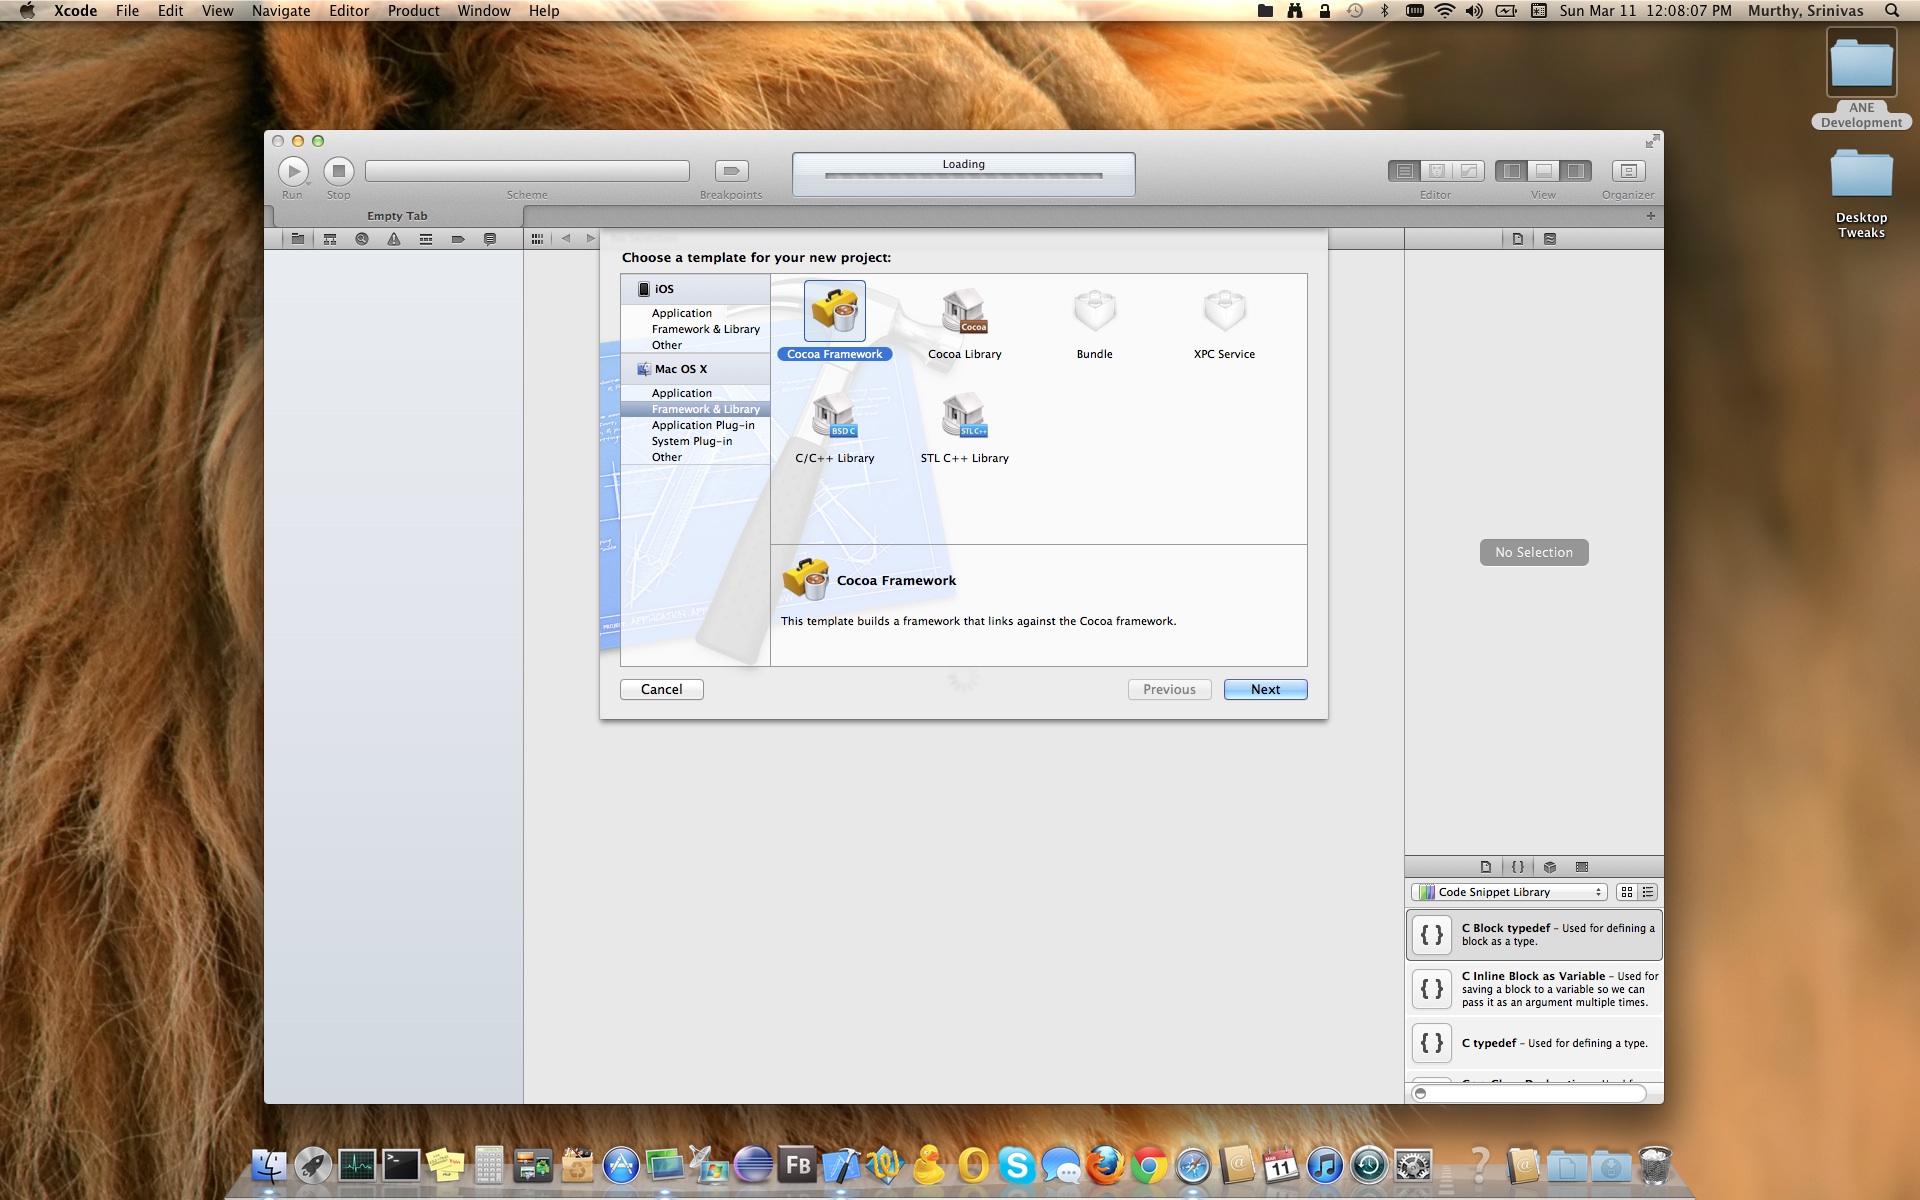
Now here make sure you have selected on left side “Mac OS X” > “Framework & Library” & on right side “Cocoa Framework” , just as shown in above screen shot. Click “Next”, would result next screen
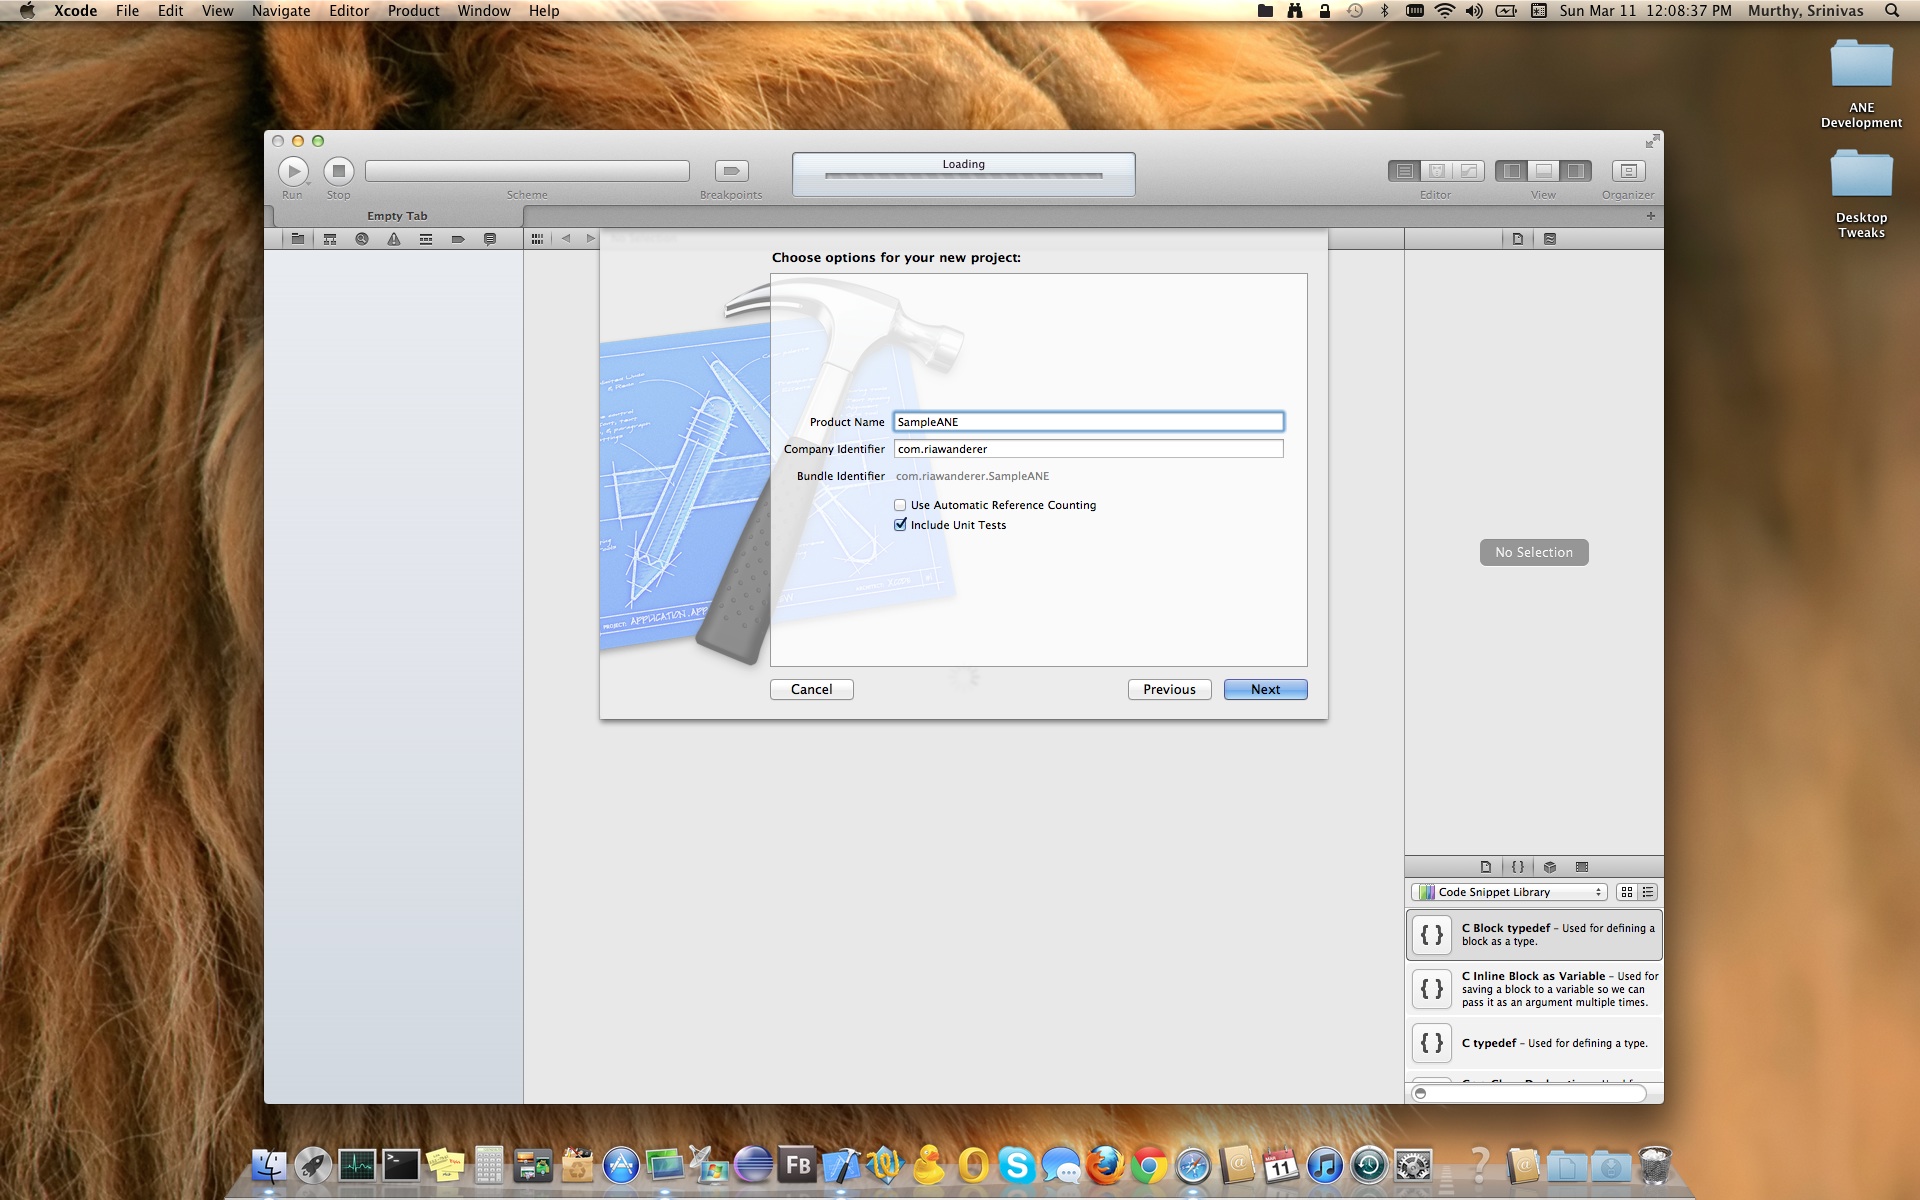
Fill in the information as shown above screen shot.
- Product Name : SampleANE
- Company Identifier : com.riawanderer [You can change it whatever you want]
- Check “Include Unit Tests” to create Unit Test project to test your framework [I am not going to cover this portion!].
- Click Next, which would yield in below screen shot
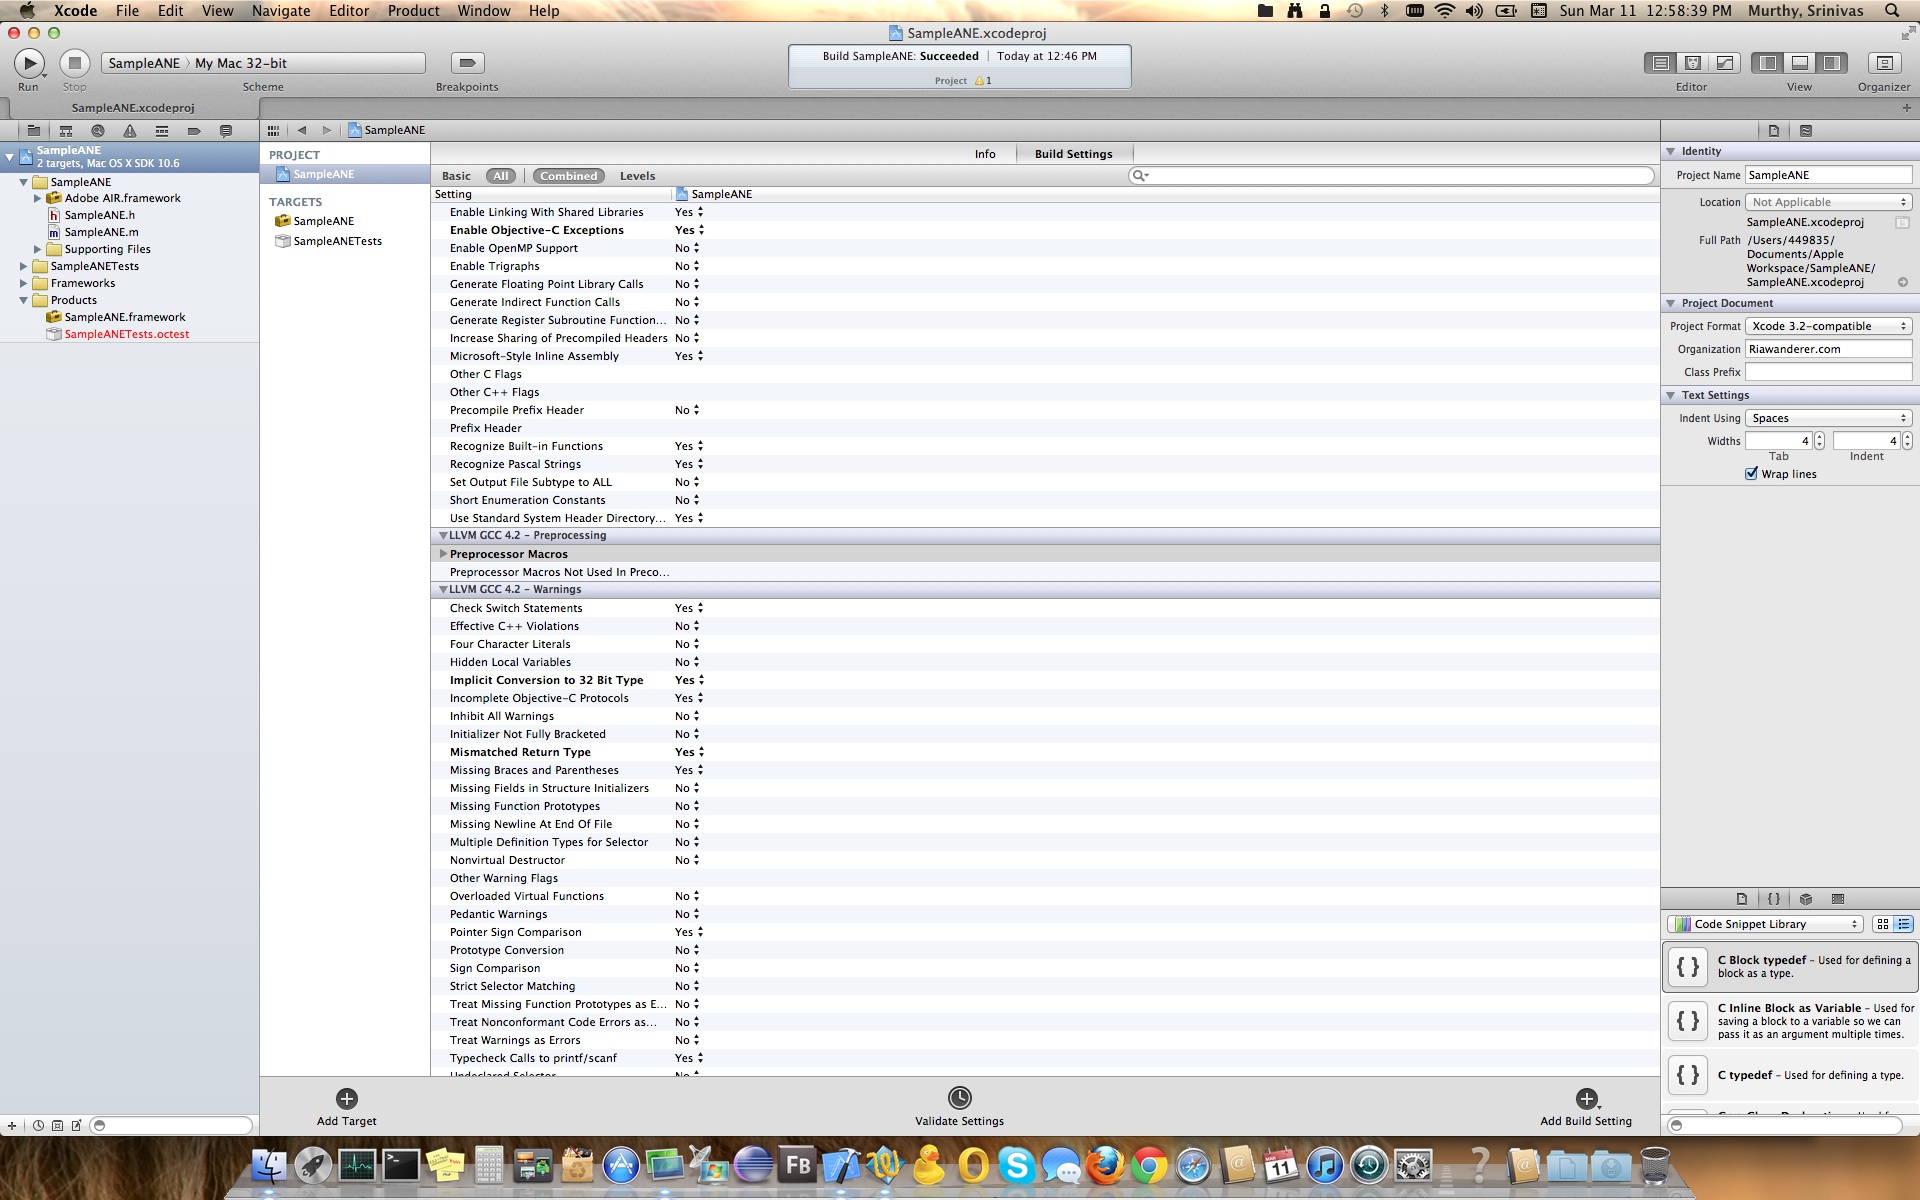
For next few steps I would just attach screen shots which would be self explanatory as these are the settings which you would do in Xcode Build Settings. I honestly feel screen shots would help more than words. But anyways at the end of the screen shots I will definitely summarize the settings before jumping on to code.
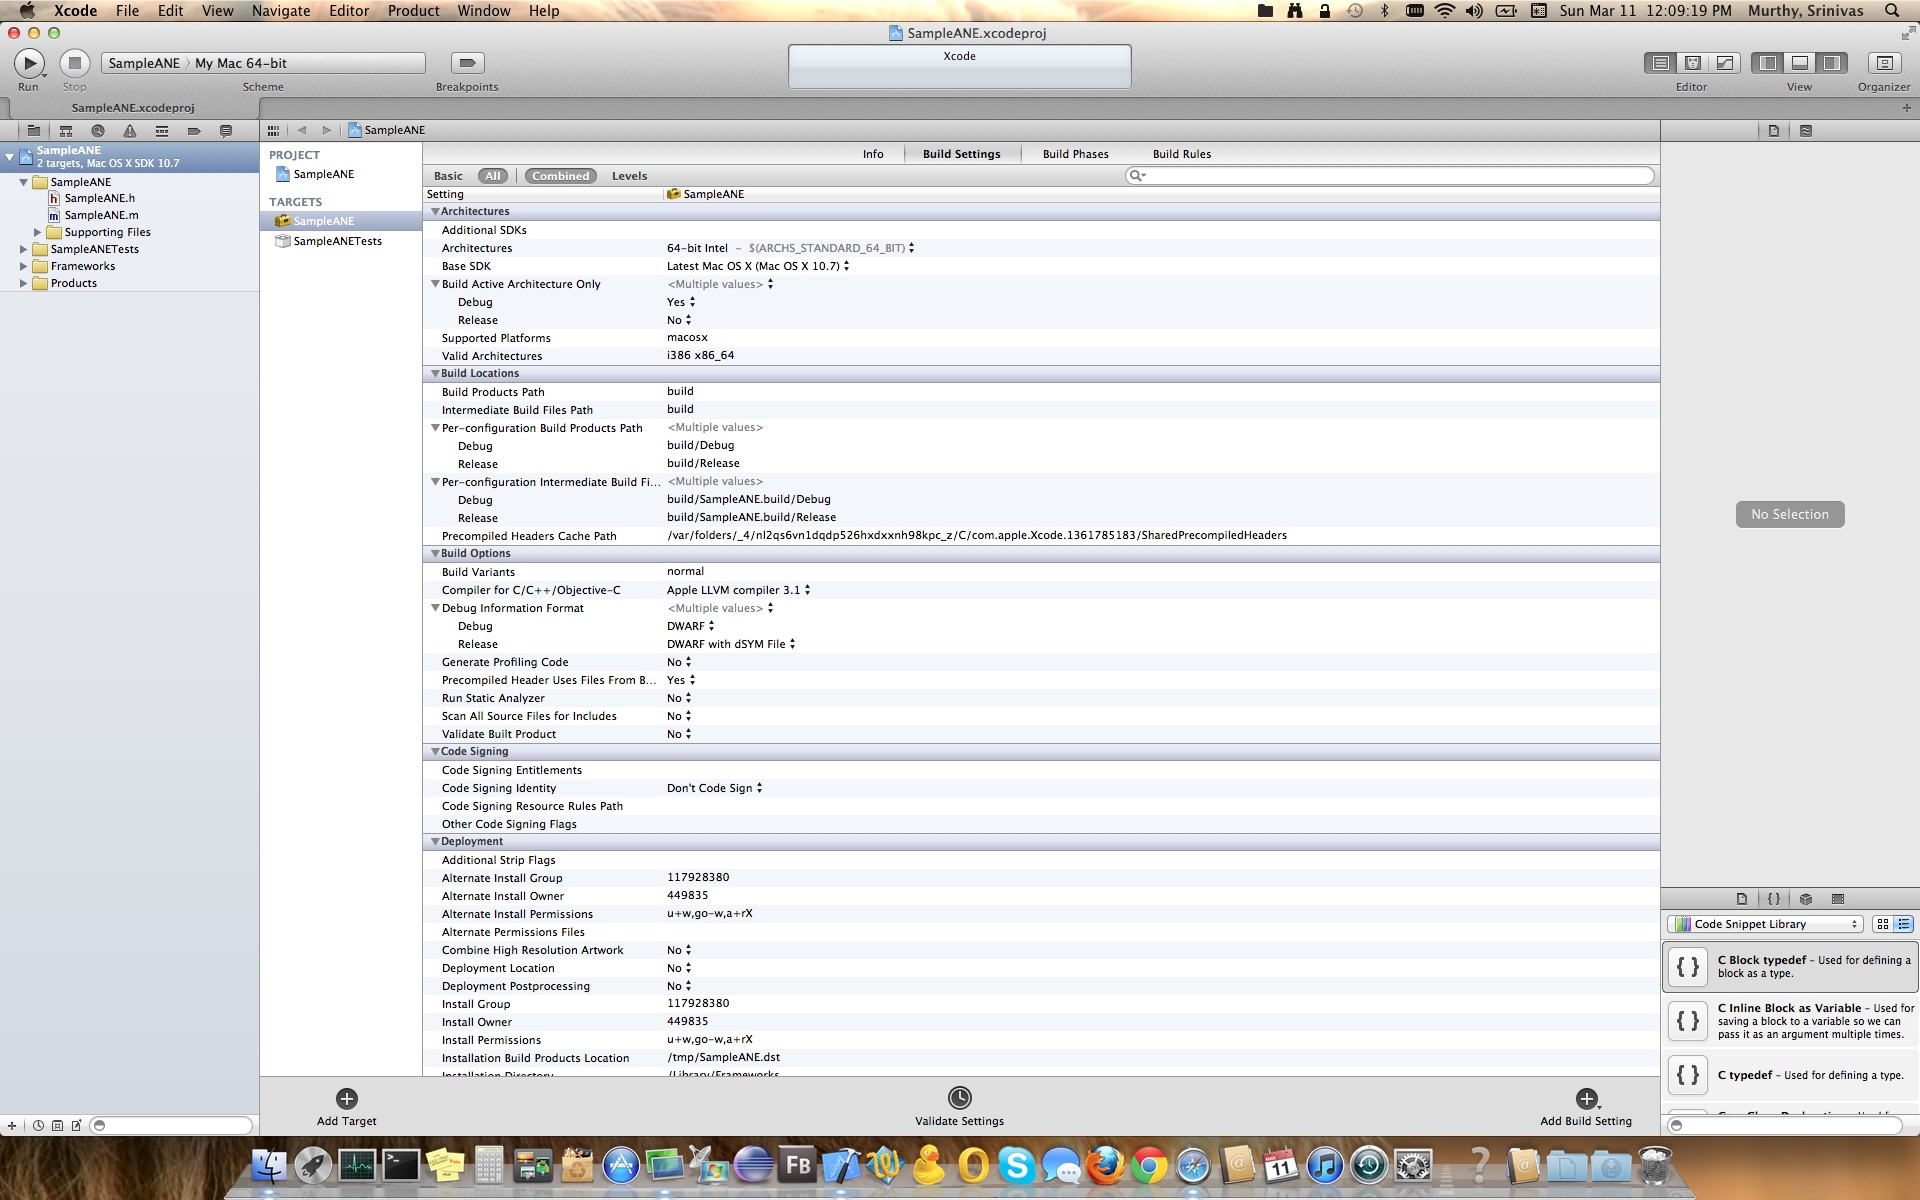

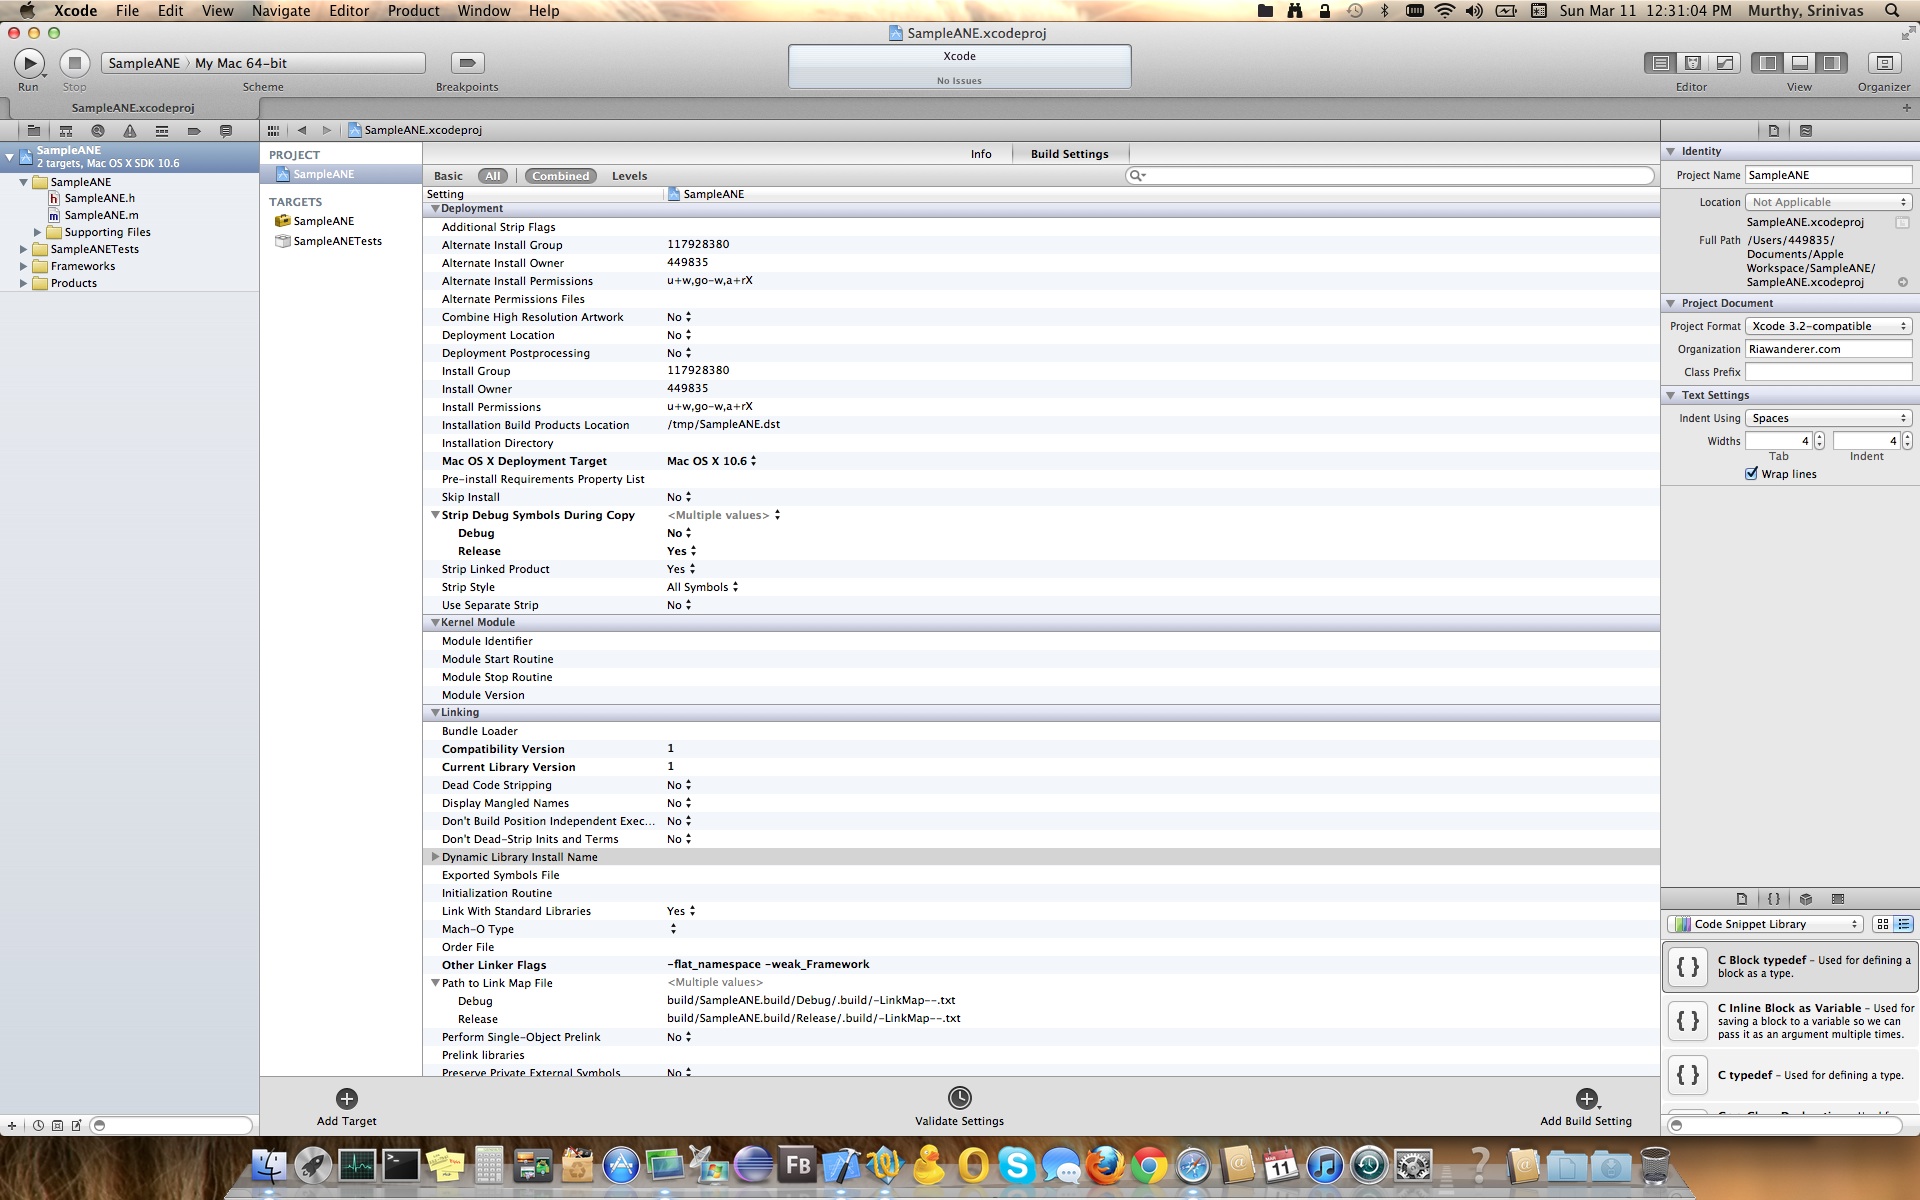
Summarizing what all the screen shot shows are :
- Select “SampleANE” under “Project”, setting build settings in here would automatically apply to “SampleANE” in the “Targets” as it inherits.
- Select “Build Settings” on right side
- Ensure “All” | “Combined” are selected
- Ensure the below are set in each sections with the values
- Under “Architectures”
- Architectures to “Standard (32/64-bit intel) – $(ARCHS_STANDARD_32_64_BIT)
- Base SDK to “Mac OS X 10.6”
- Under “Build Options”
- Compiler for C/C++/Objective-C to “LLVM GCC 4.2”
- Under “Deployment”
- Mac OS X Deployment Target to “Mac OS X 10.6”
- Under “Linking”
- Compatibility Version to “1”
- Current Library Version to “1”
- Other Linker Flags to “-flat_namespace -weakFramework” [Note: This is a list first add -weakFramework & then -flat_namespace, yielding in -flat_namespace -weakFramework]
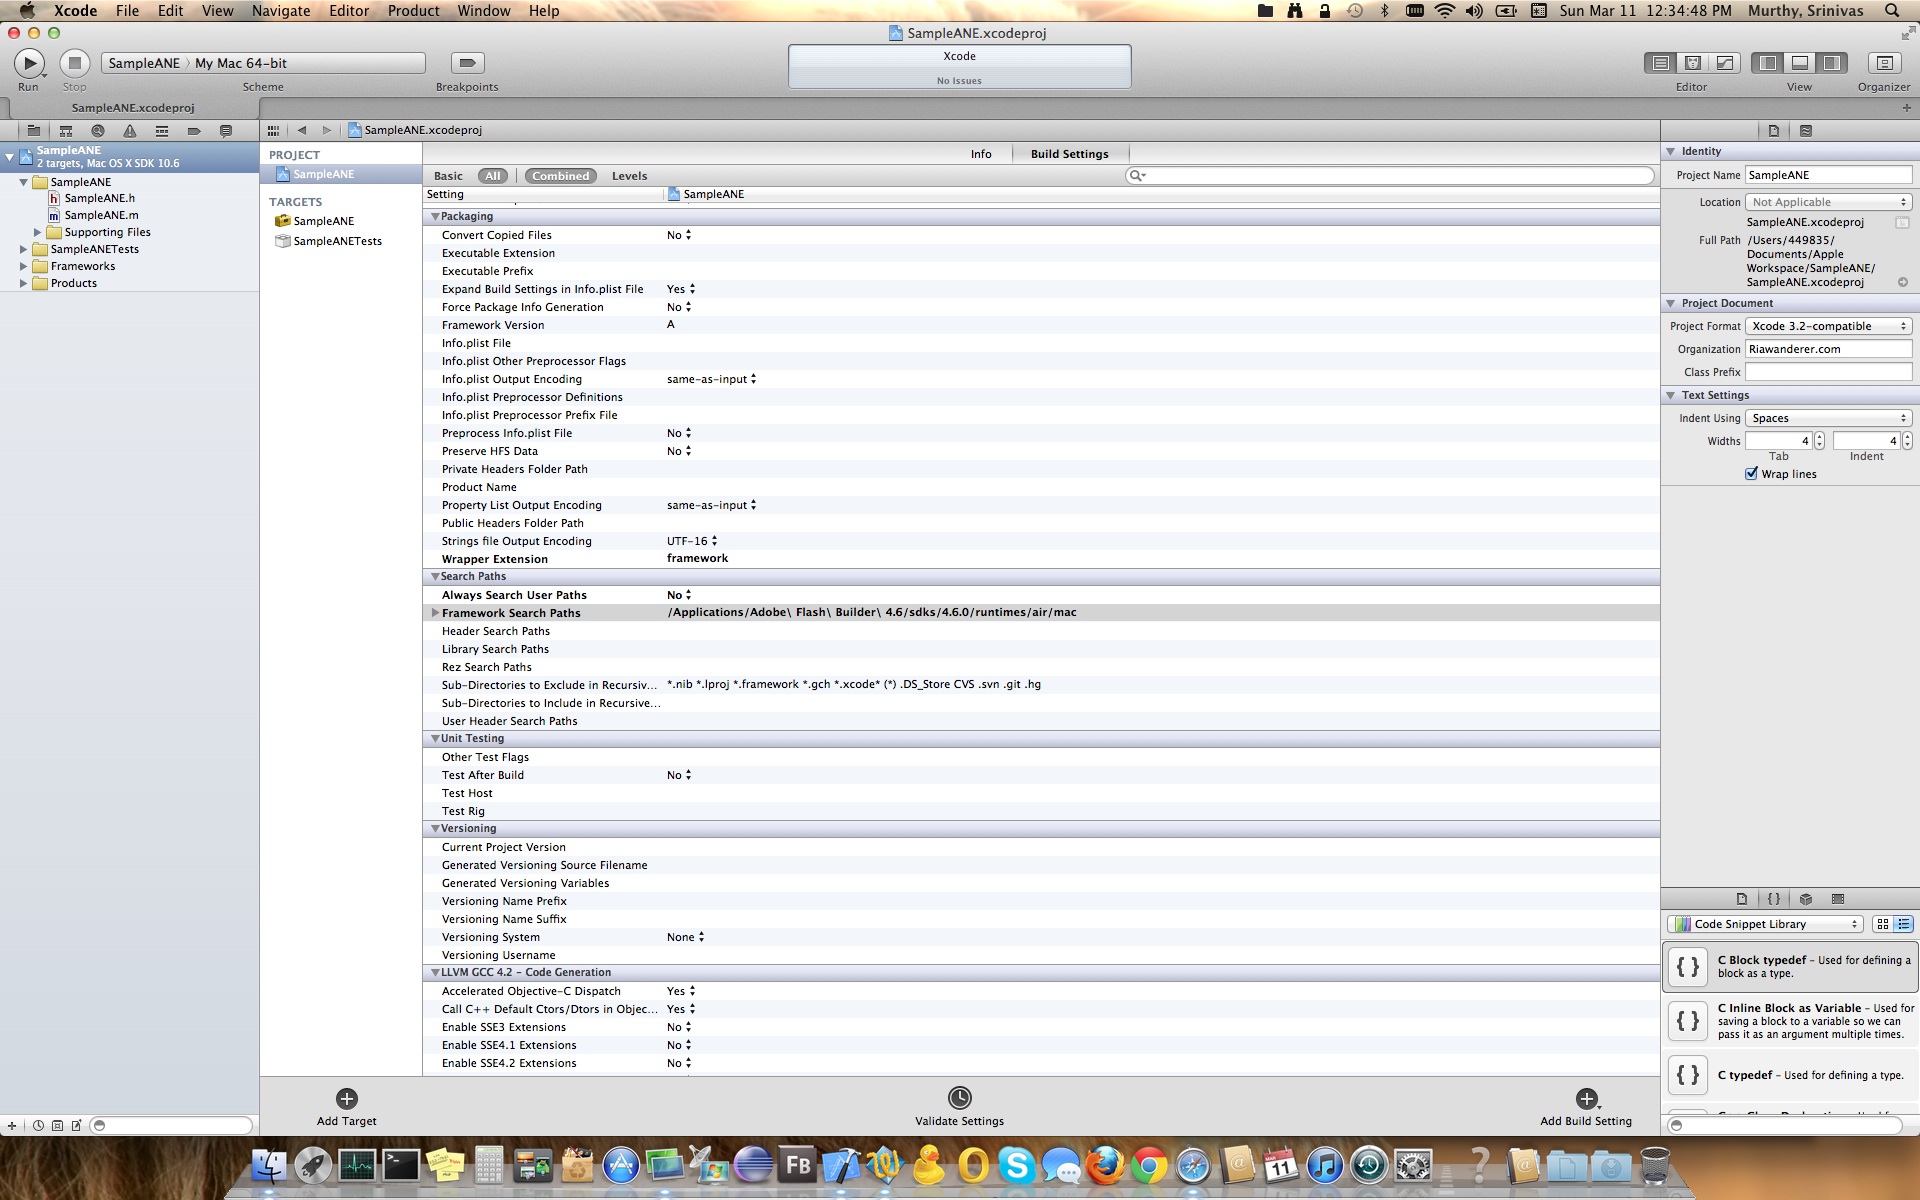
- Under “Packaging”
- Wrapper extension to “framework”
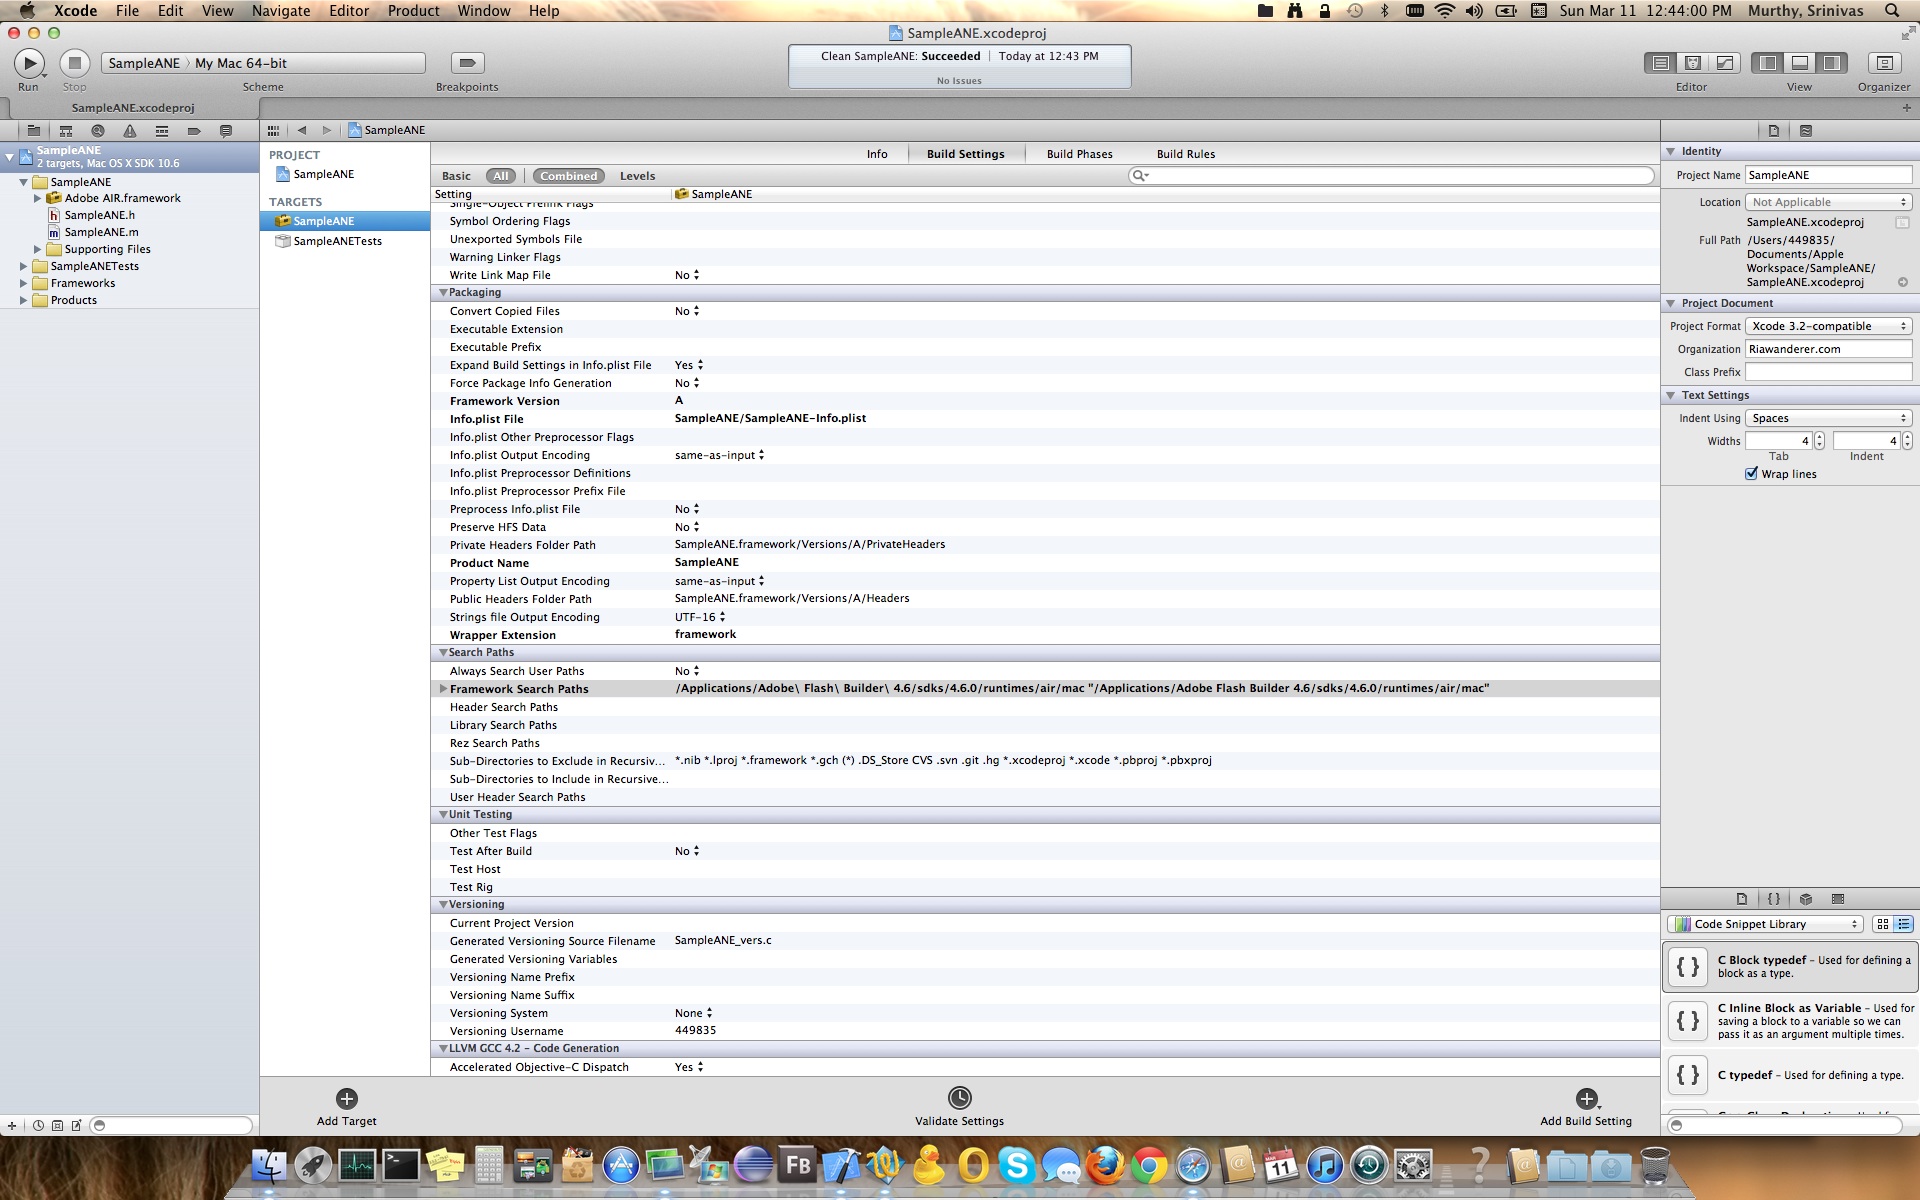
- Under “Search Paths”
- Framework Search Paths to “/Applications/Adobe\ Flash\ Builder\ 4.6/sdks/4.6.0/runtimes/air/mac”
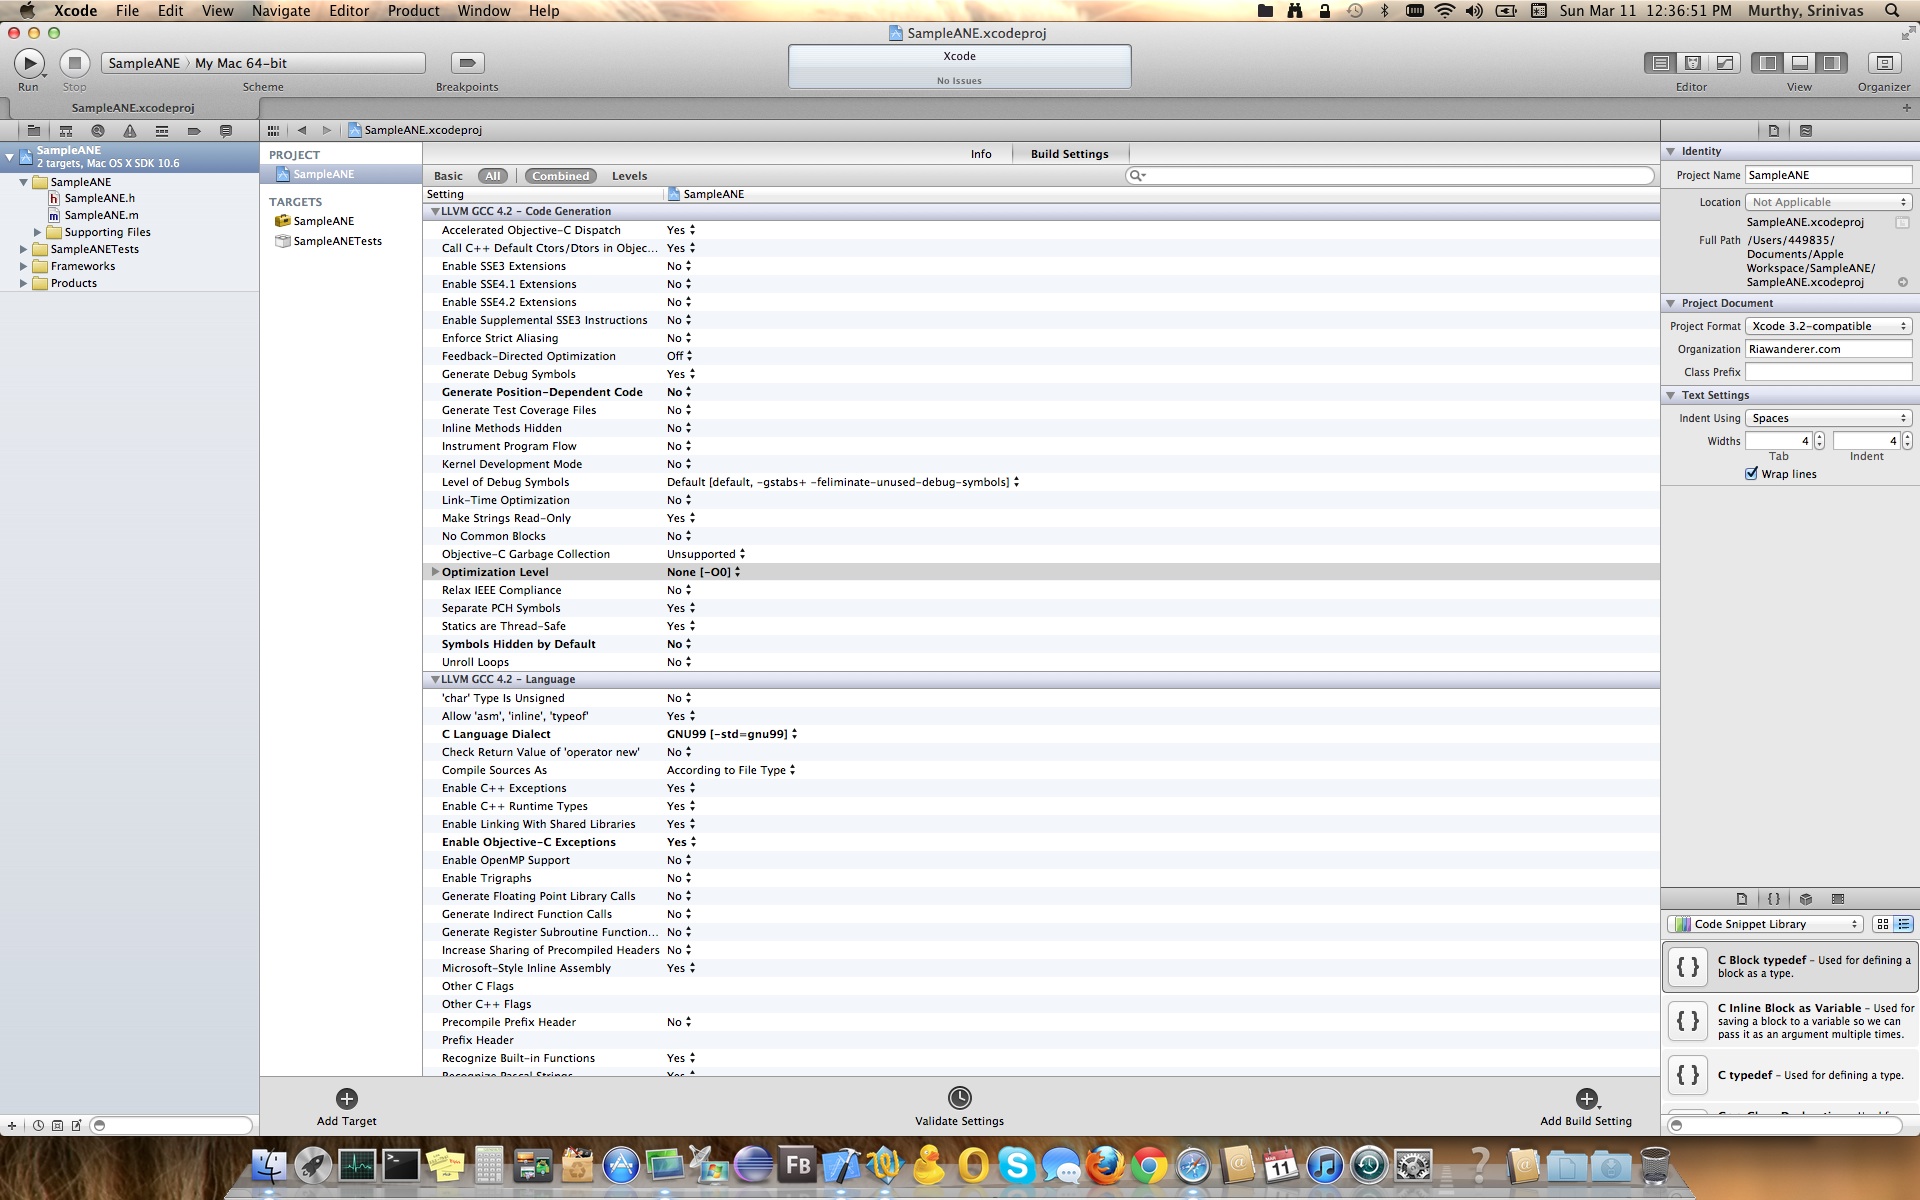
- Under “LLVM GCC 4.2 – Code Generation”
- Optimization level to “None [-0o]”
- Under “Architectures”
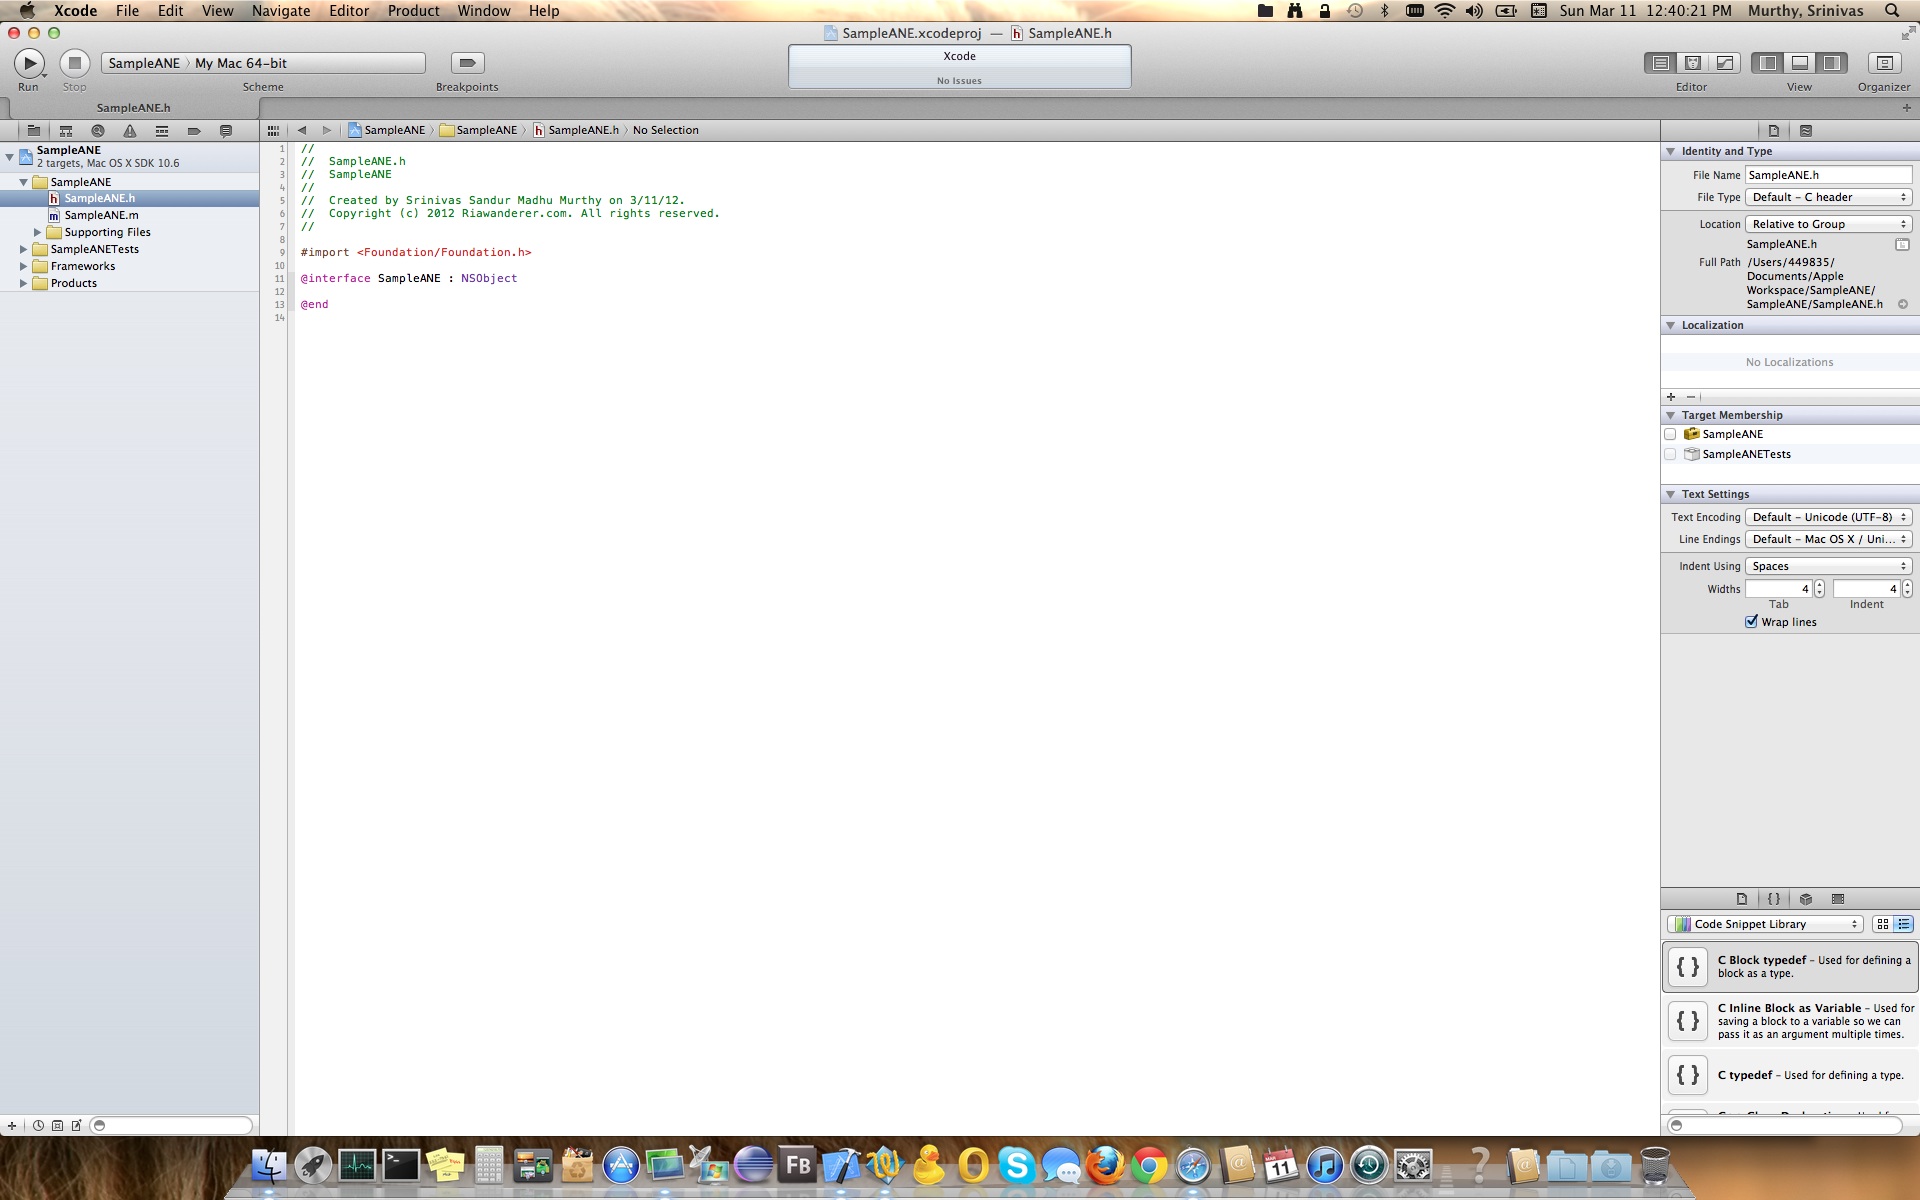
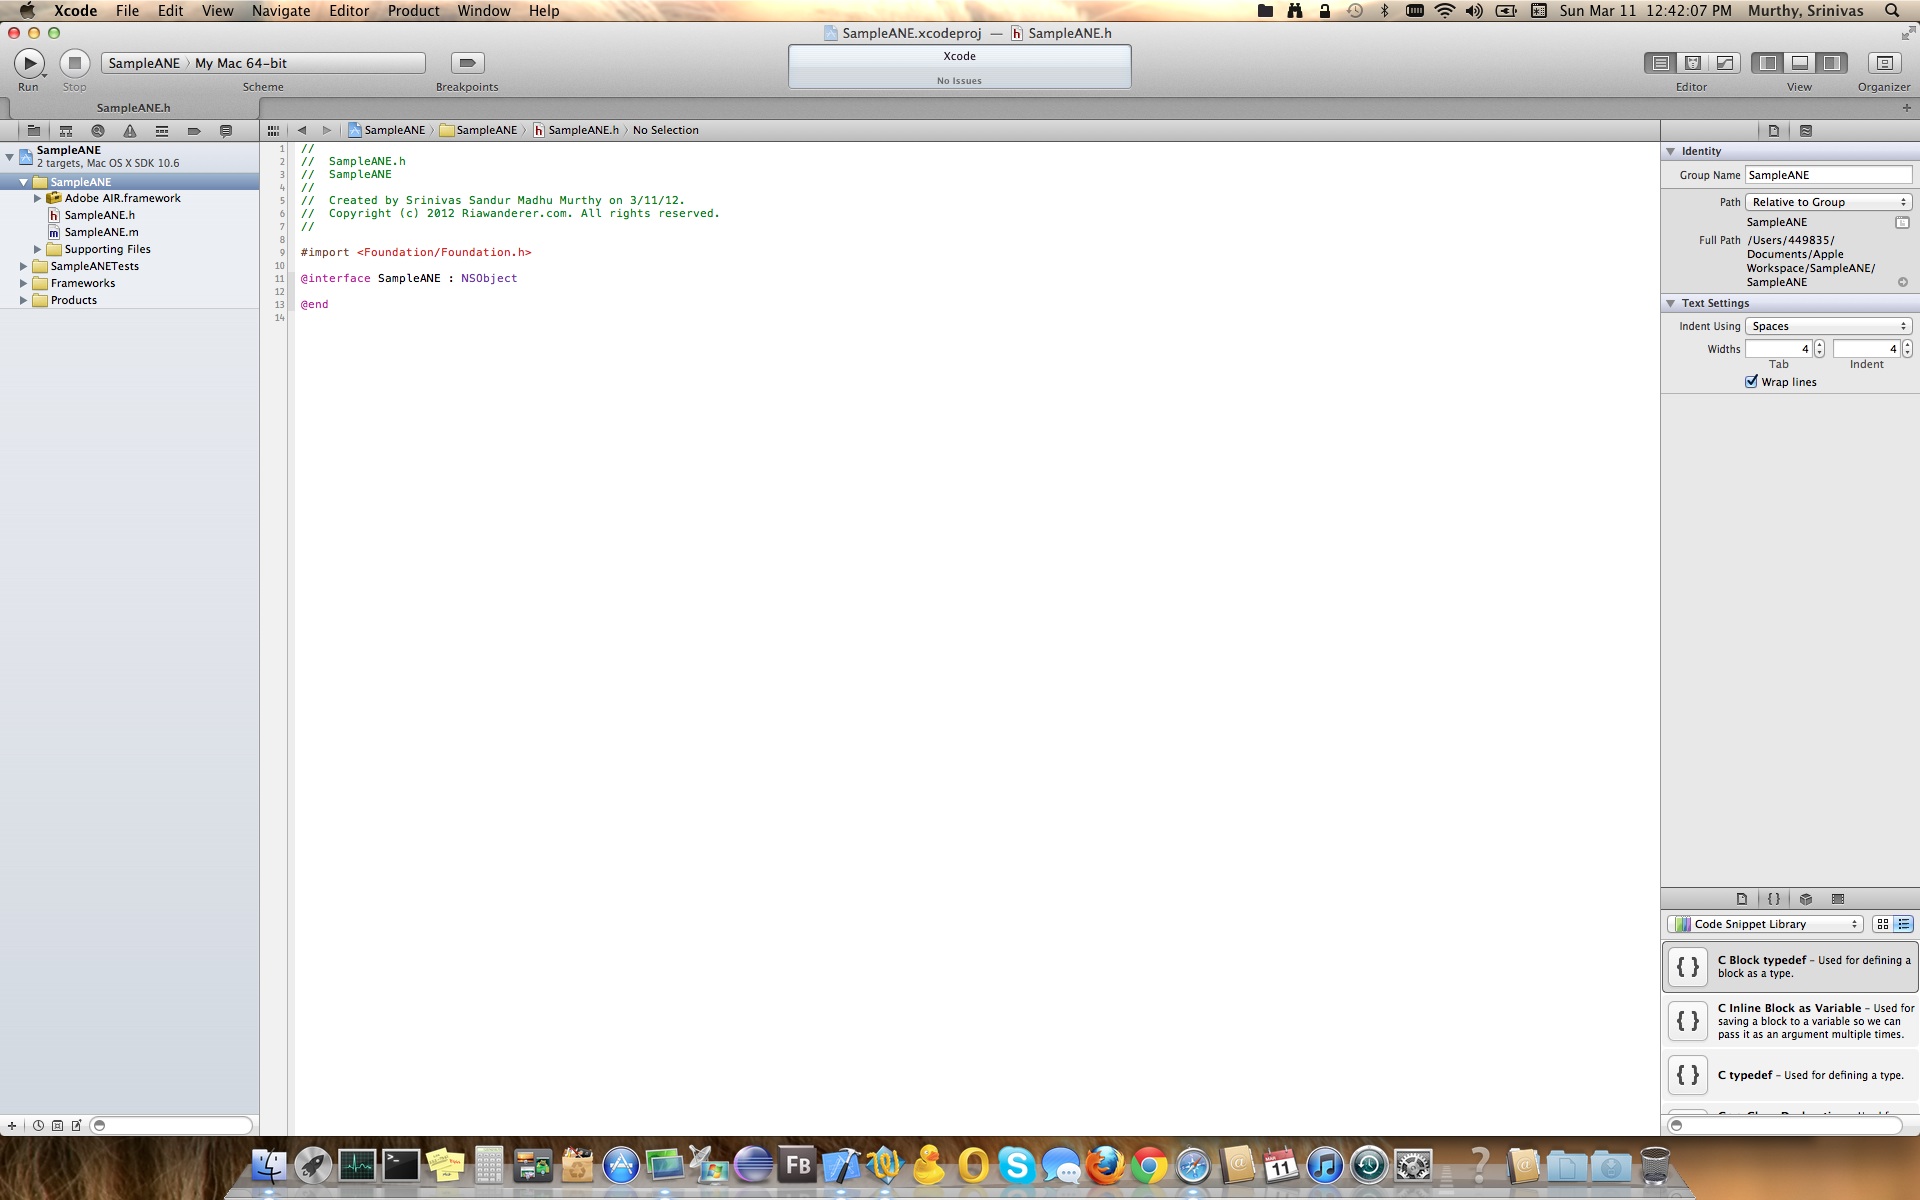
- SampleANE.h
- SampleANE.m

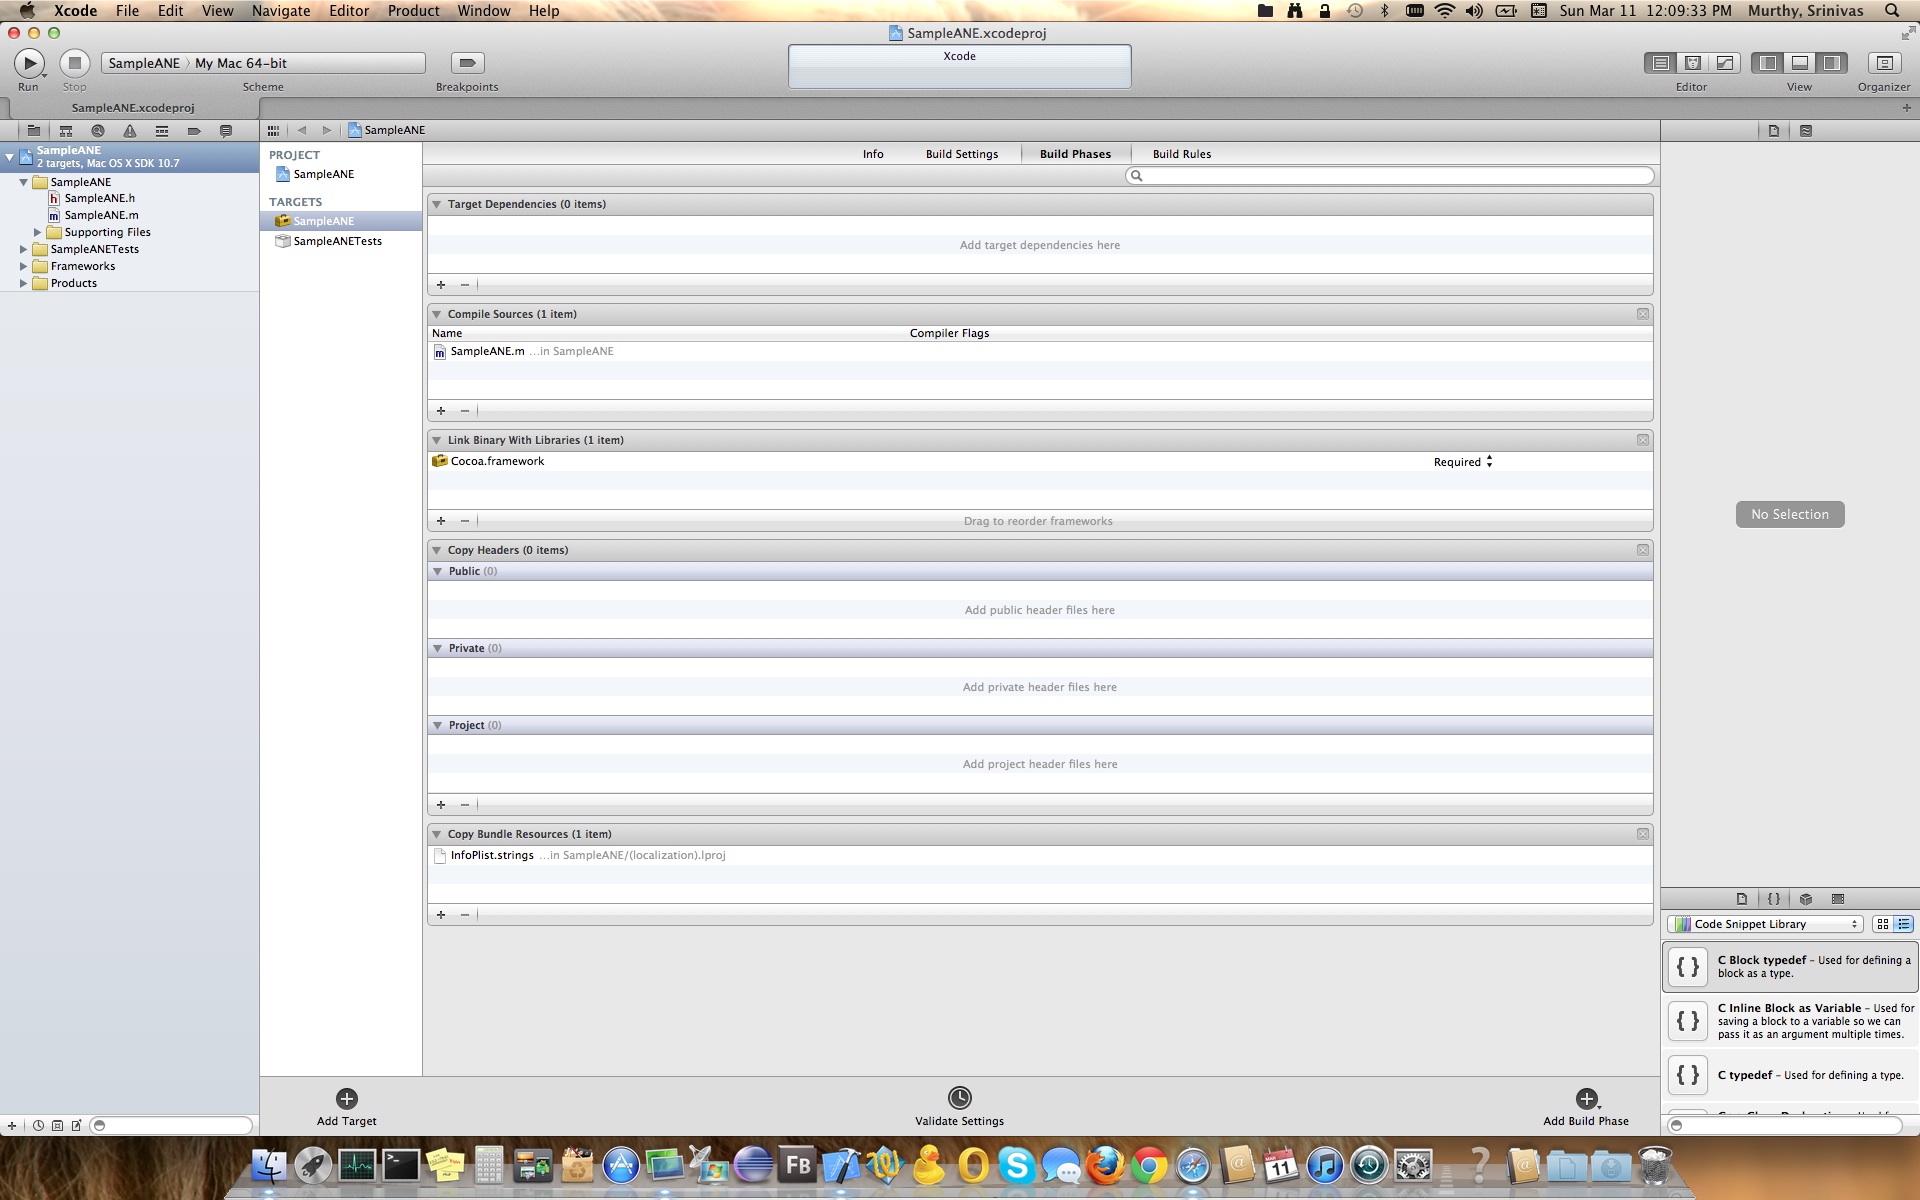
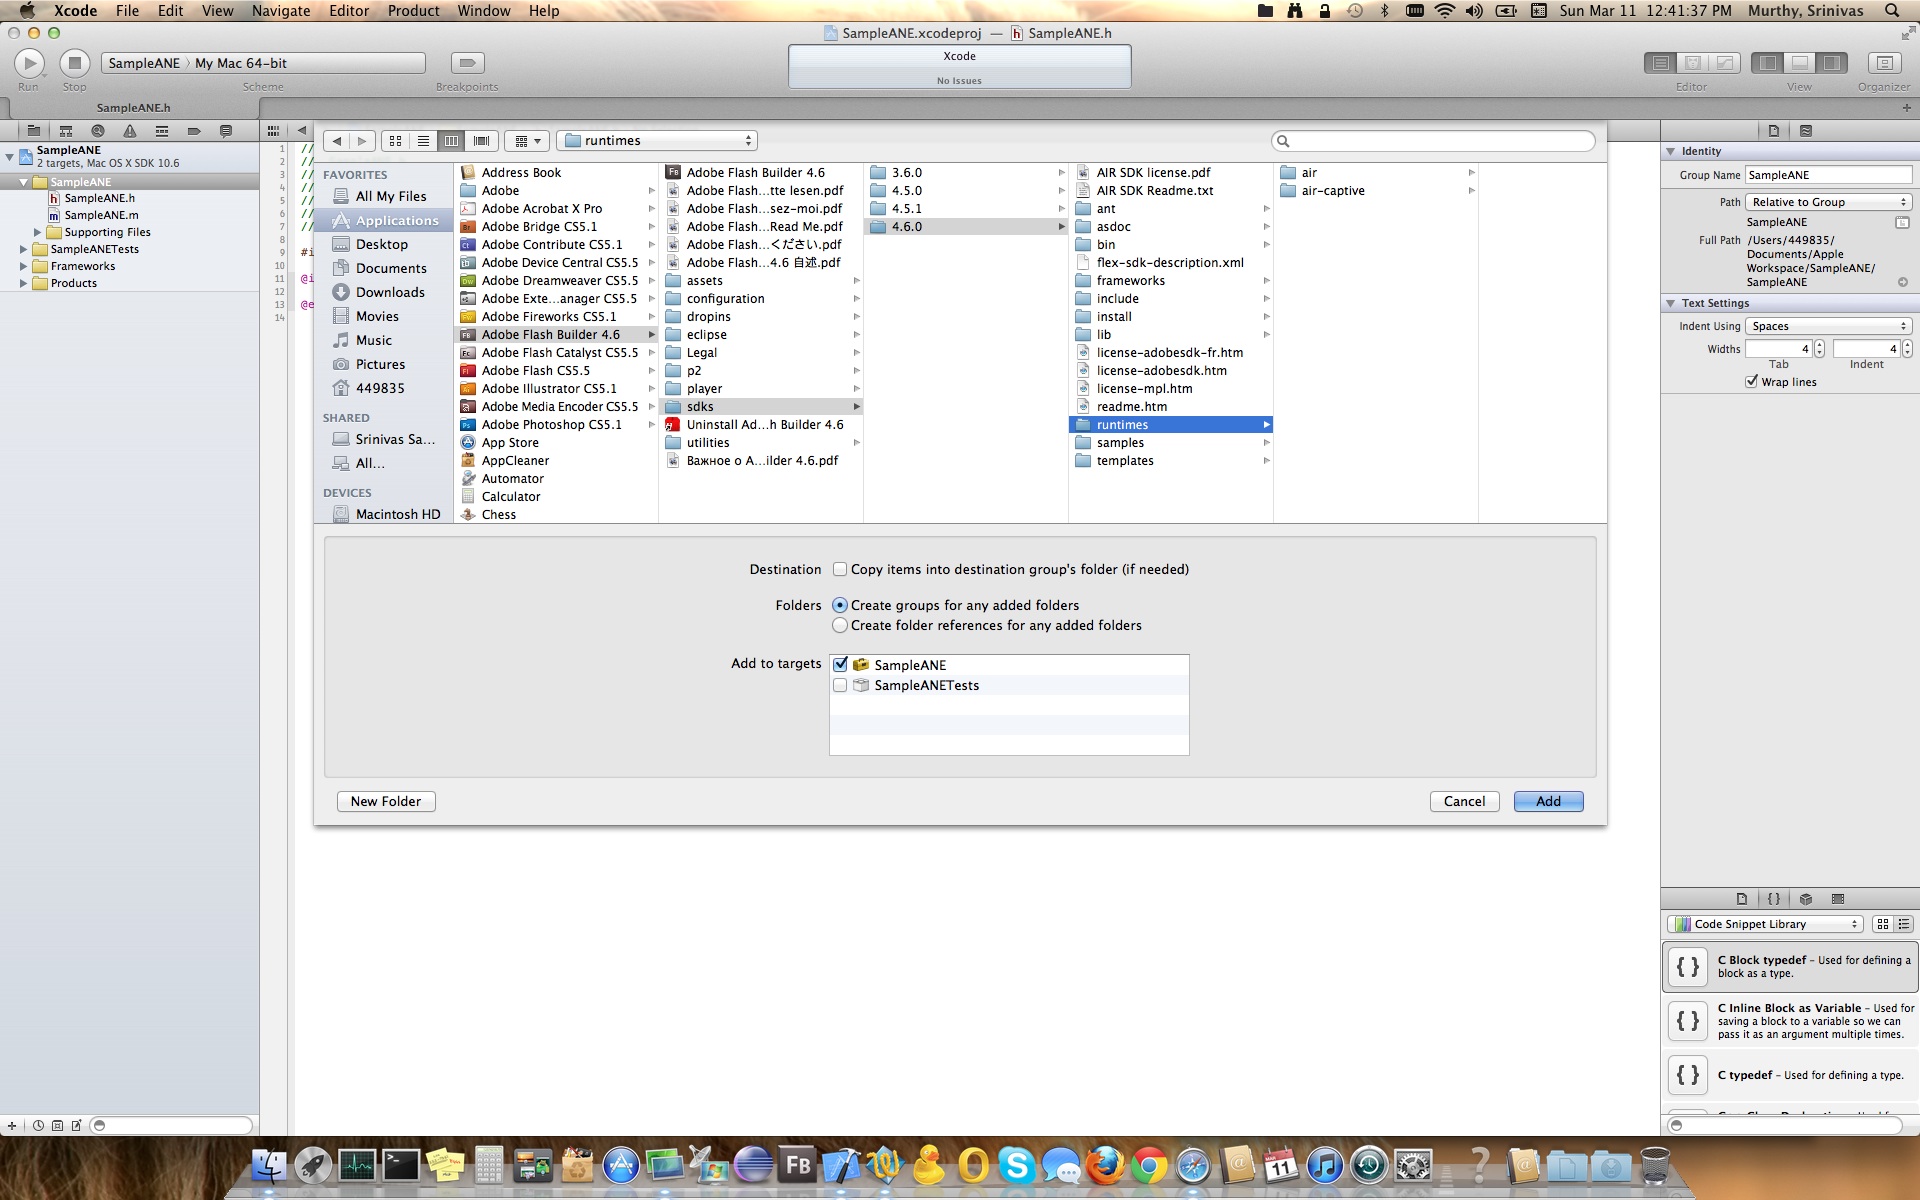
Now we need to add Adobe AIR framework/library.
- Right Click on “SampleANE” folder or Project
- Click on ‘Add Files to “SampleANE”…’
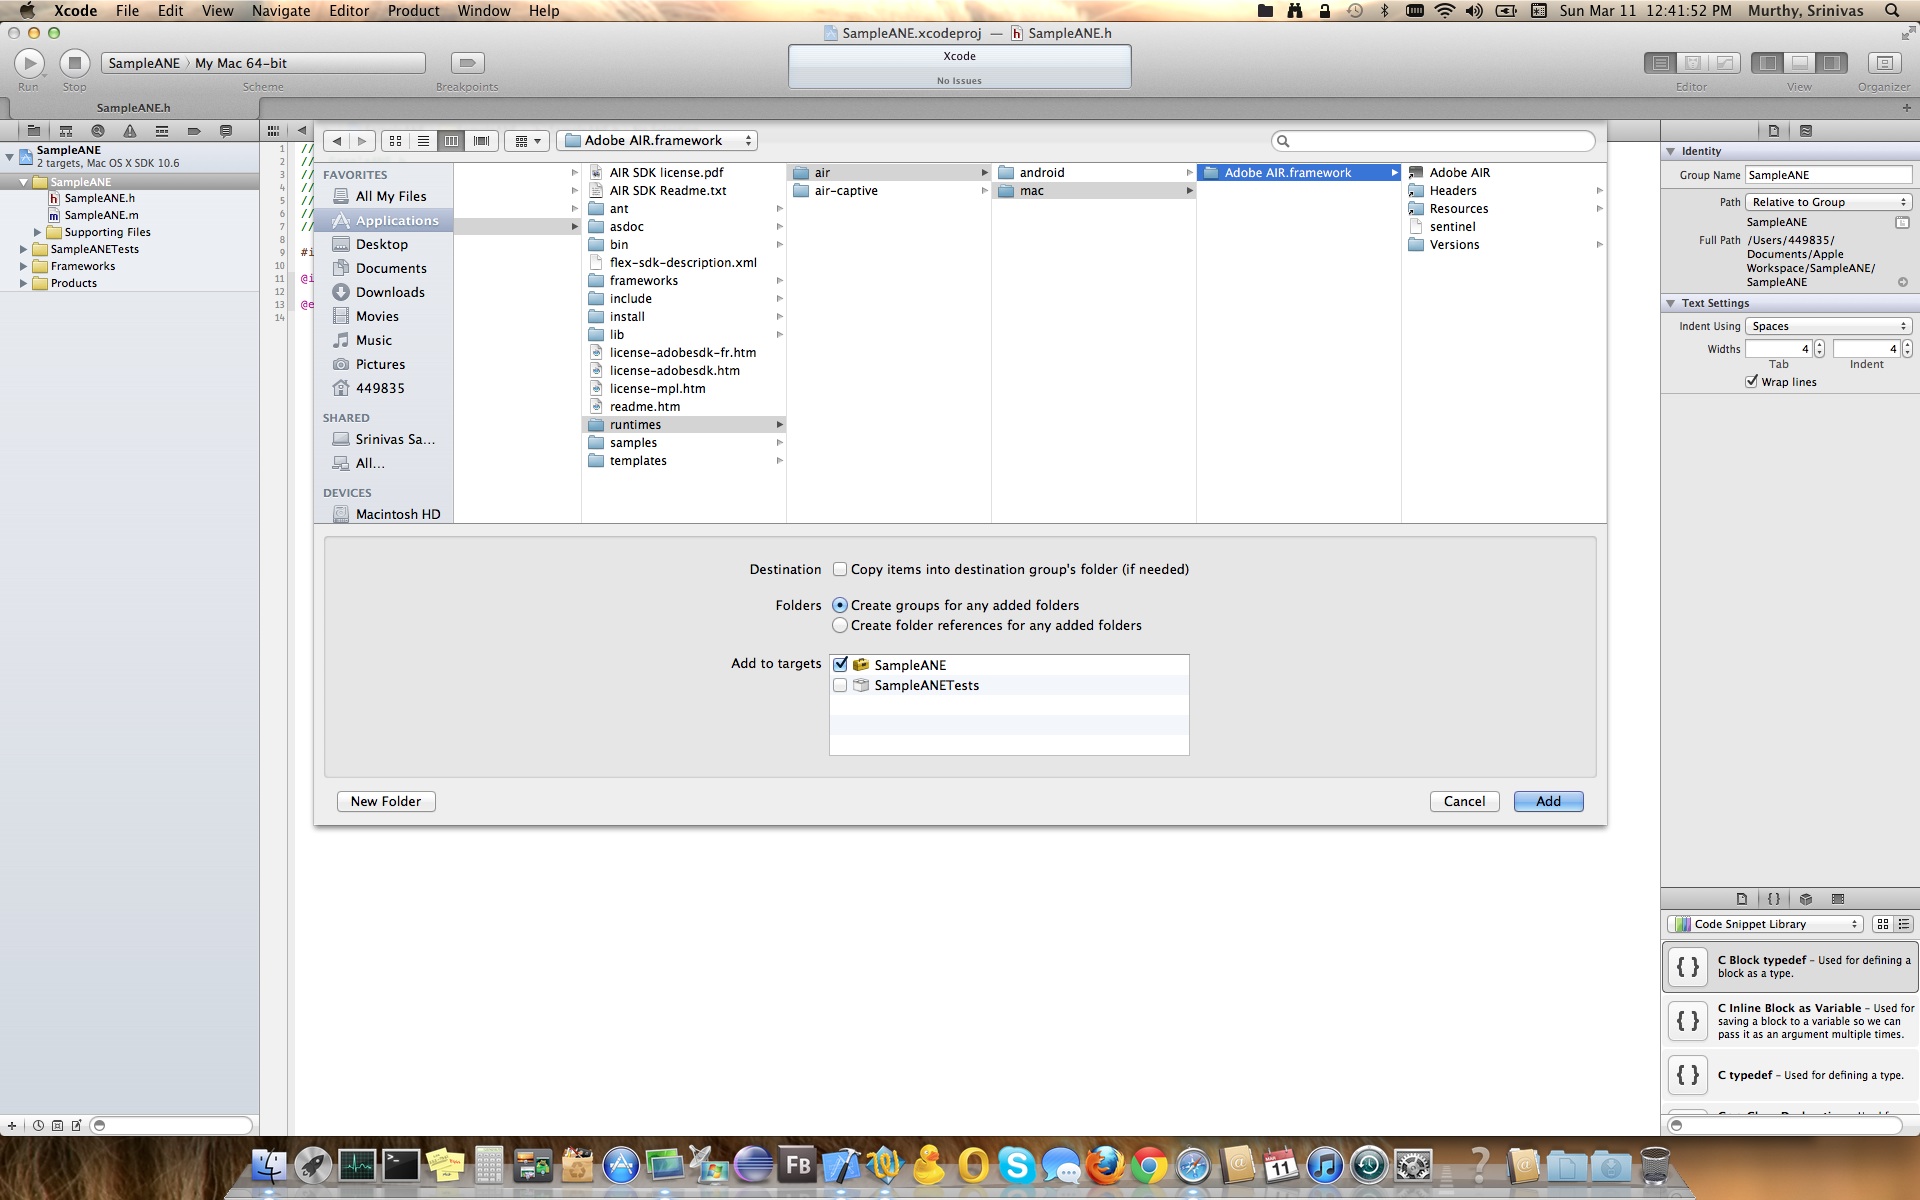
- Browse through path Application > Adobe Flash Builder 4.6 > sdks > 4.6.0 > runtimes > air > mac > Adobe AIR.framework
- Click “Add”. [Below screen shots kind of walk through whatever I said in words ;)]

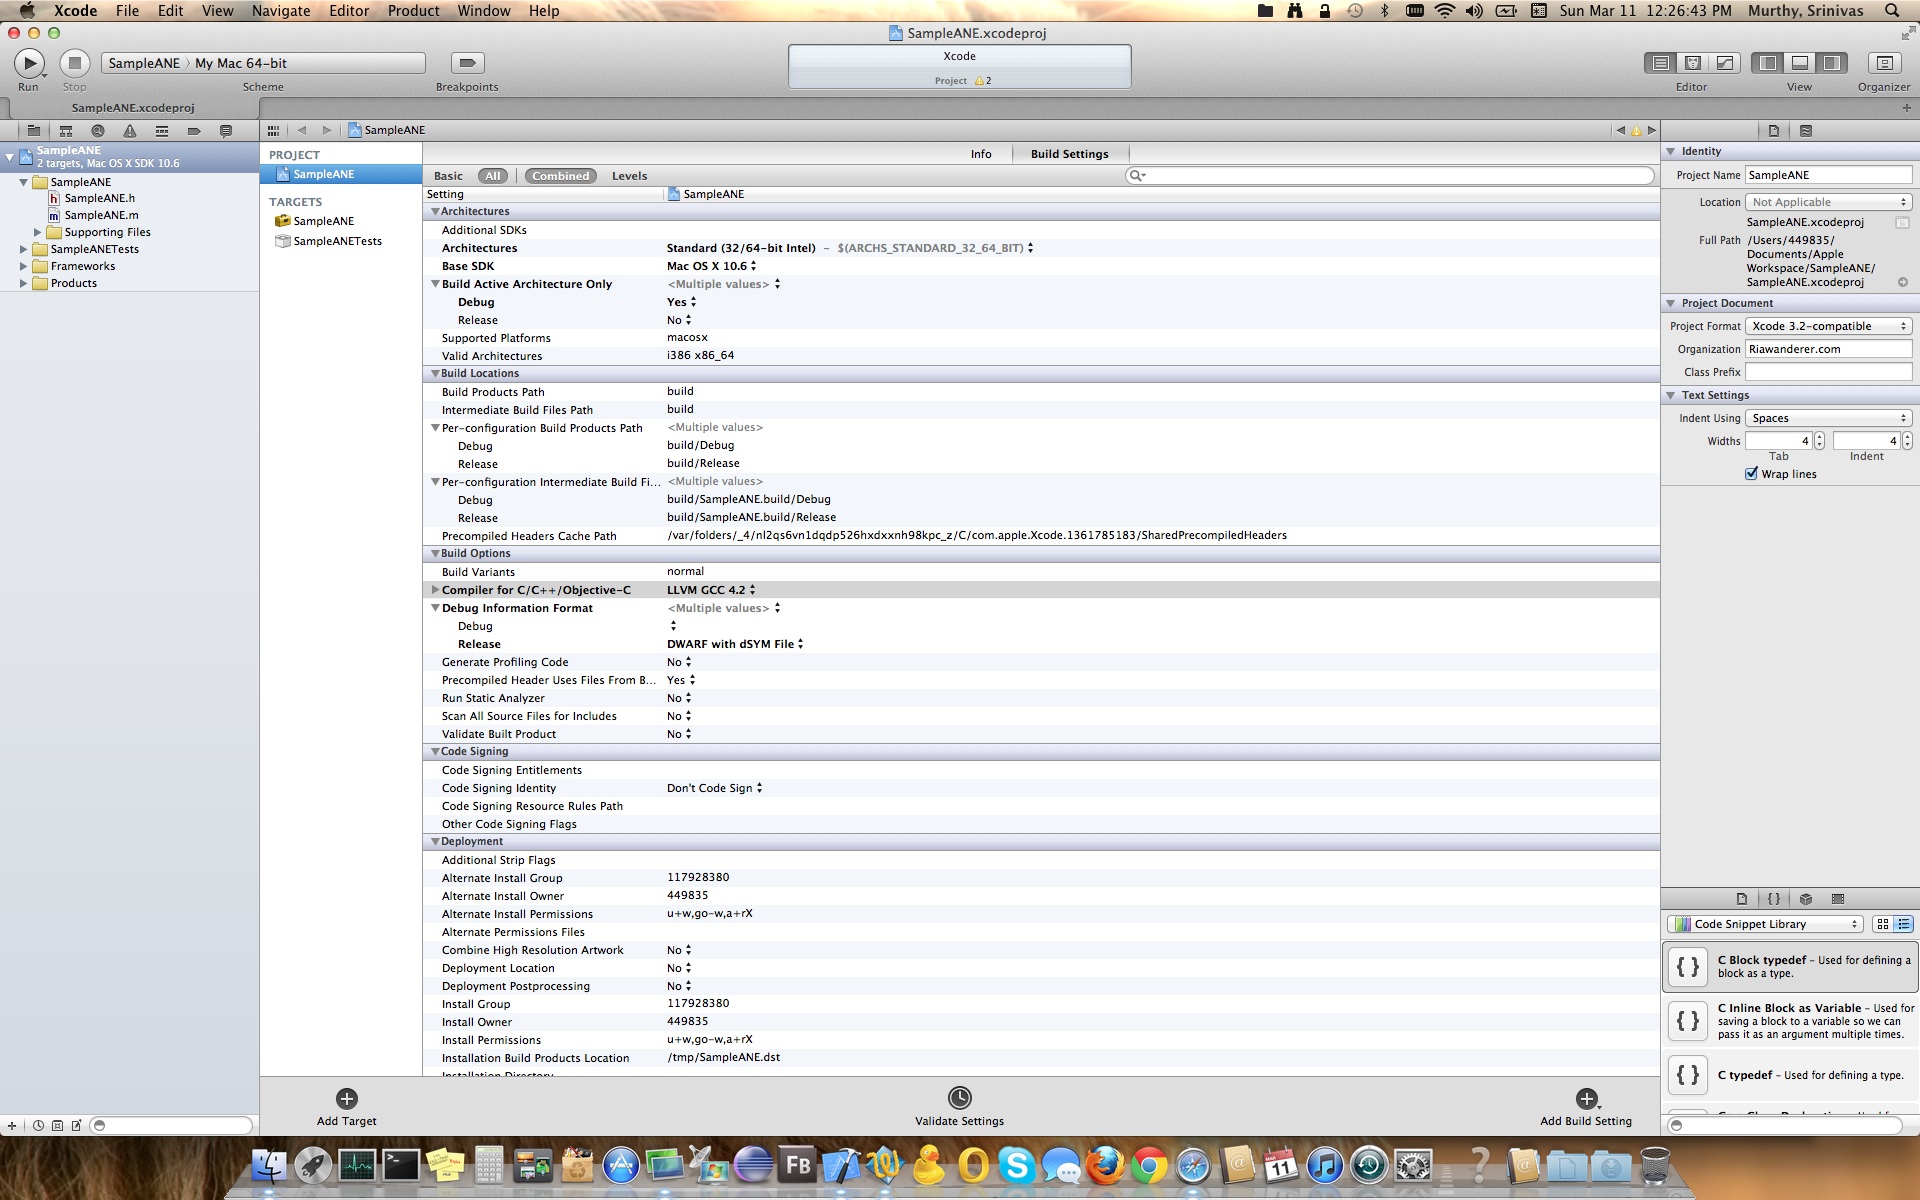
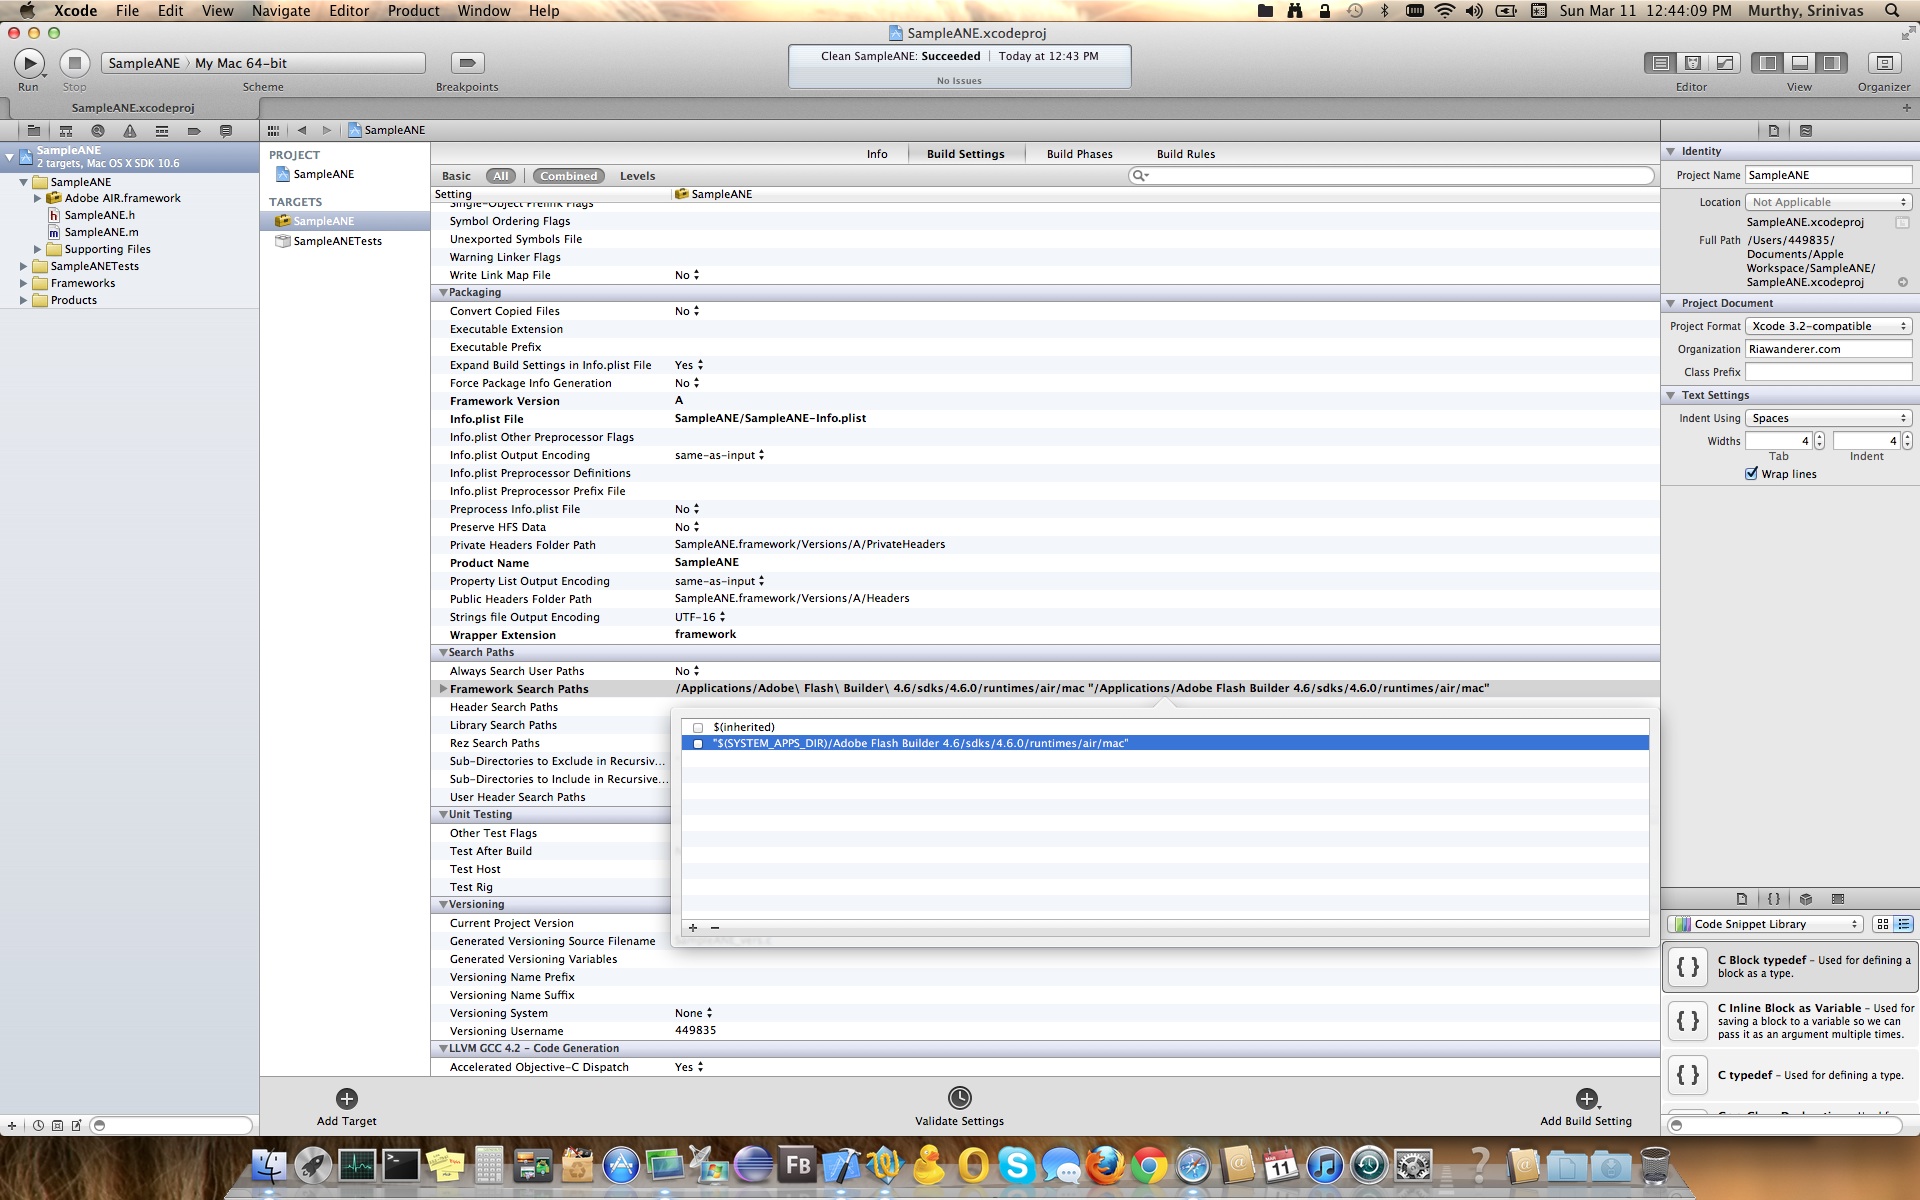
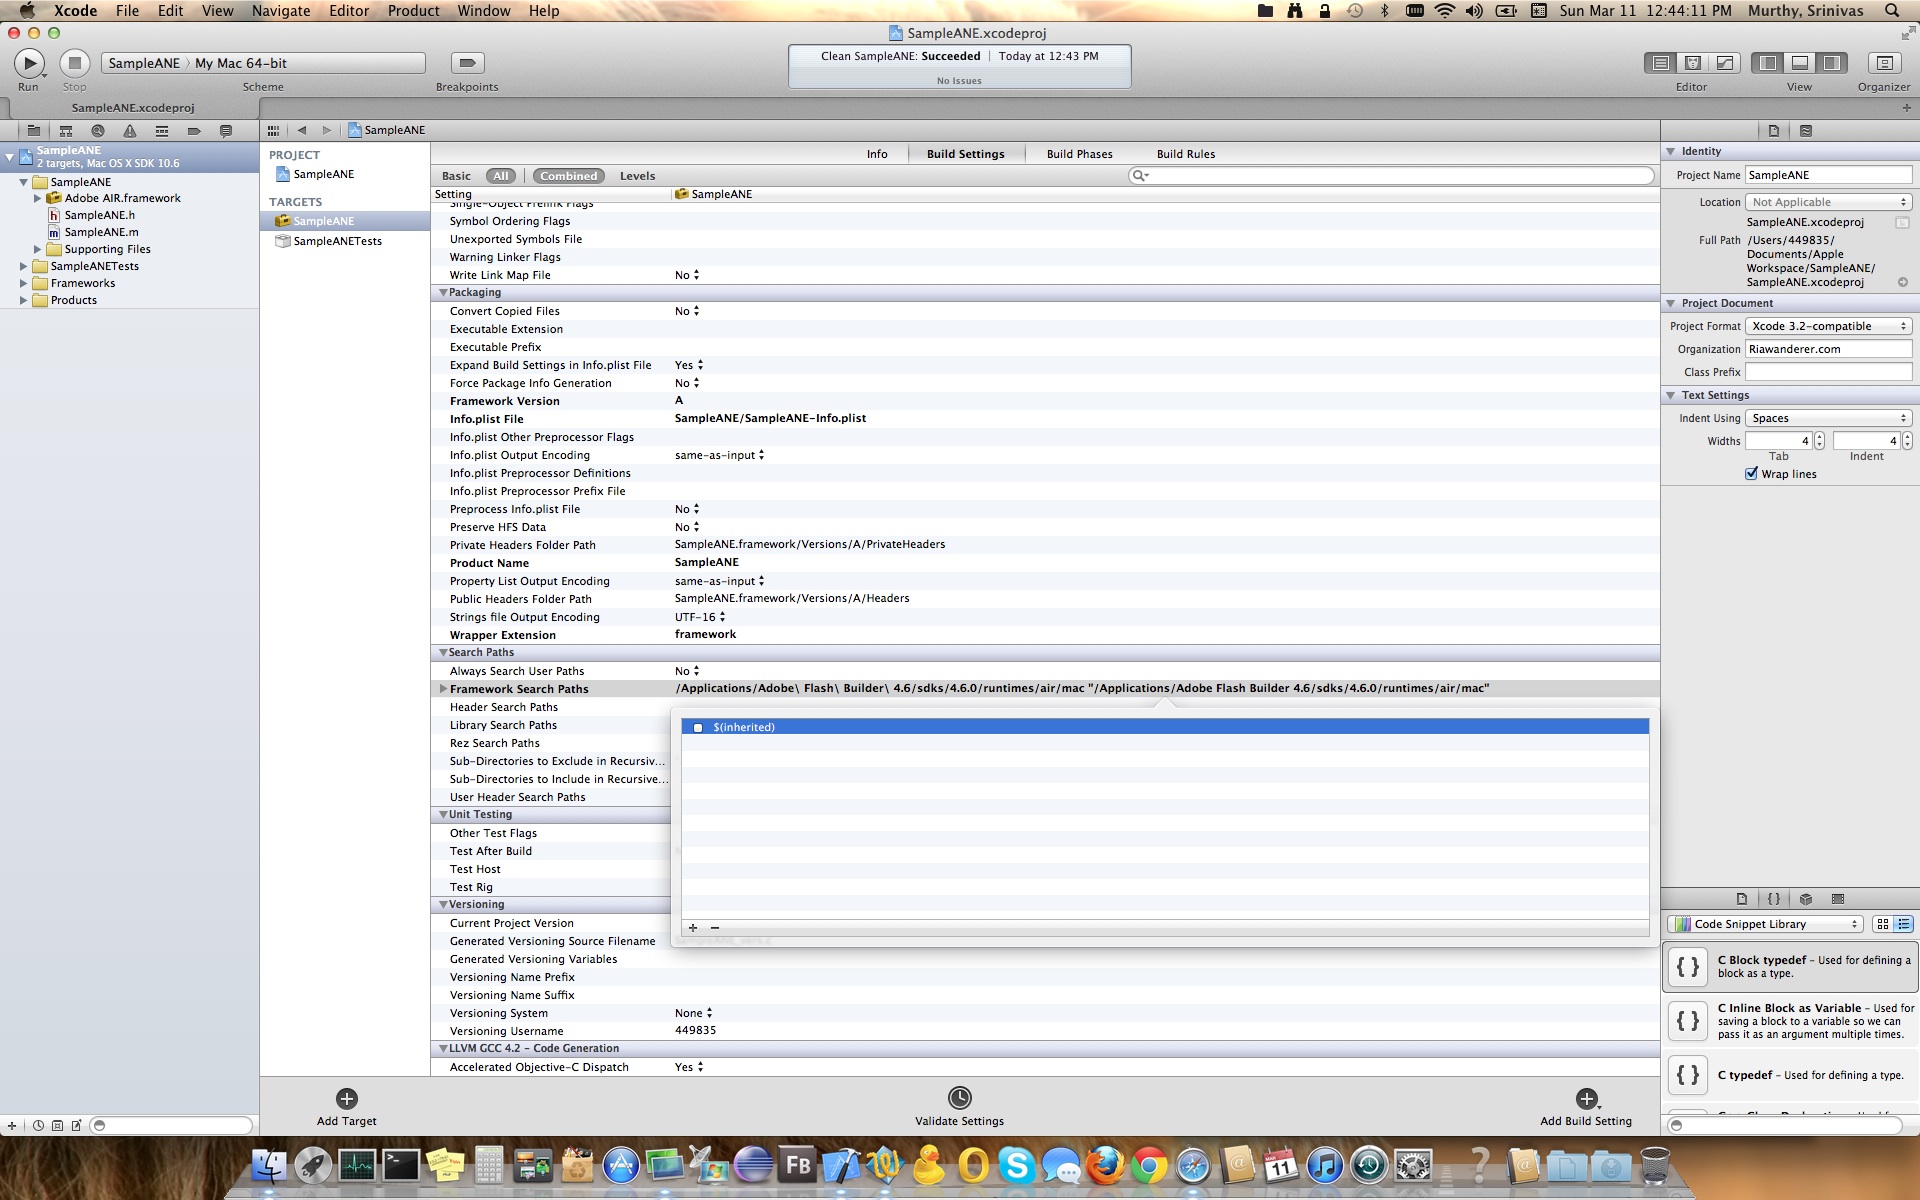
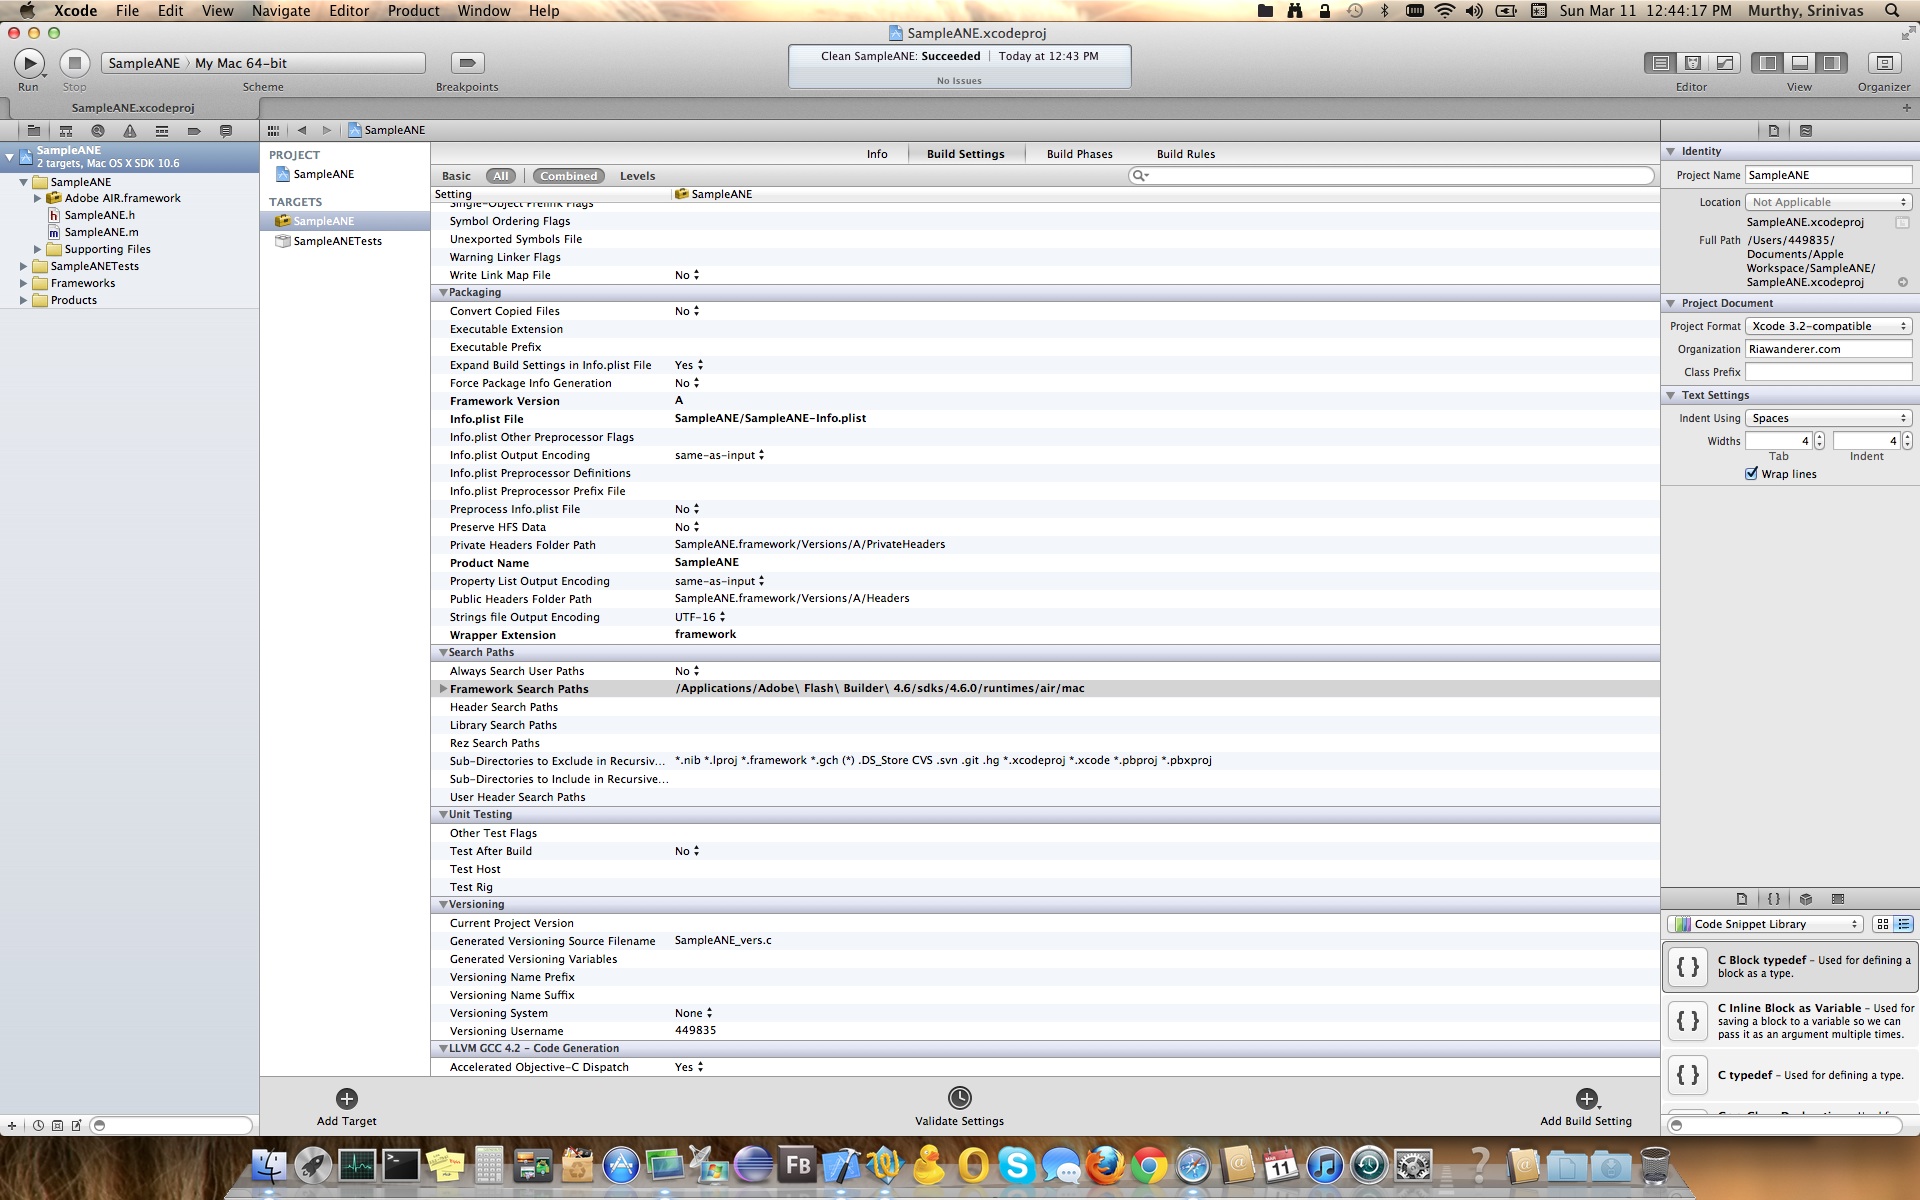
Adding Adobe Air framework after doing build settings would create a small problem. I hope you guys remember, we set Framework Search Path with “/Applications/Adobe\ Flash\ Builder\ 4.6/sdks/4.6.0/runtimes/air/mac”, now if you select SampleANE under Target & check Framework Search Path, it would have now repeated twice. Leaving out this as is shouldn’t matter, but i have noticed sometimes this creates issues while compiling the project. The fix for this is that you have to ensure you have only one “/Applications/Adobe\ Flash\ Builder\ 4.6/sdks/4.6.0/runtimes/air/mac” in Framework Search Path. The below screen shots would help you to ensure the same.
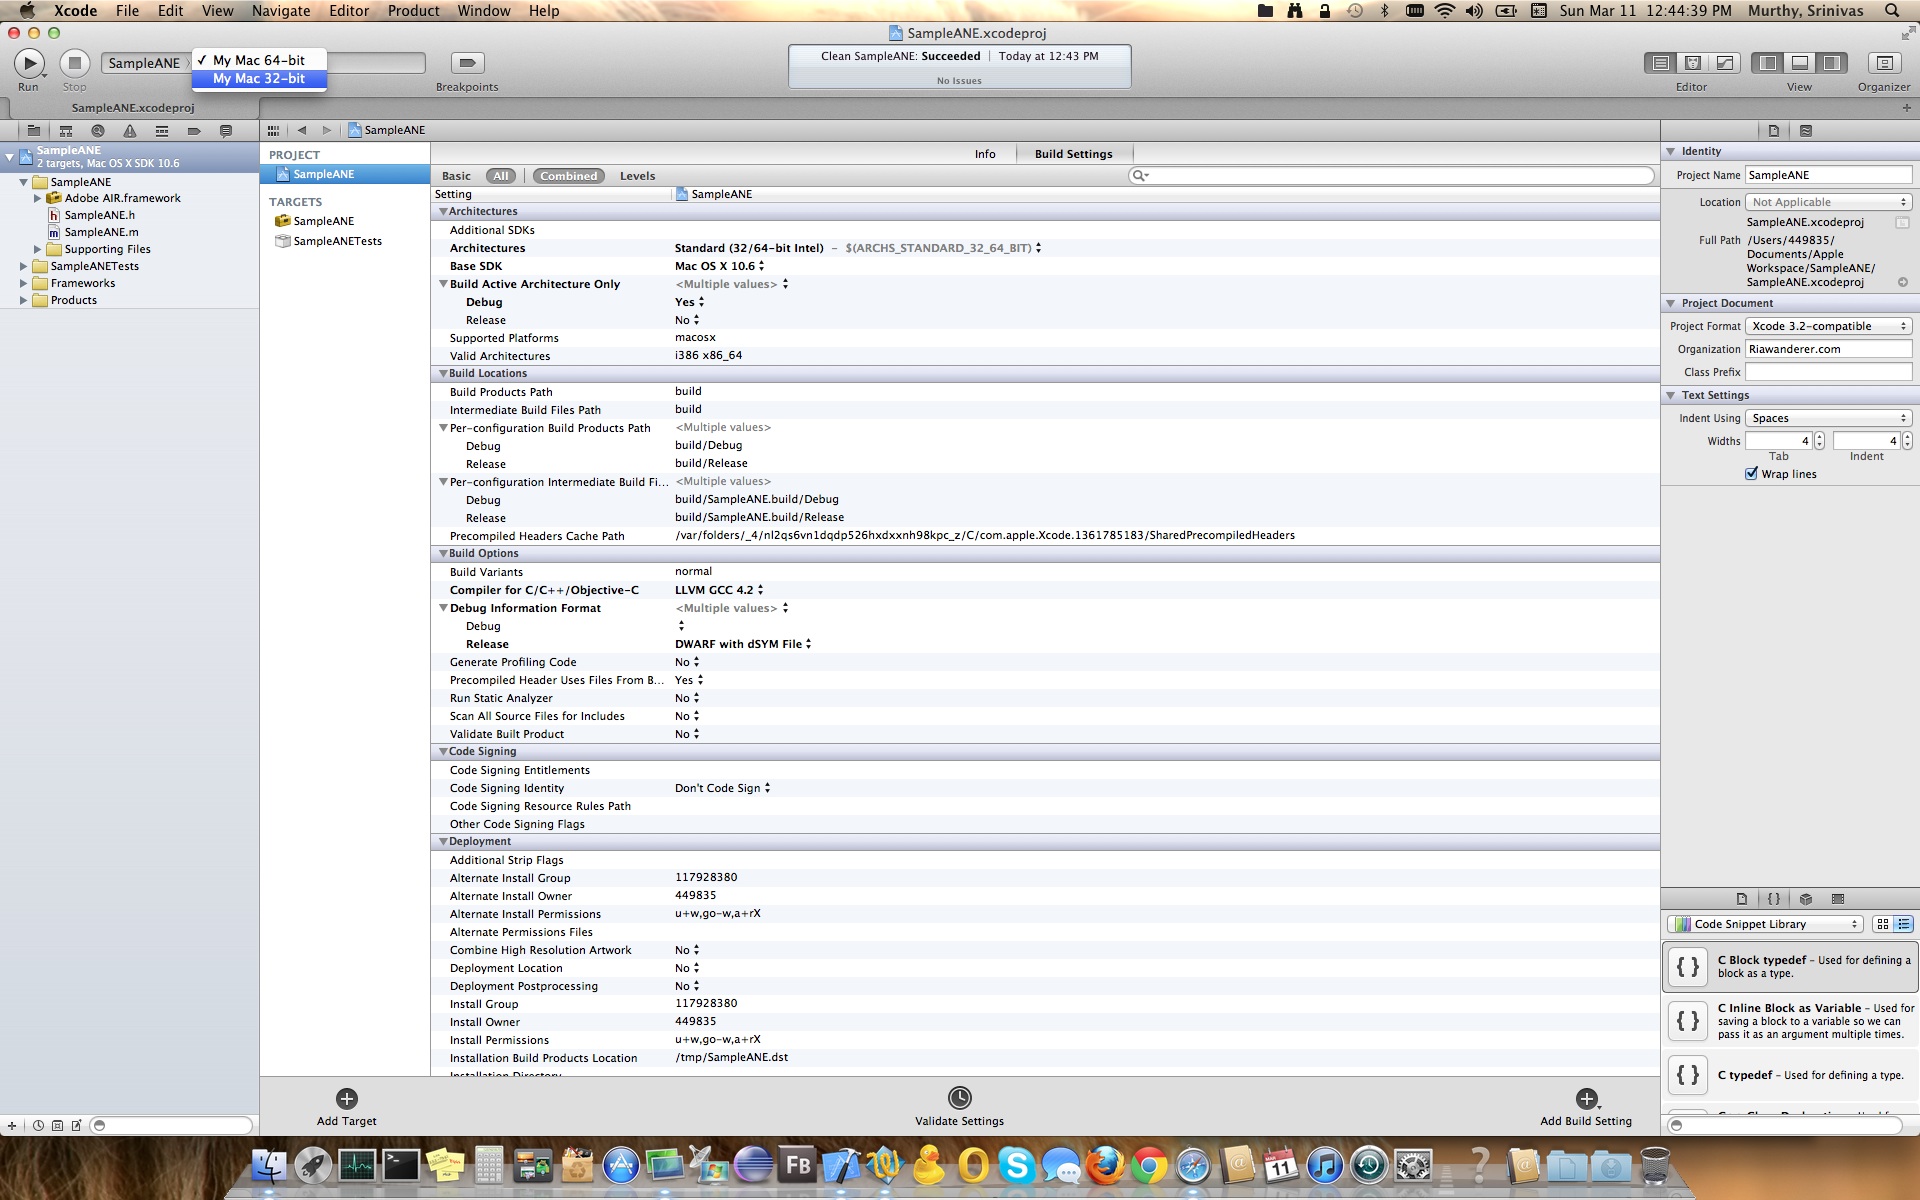
Next thing to do is that we need to test our configuration by building the framework. I know you would be thinking without any code why are we building, and the answer is just to ensure, it compiles well with all the settings we have made. Remember in the Architecture settings we said that it is Standard 32/64 bit intel architecture, hence let’s build for 32 Bit and find if it has any issues. Also note that Adobe AIR framework/library which we just added supports only 32 bit, hence we need to change our build to be 32 bit for doing so follow the below screen shot
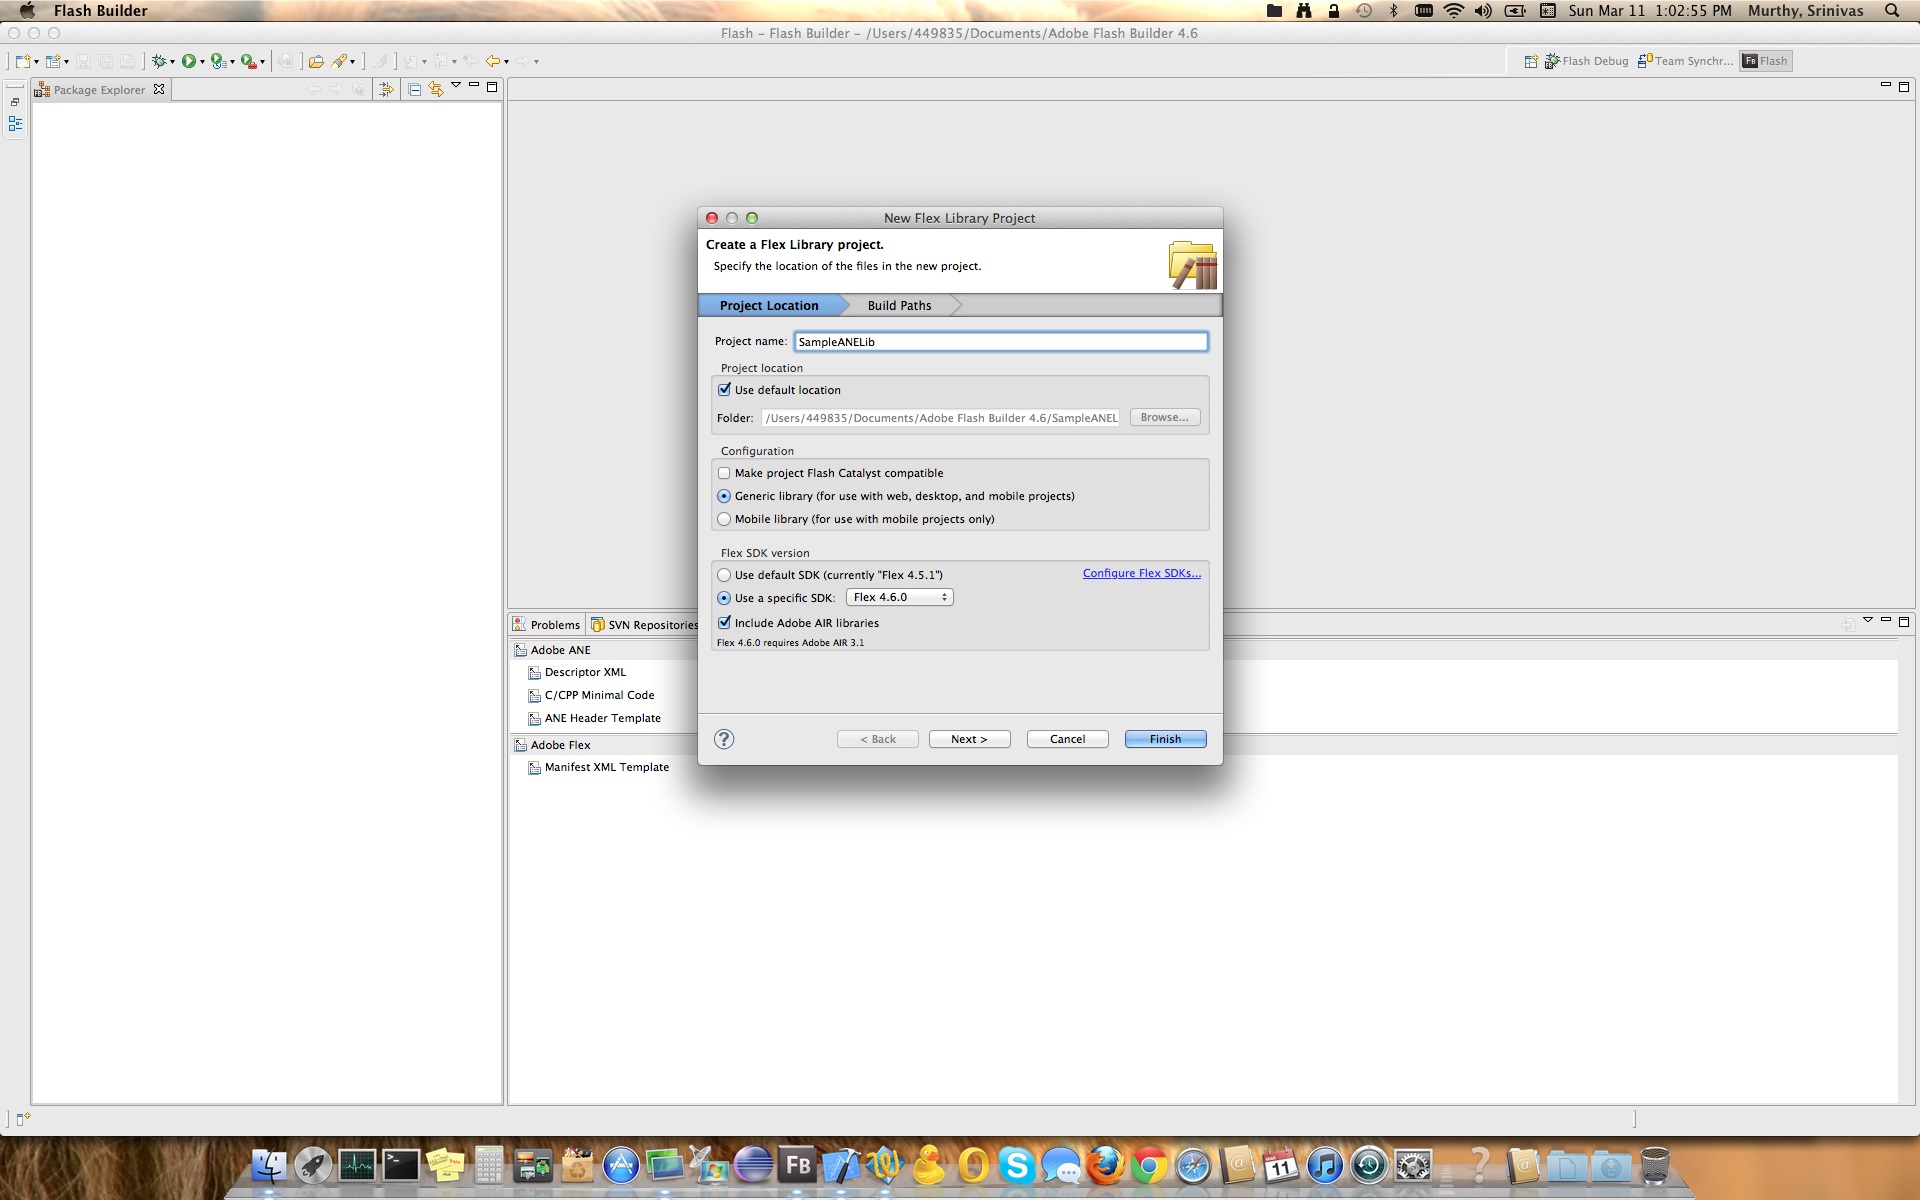
If all goes well, you should see above screen with one warning, this warning would appear as if you are using LION & Xcode’s latest SDK is 10.7, since we are using 10.6 it would complain and ask us to upgrade, you can ignore this warning. Now that we are here, next step would be writing the actual extension code. Rather than wasting time in typing the code, I will attach the entire project at the end of this post. So with that said, next step would be creating Flex Library project which accommodates or acts like a wrapper for our extension. I guess everybody in Flex world would know how to write Flex Library Project, hence I would just put them in couple of screen shots as below which would be self explanatory.

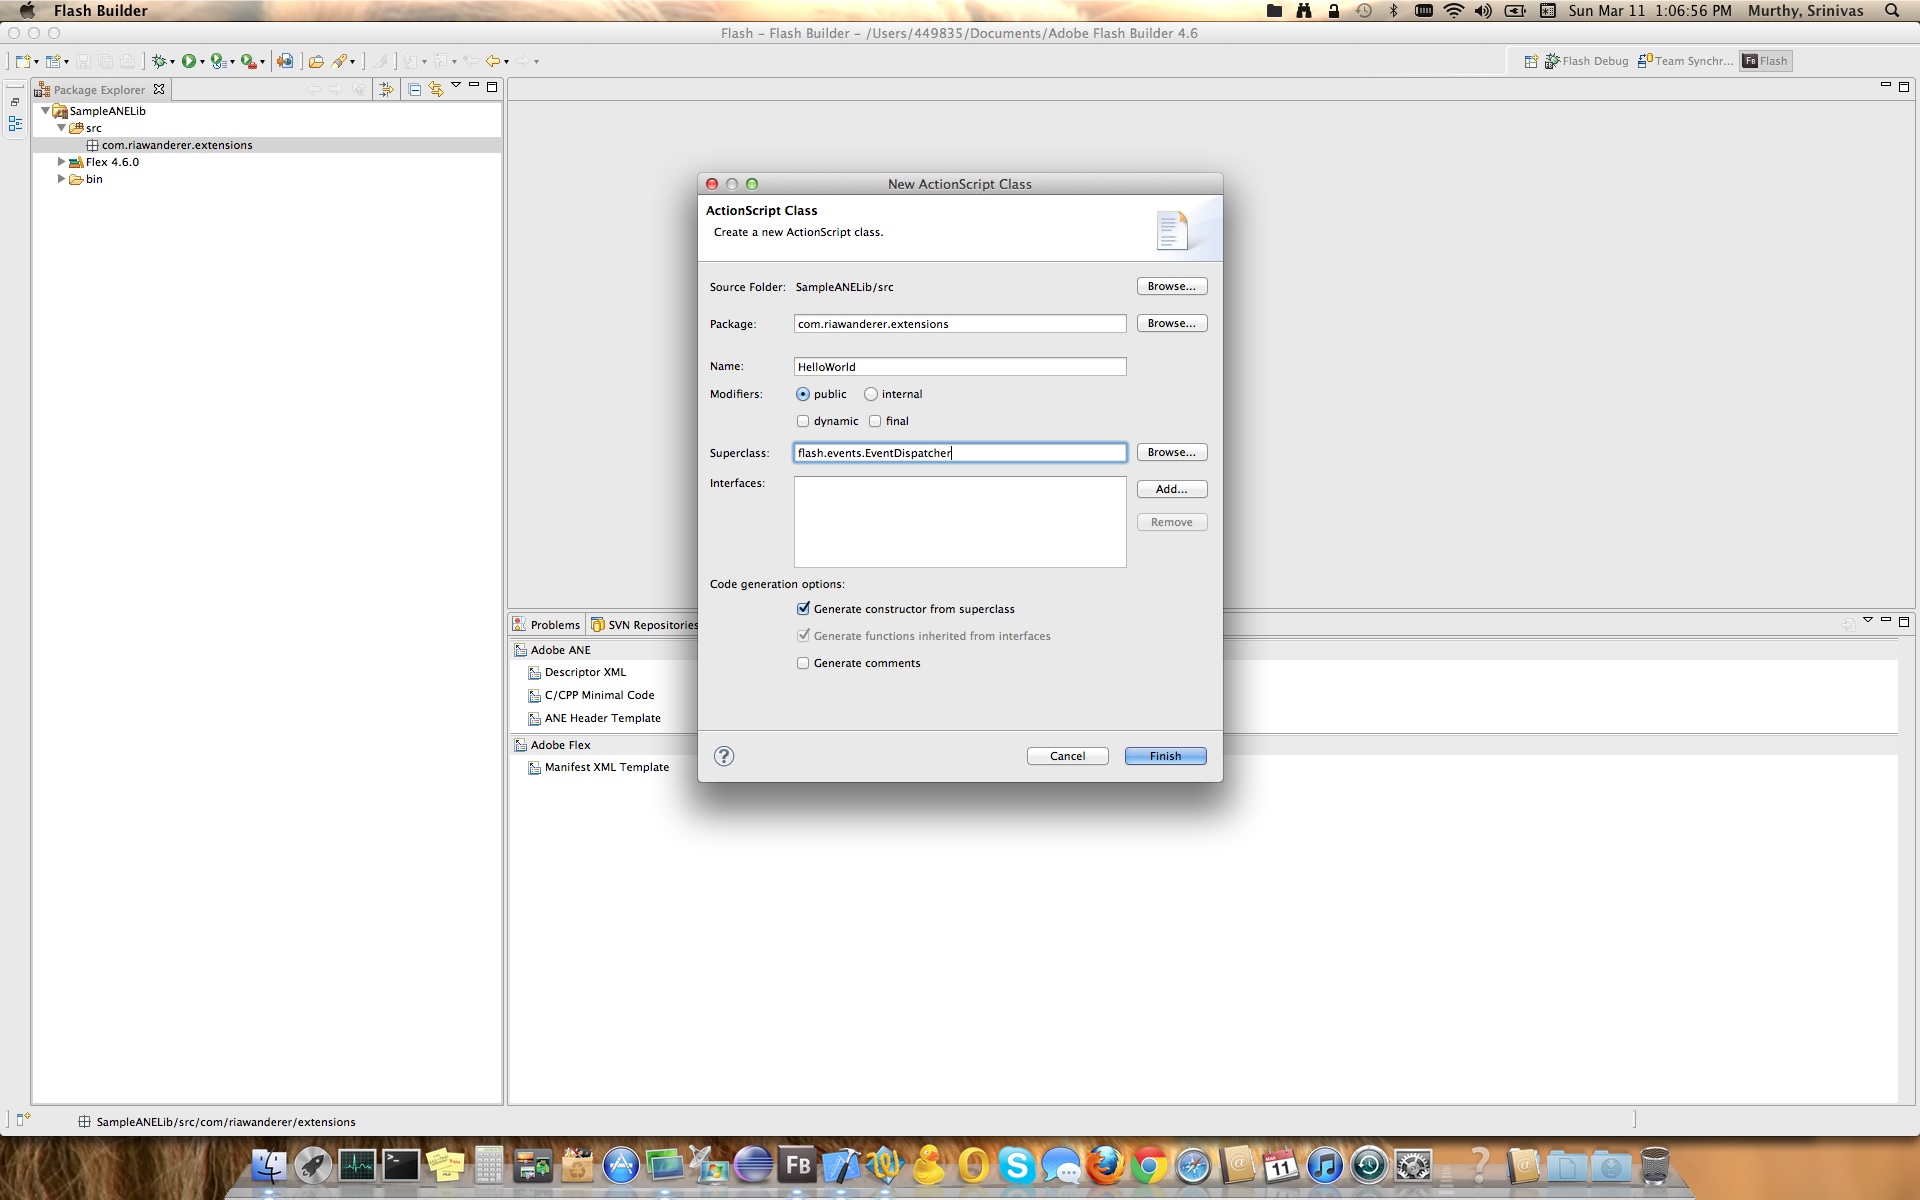


If you have carefully followed the above screen shots there are two gotcha points
- In Flex Library Compiler Settings > Additional Compiler Arguments, we have added one more argument “-swf-version 13”
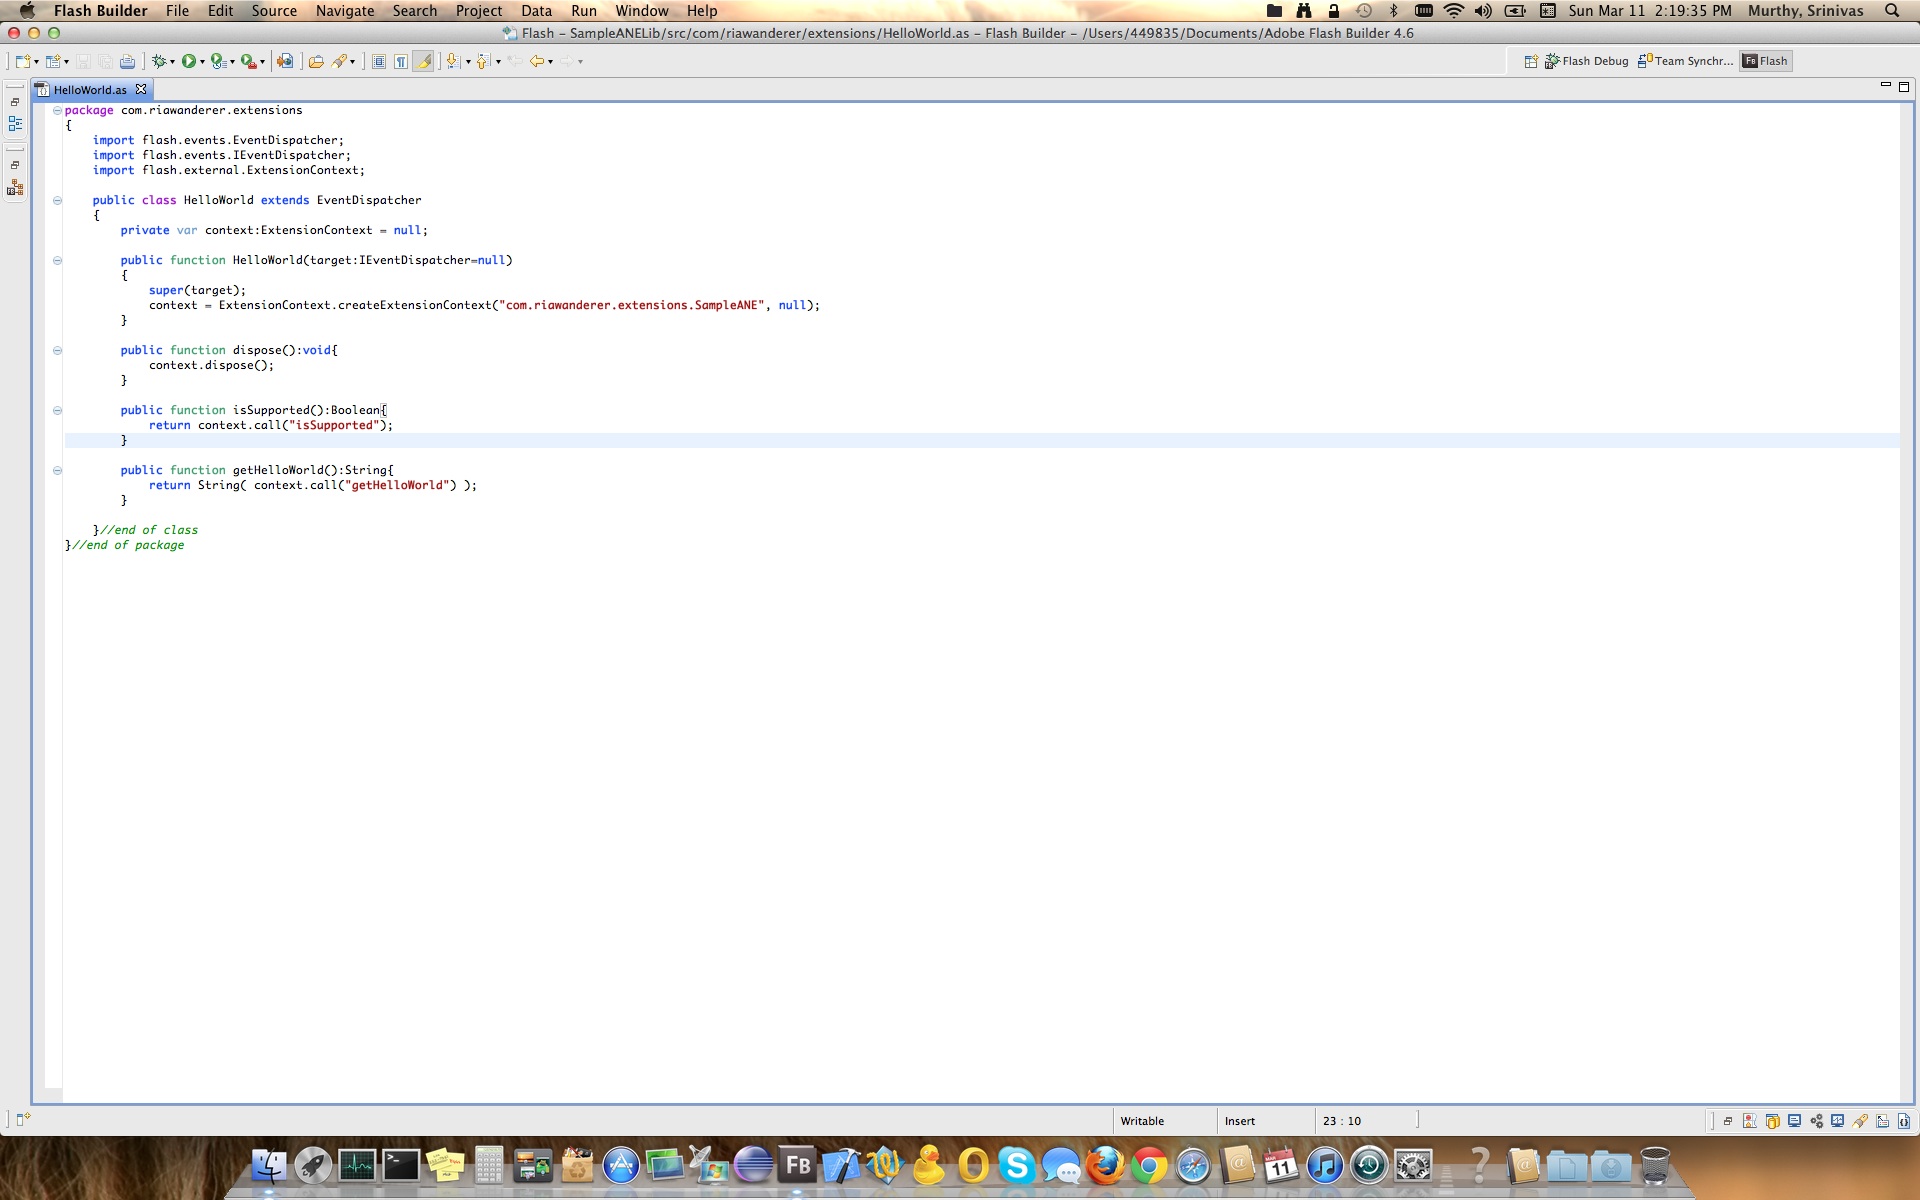
- Other one is in Flex class where we created context in the constructor with “com.riawanderer.extensions.SampleANE”. Please note this, as this is what acts like key between extension, library while communicating. You can learn about these contexts in Adobe’s documentation or in one of the articles mentioned in the beginning of the article.
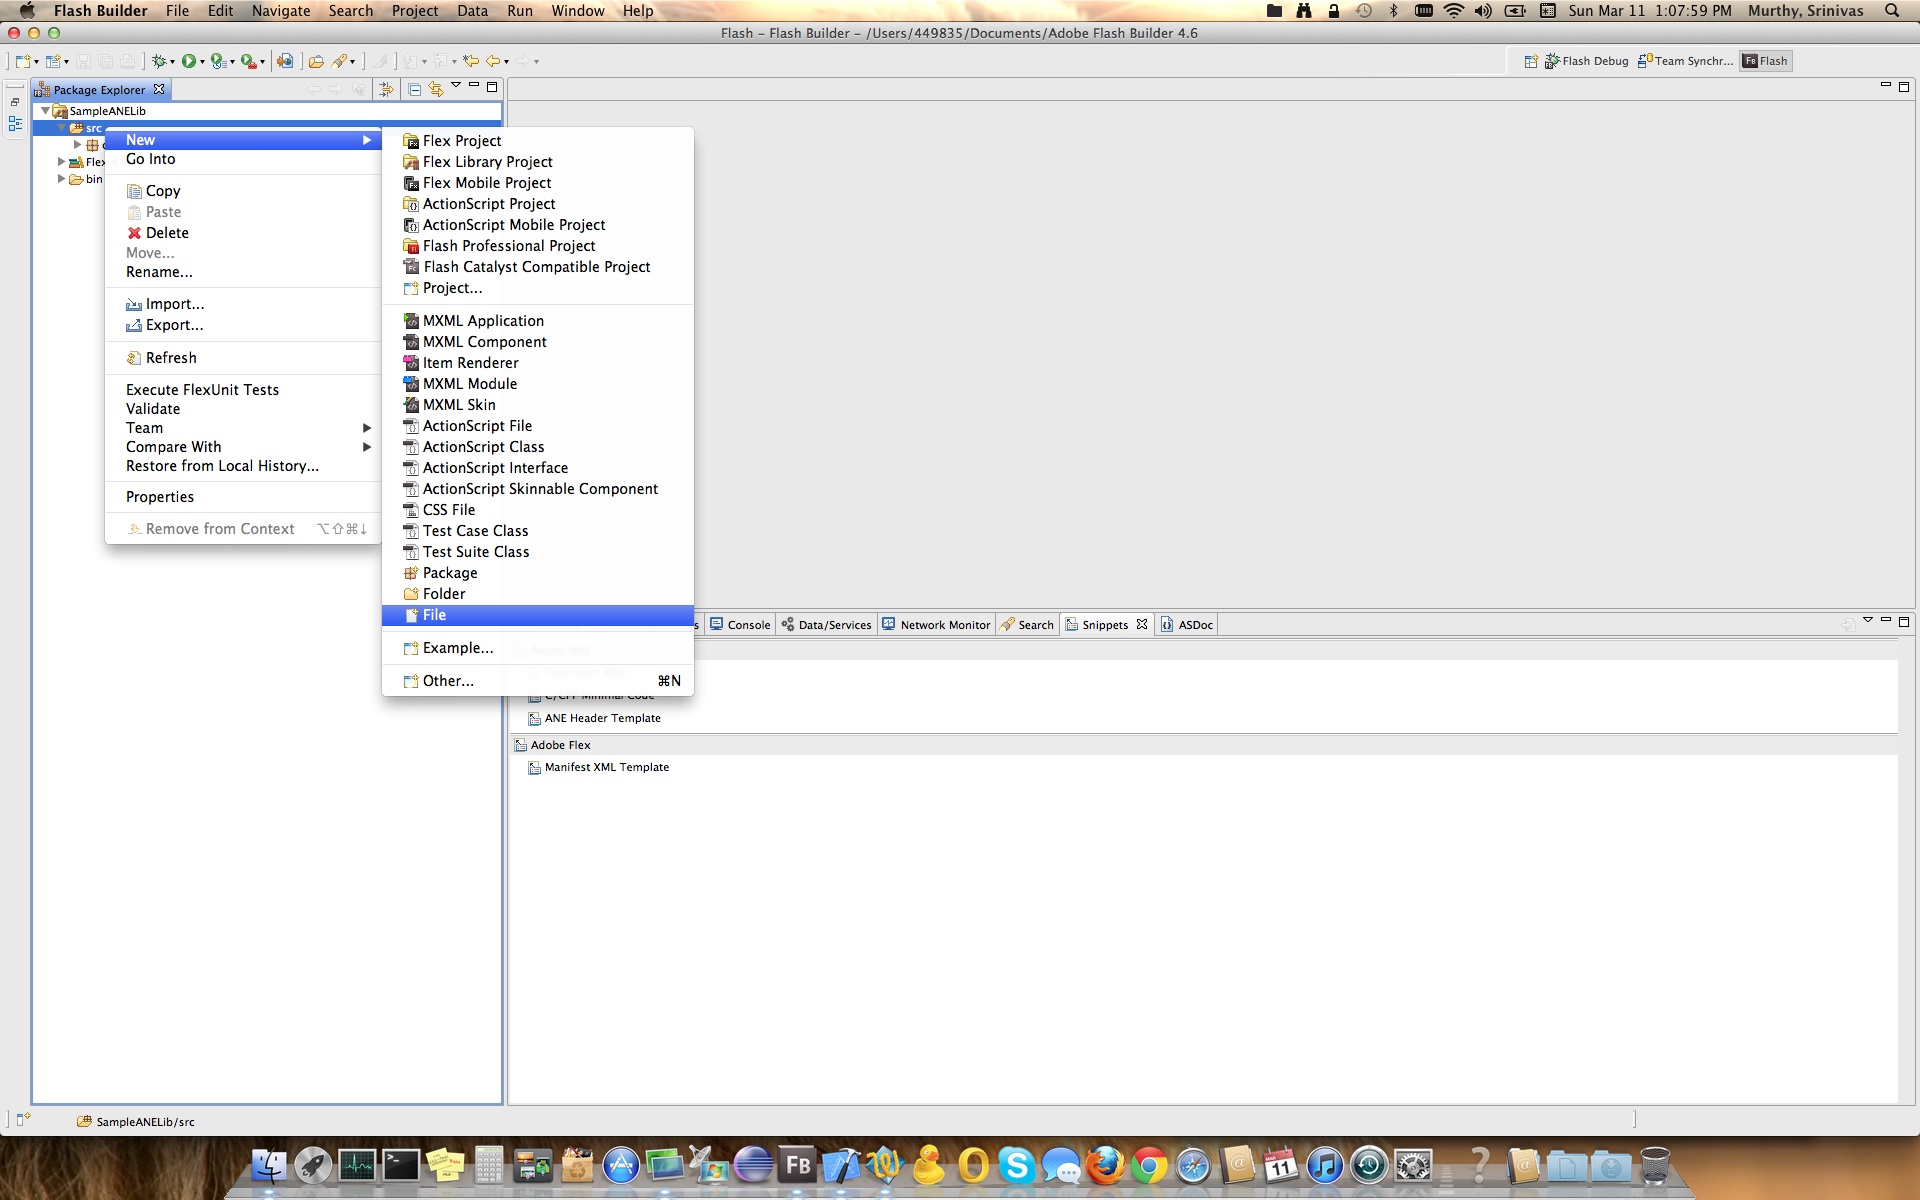
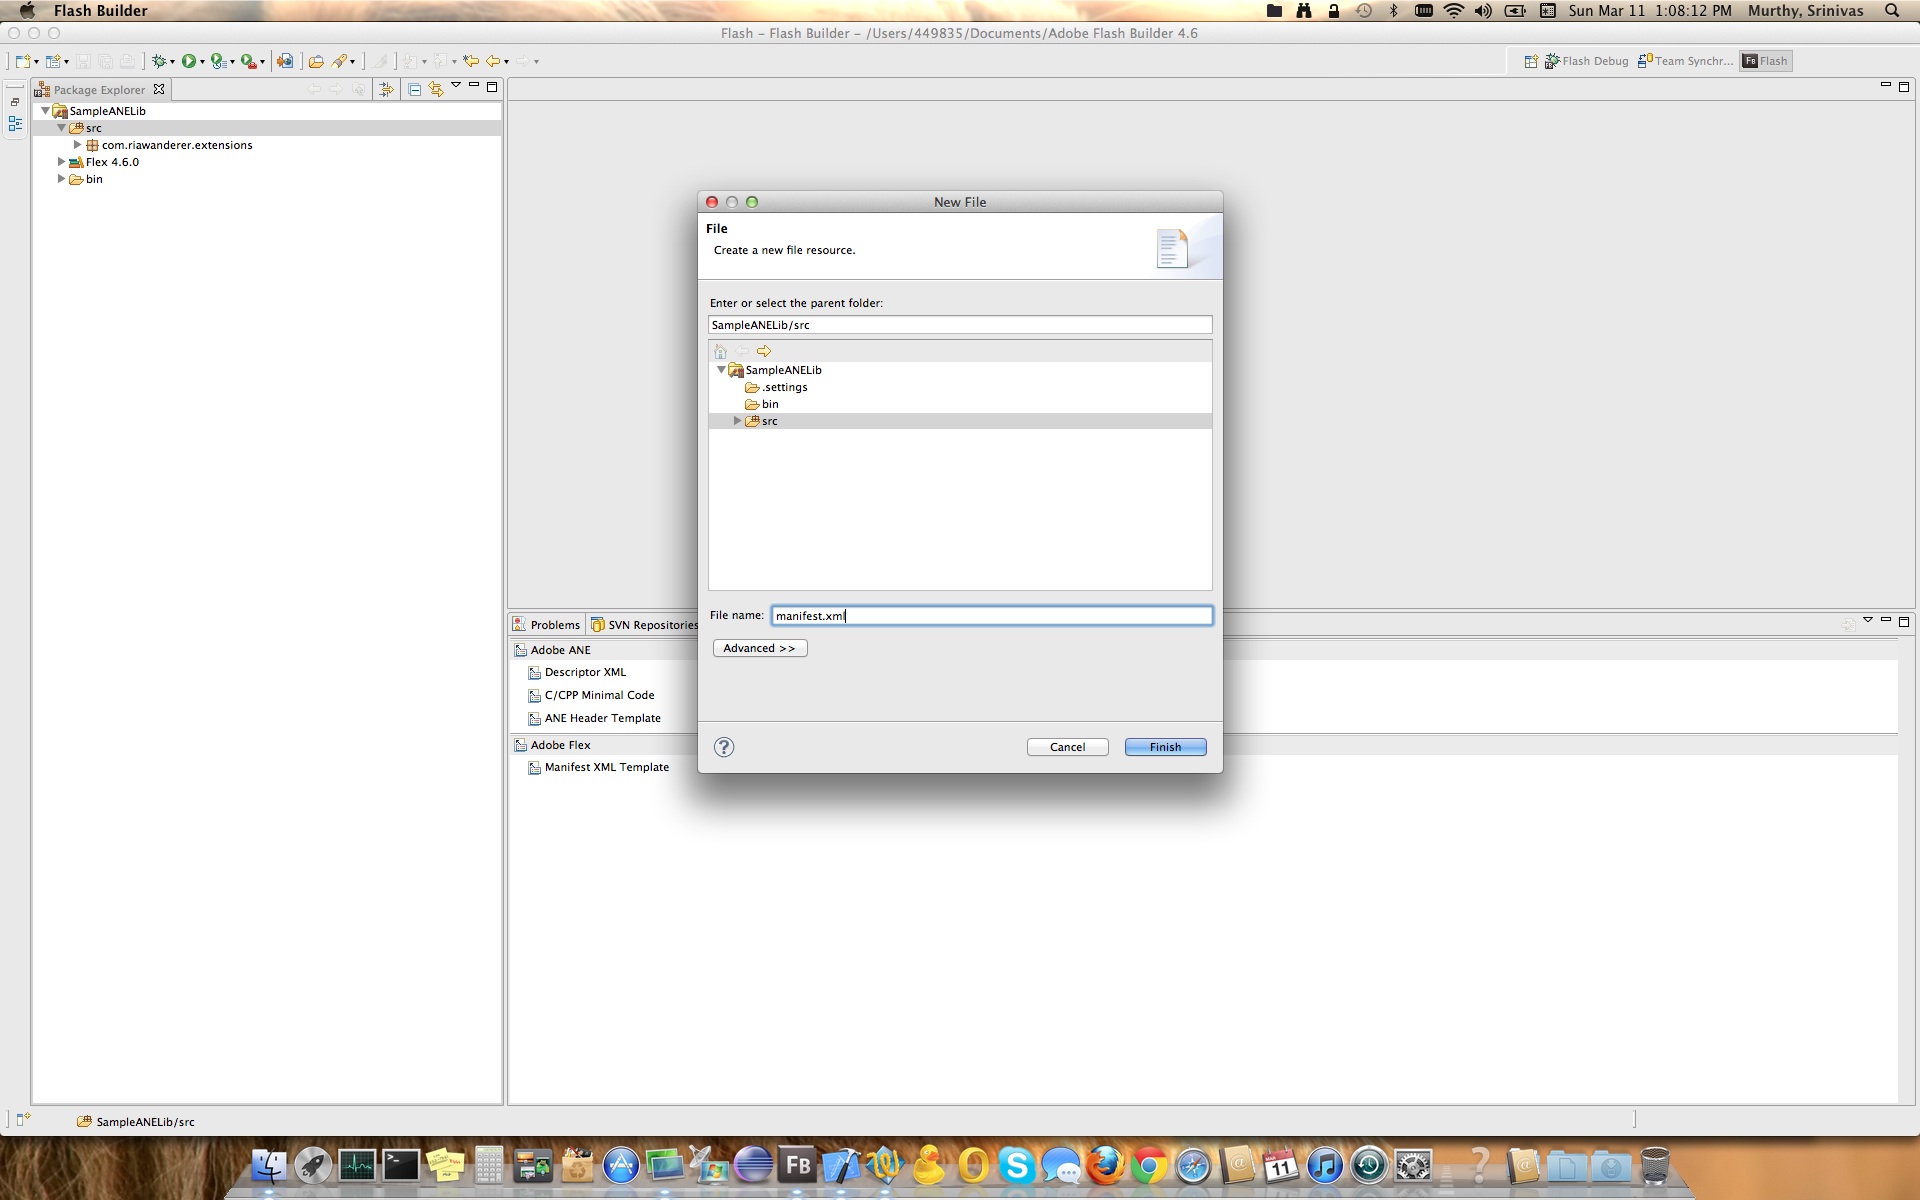
Now that we have our extension & library which connects or acts like a wrapper, let’s build ANE which would be used in our demo project later. For doing so I prefer to have my ANEBuild folder inside the library project, hence if you see above screen shot, you would find a folder ANEBuild under the project. If you haven’t observed the screen shot and added that folder already, please do so & then follow bellow screen shots for building the ANE.

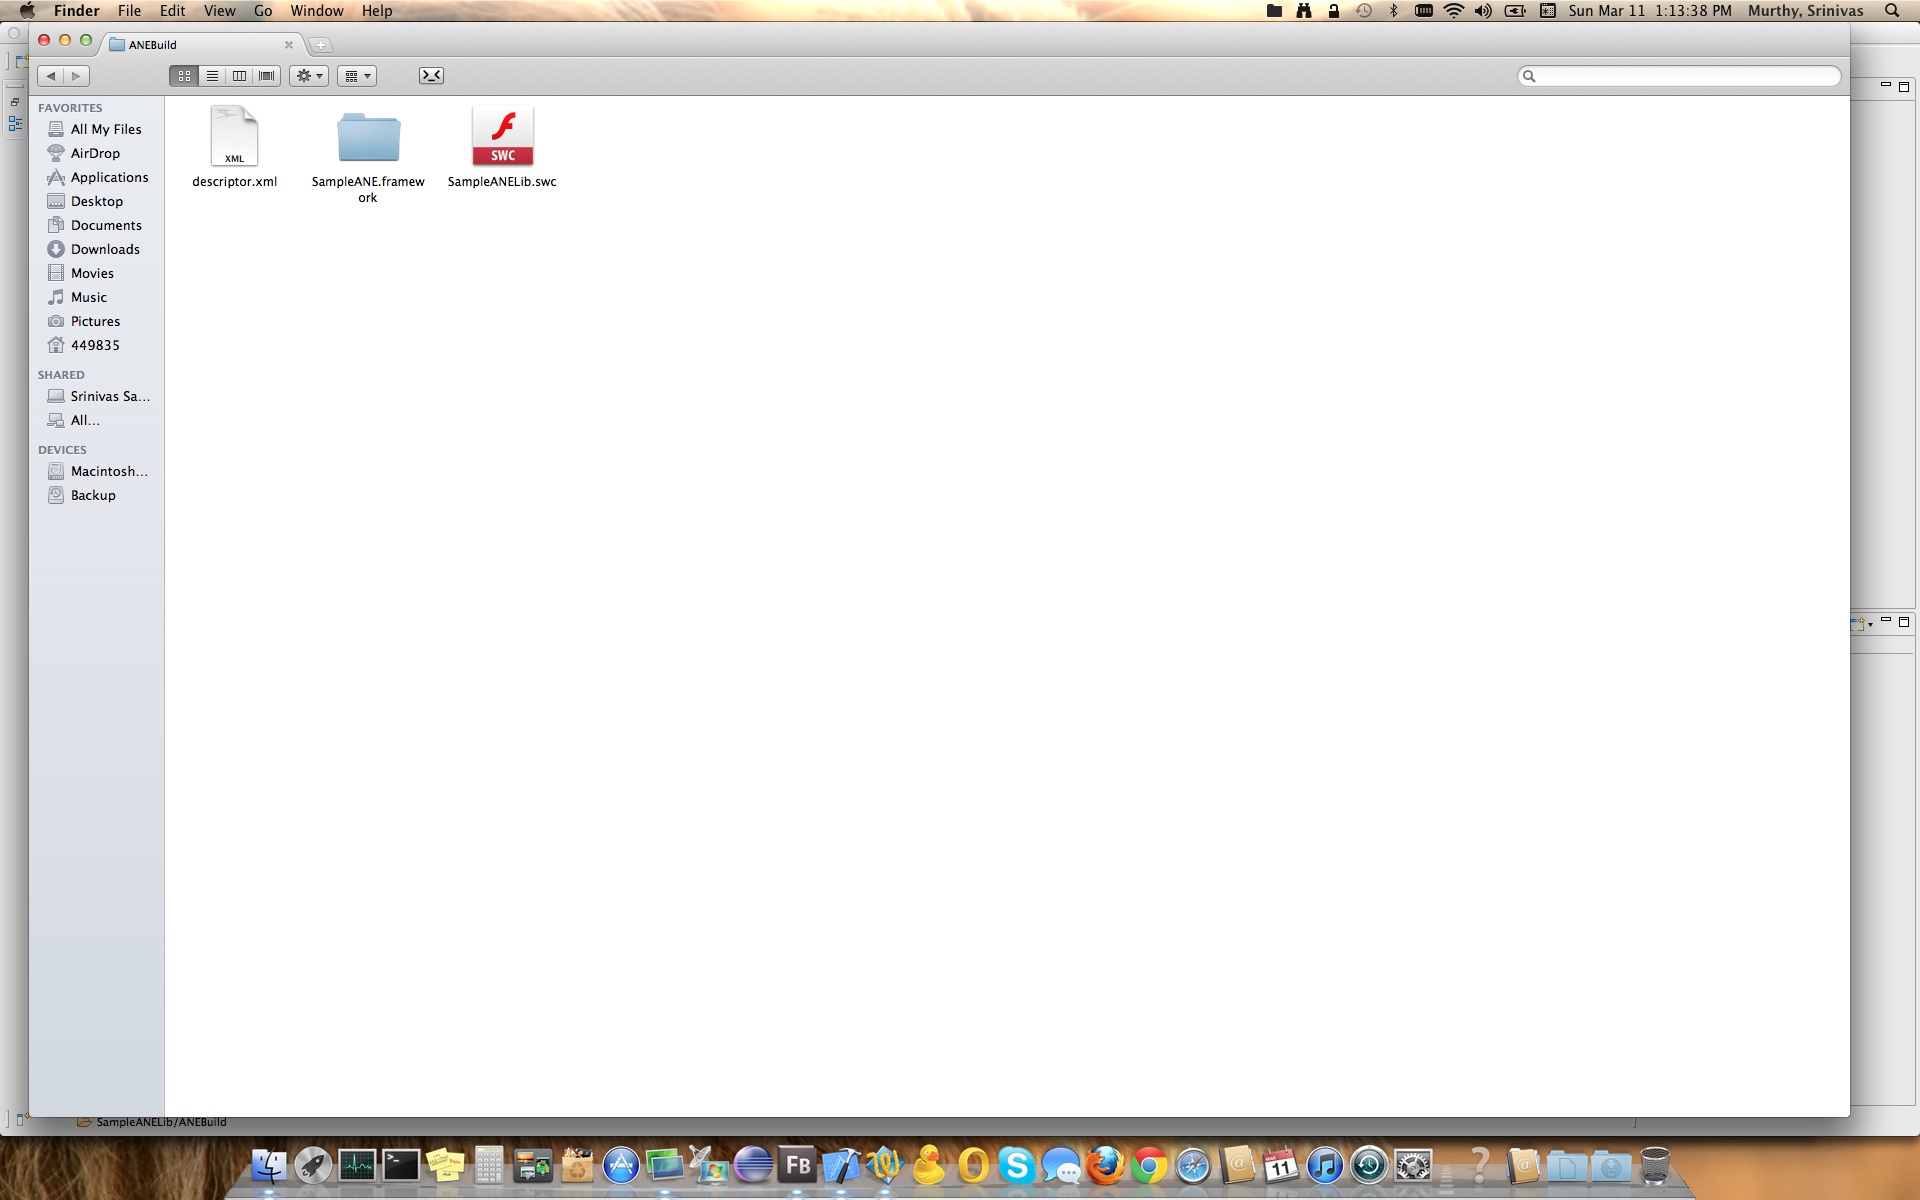
Now that you have created the folder, Browse through your finder and reach ANEBuild. Here you need to copy the SampleANELib.swc [Output of Flex Library project], SampleANE.framework [Output of the Xcode project] & descriptor.xml which holds the definition for the ANE [You will get this along side the source code at the end of the post]. Note: If you have problems locating the SampleANE.framework, use the menu’s in Xcode [XCode > Preferences > Locations > Locations], look for Derived Data path & you would navigate their to find you SampleANE.framework.
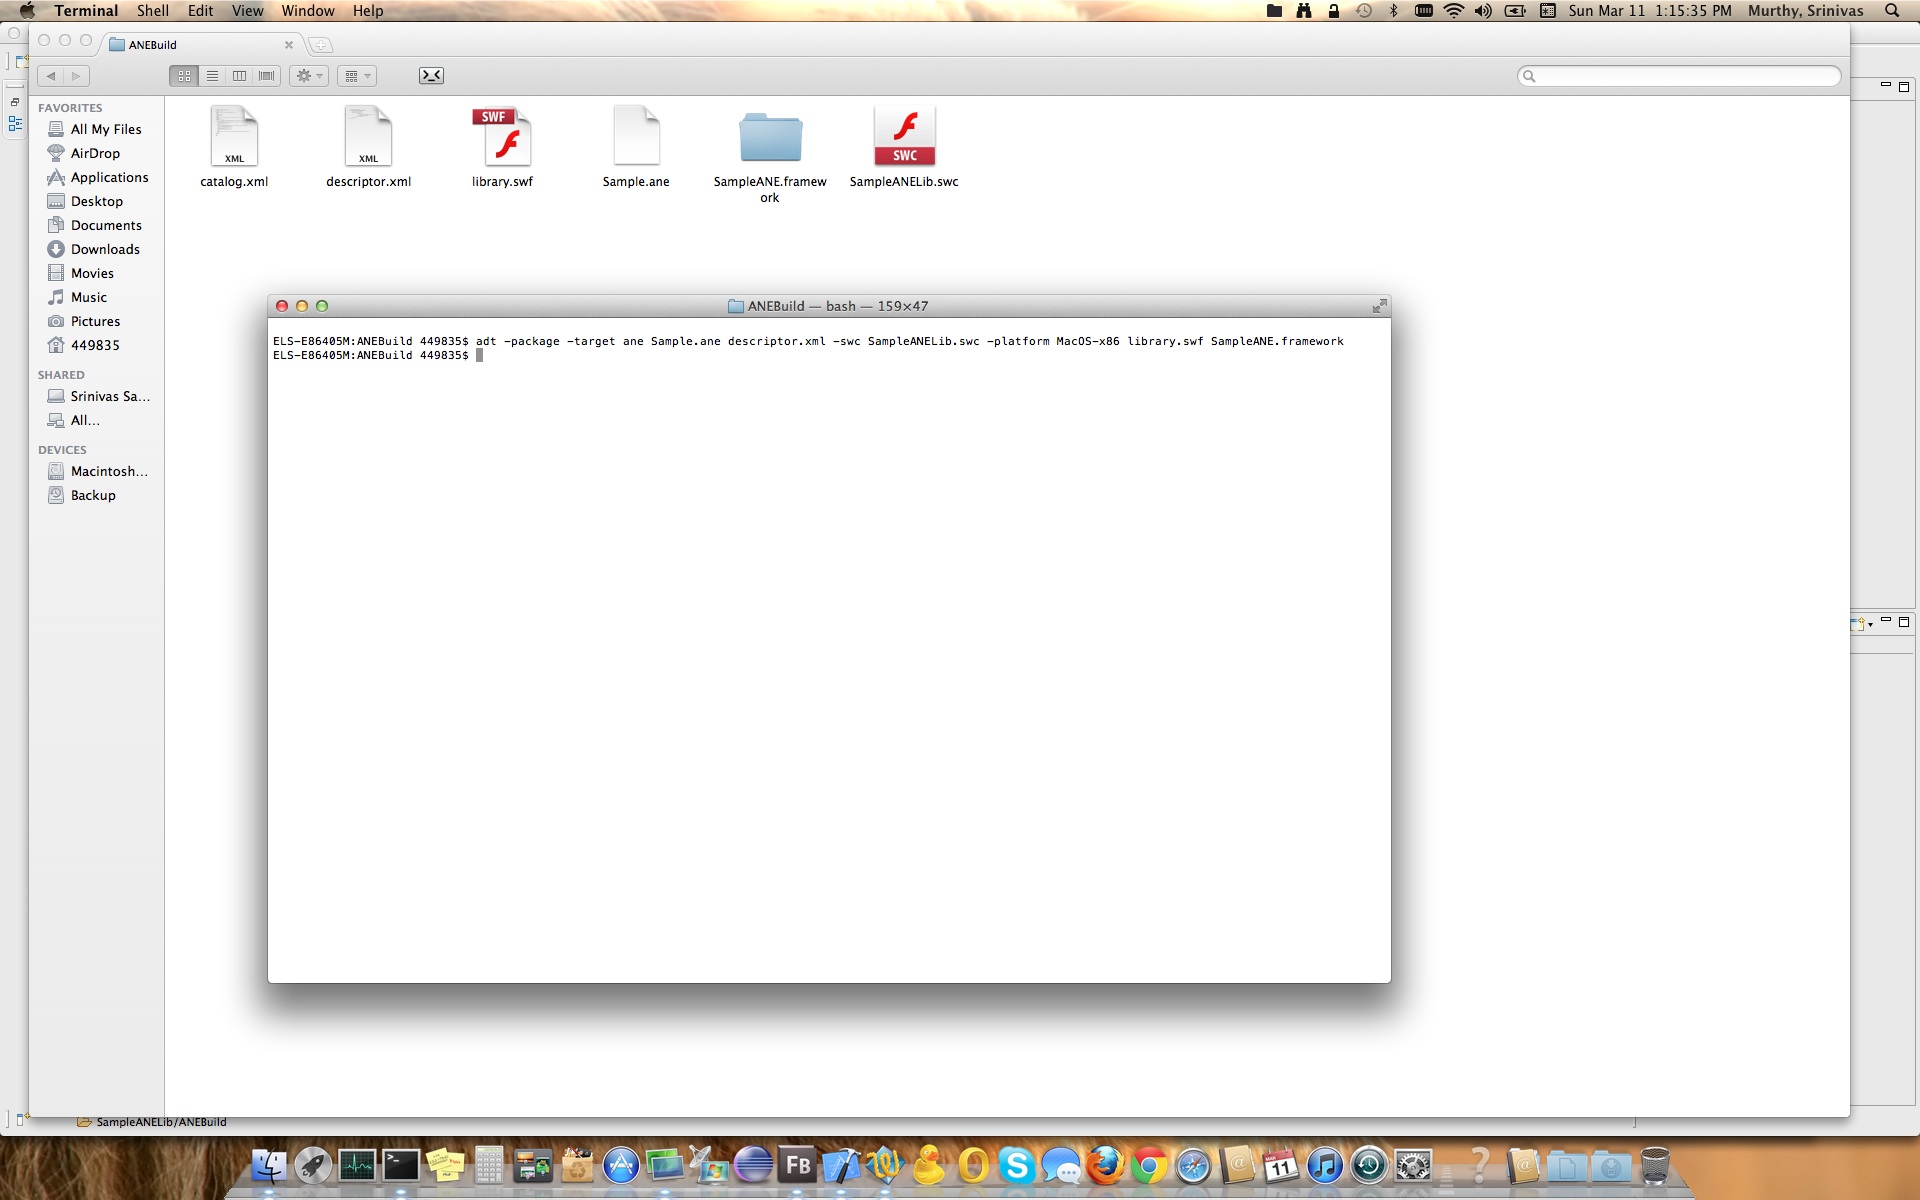
Now that our ANEBuild folder is set, building the ANE takes couple of seconds. For this we need to switch gears to command line. In order to work with command line tools, you need to ensure that Flex SDK path is present in system path variable, you will do so by using EXPORT command.
- Open Terminal
- Type “export PATH=$PATH:/Applications/Adobe\ Flash\ Builder\ 4.6/sdks/4.6.0/bin” & then press enter, this should add Flex SDK path temporarily for this session of Terminal
- Check by using “echo $PATH”
Now that we have set SDK path, first step in building ANE is that we need unzip the contents of SampleANELib.swc, this you could do by using JAR command as show below screen shot
[command : JAR -xf SampleANELib.swc catalog.xml library.swf].

Next building the actual ANE. use adt command as follows [Command : adt -package -target ane Sample.ane descriptor.xml -swc SampleANELib.swc -platform MacOS-x86 library.swf SampleANE.framework]
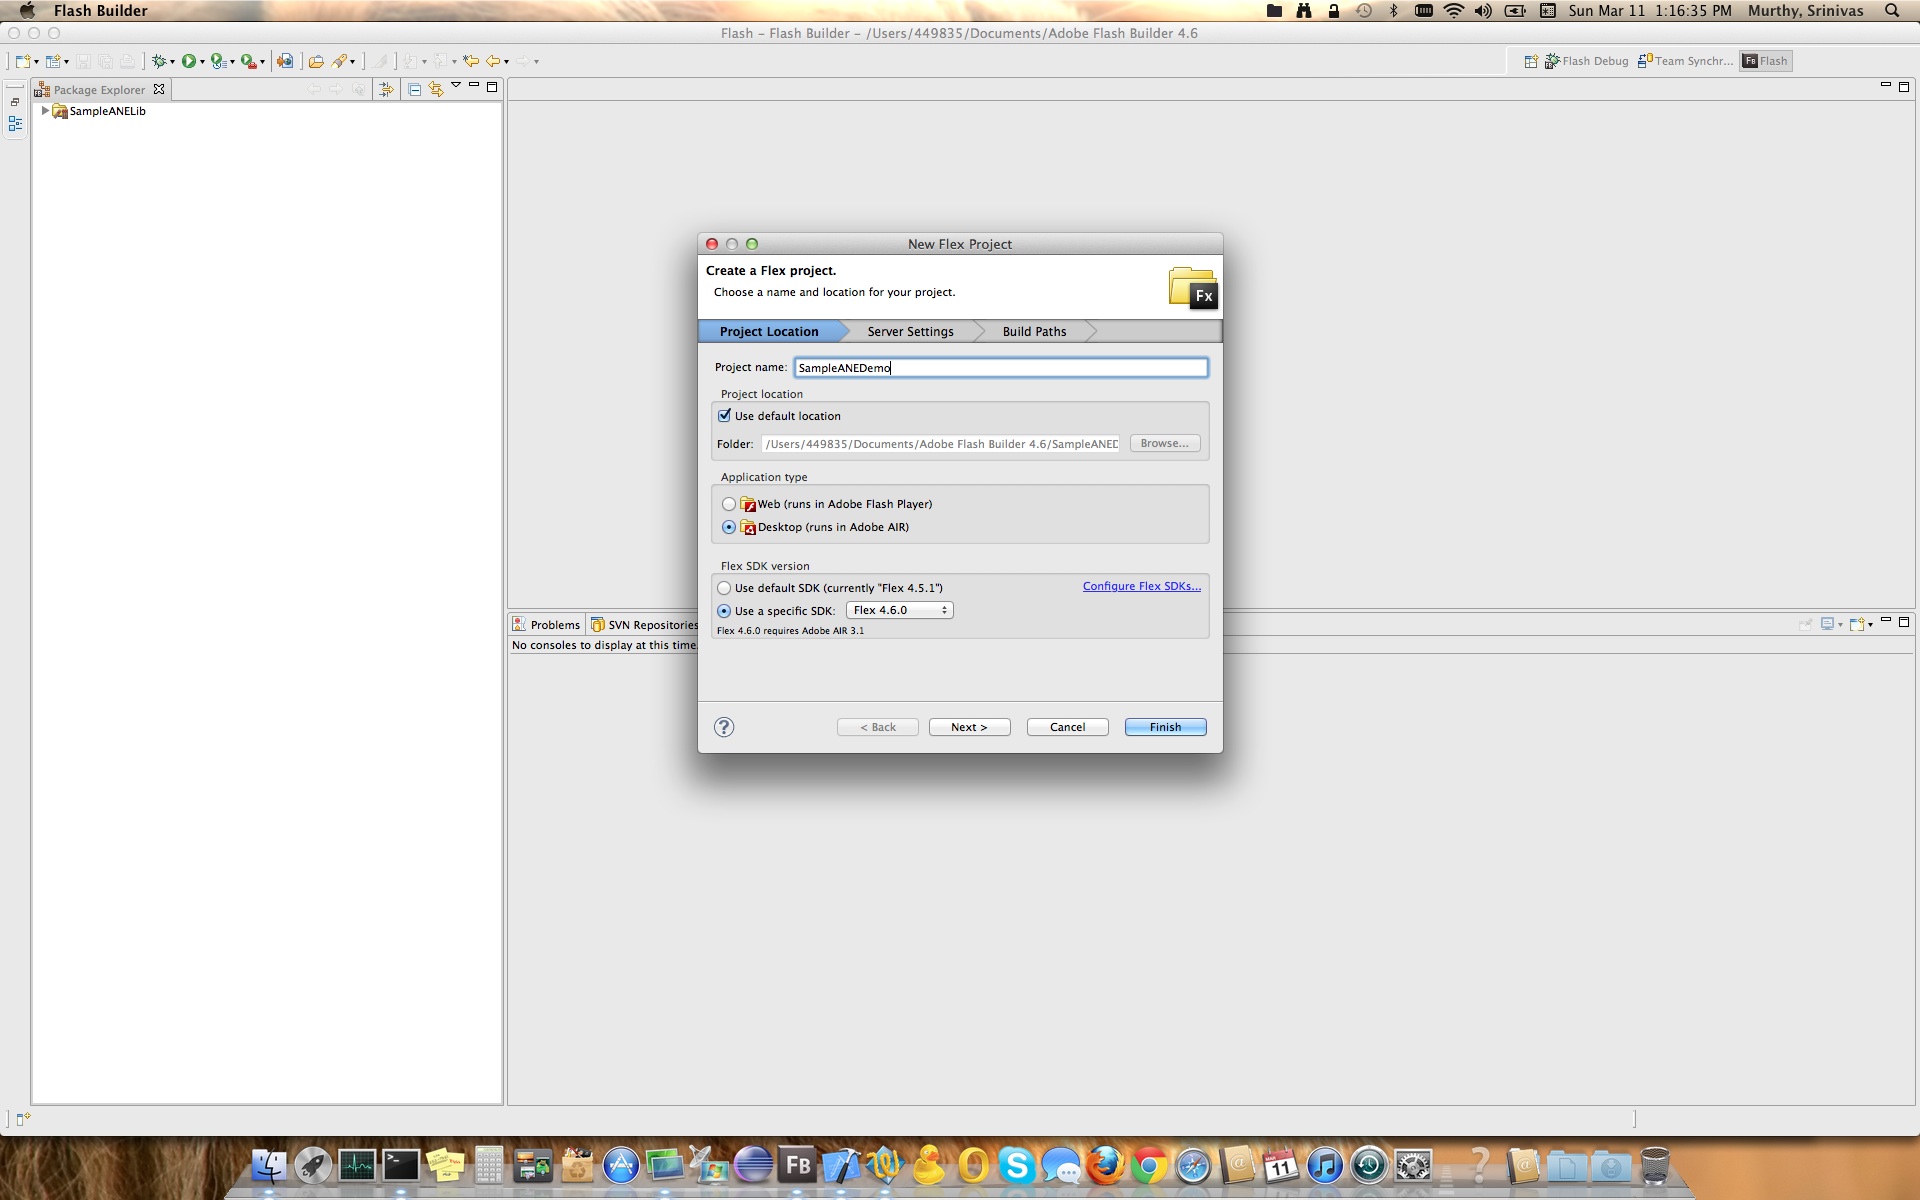
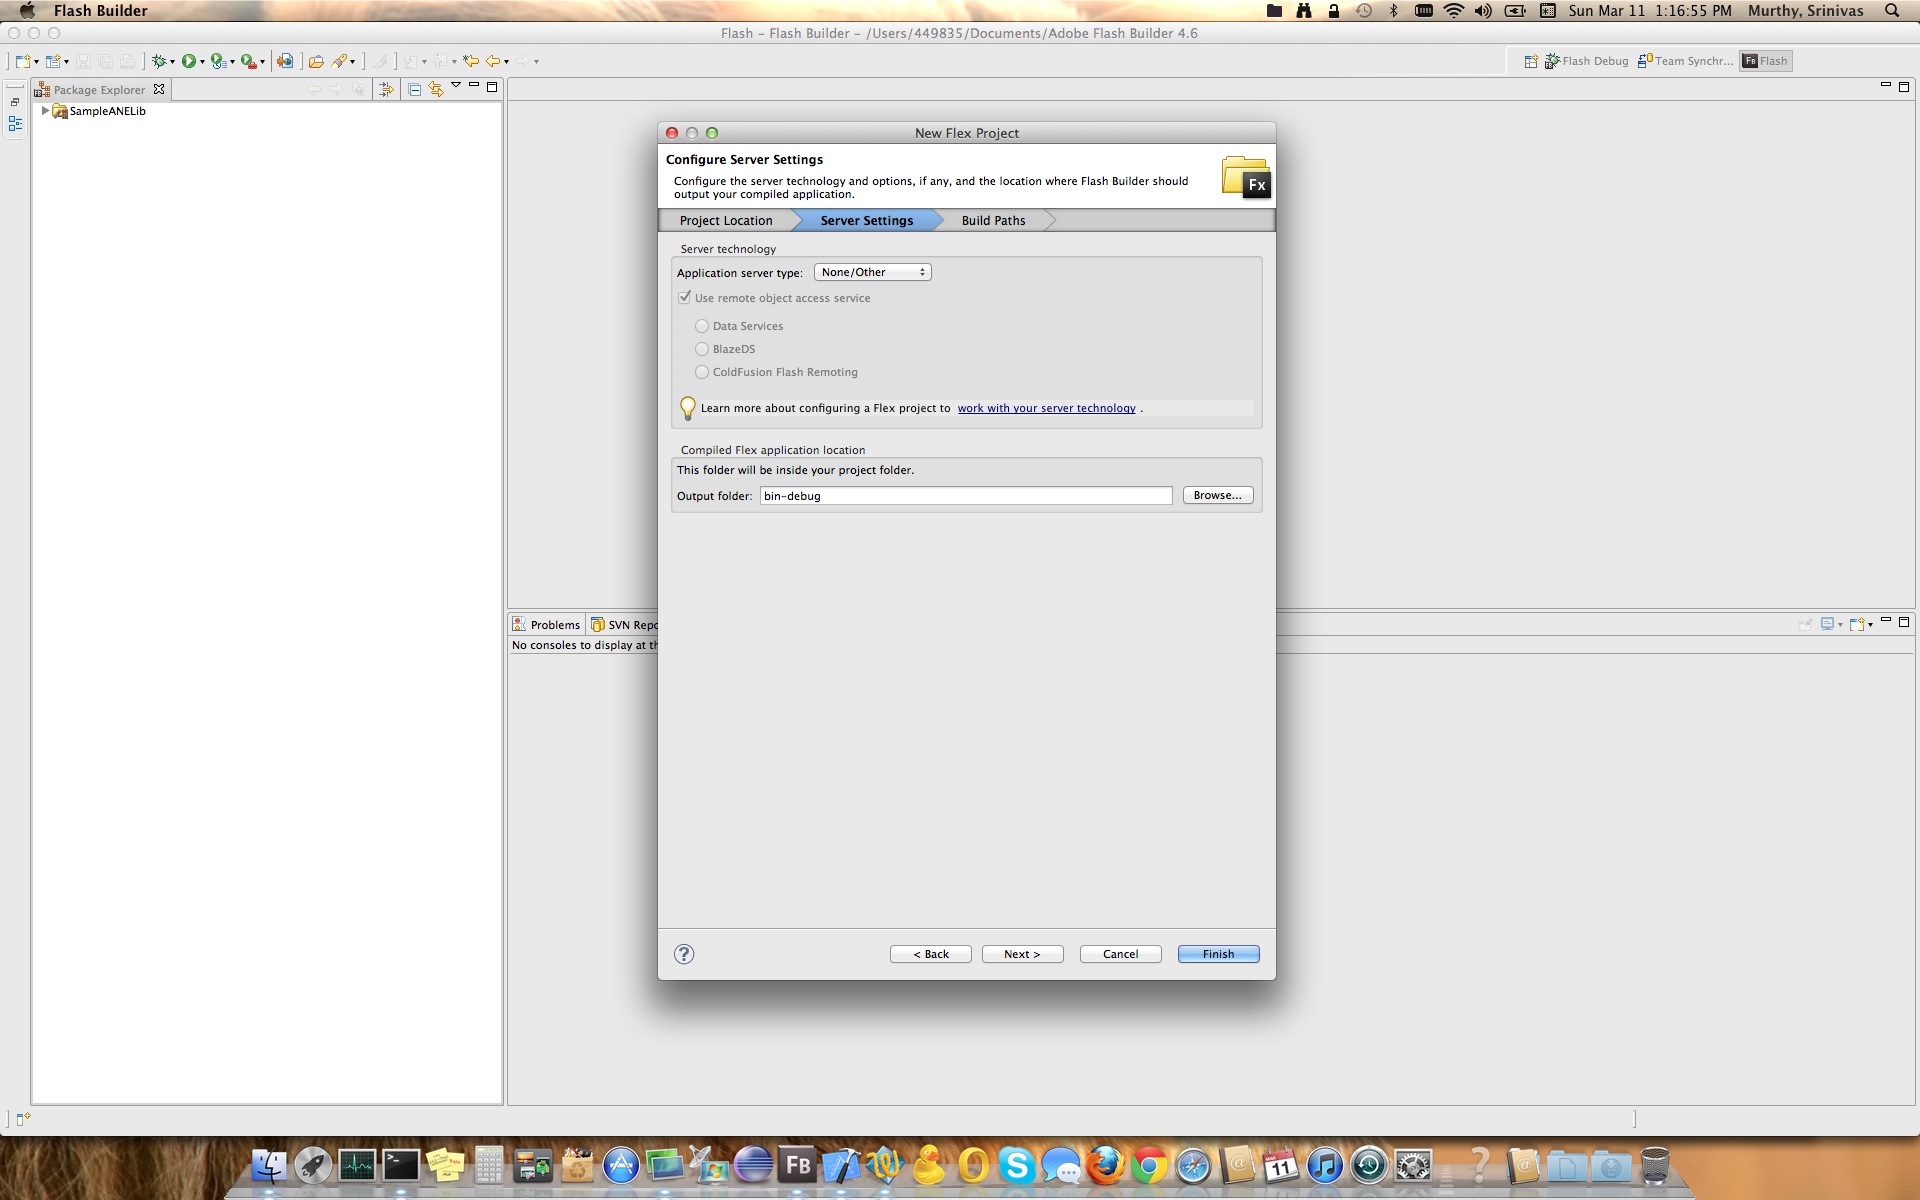
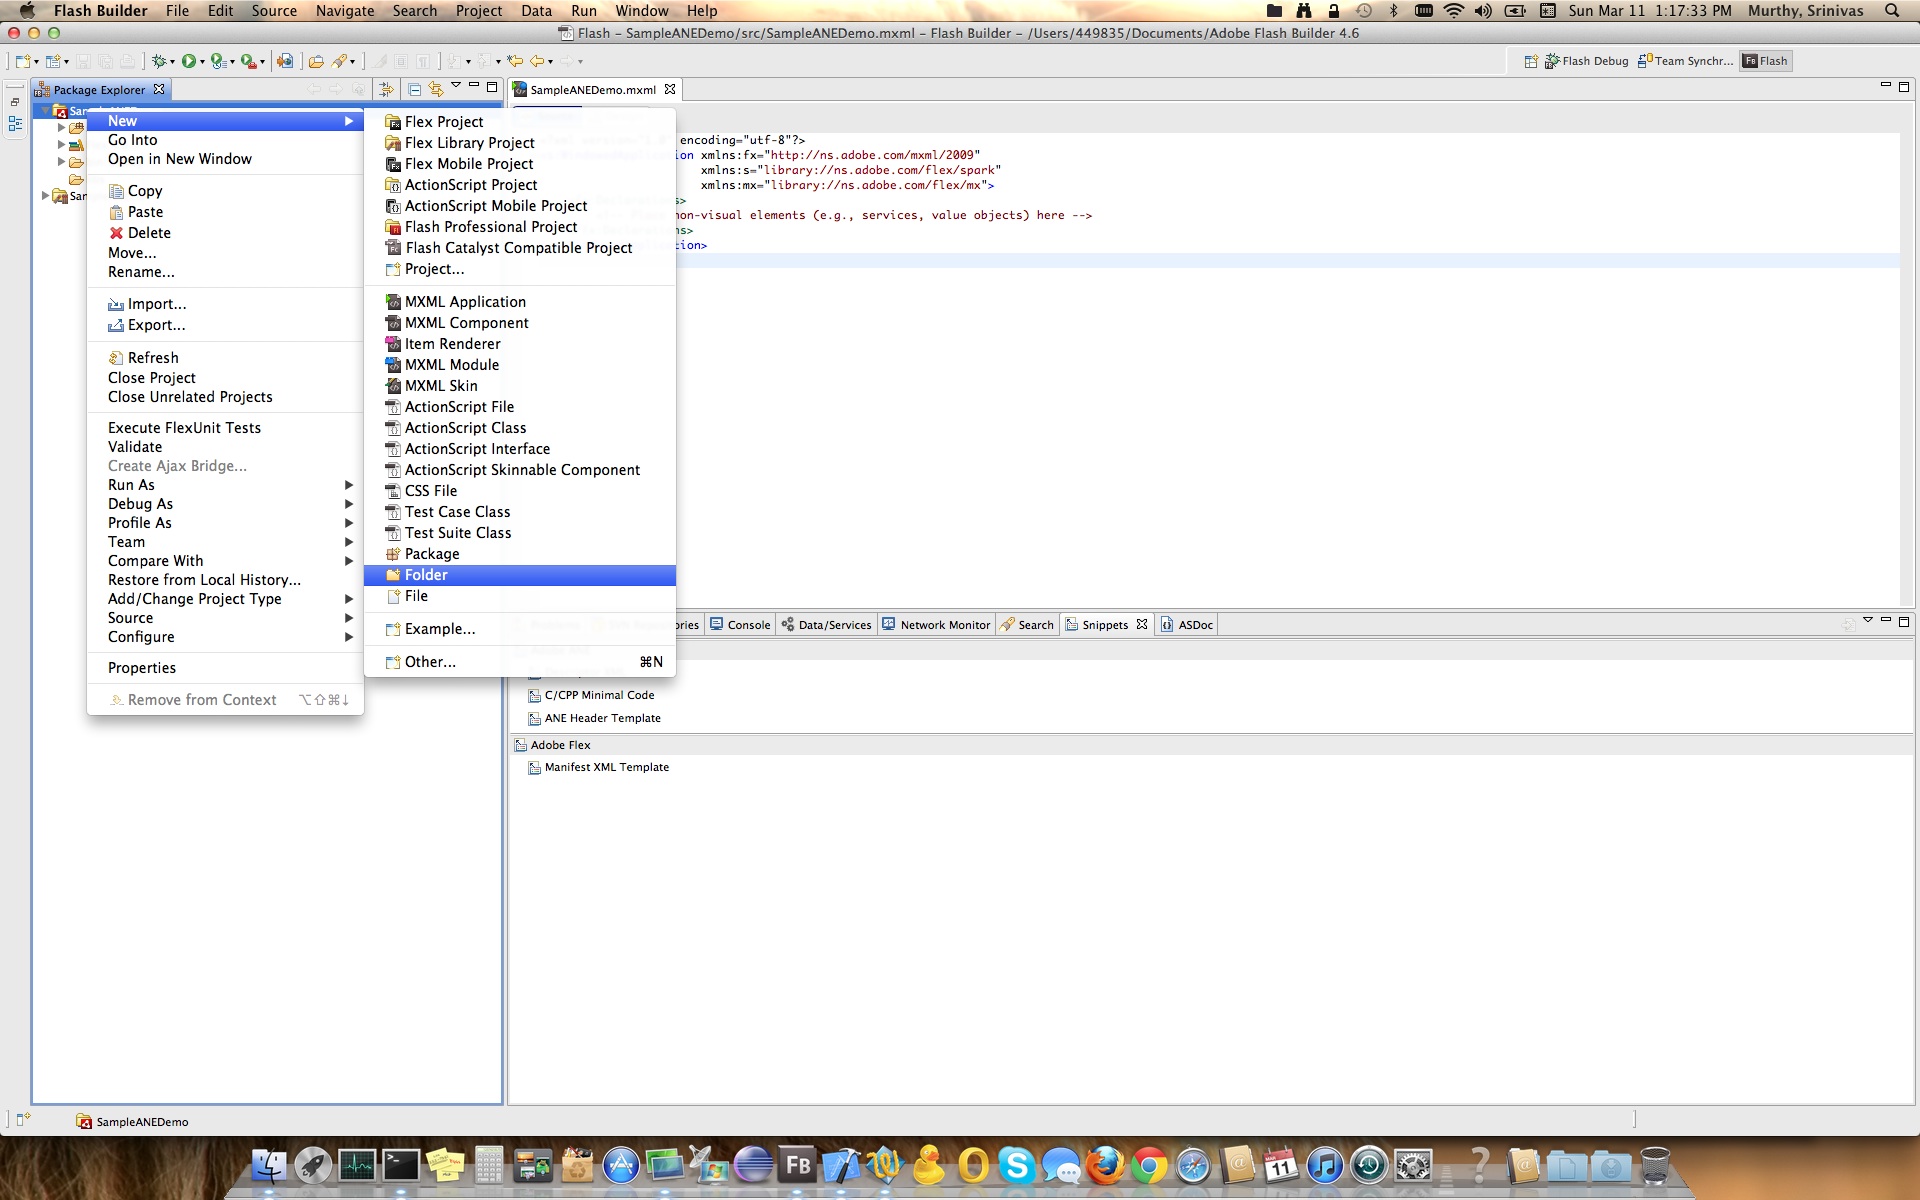
This would generate Sample.ane file which we will be using in our demo project. So without any further more delays let’s create a sample demo project to test our ANE. Follow below screen shots and they should be self explanatory in creating demo app.
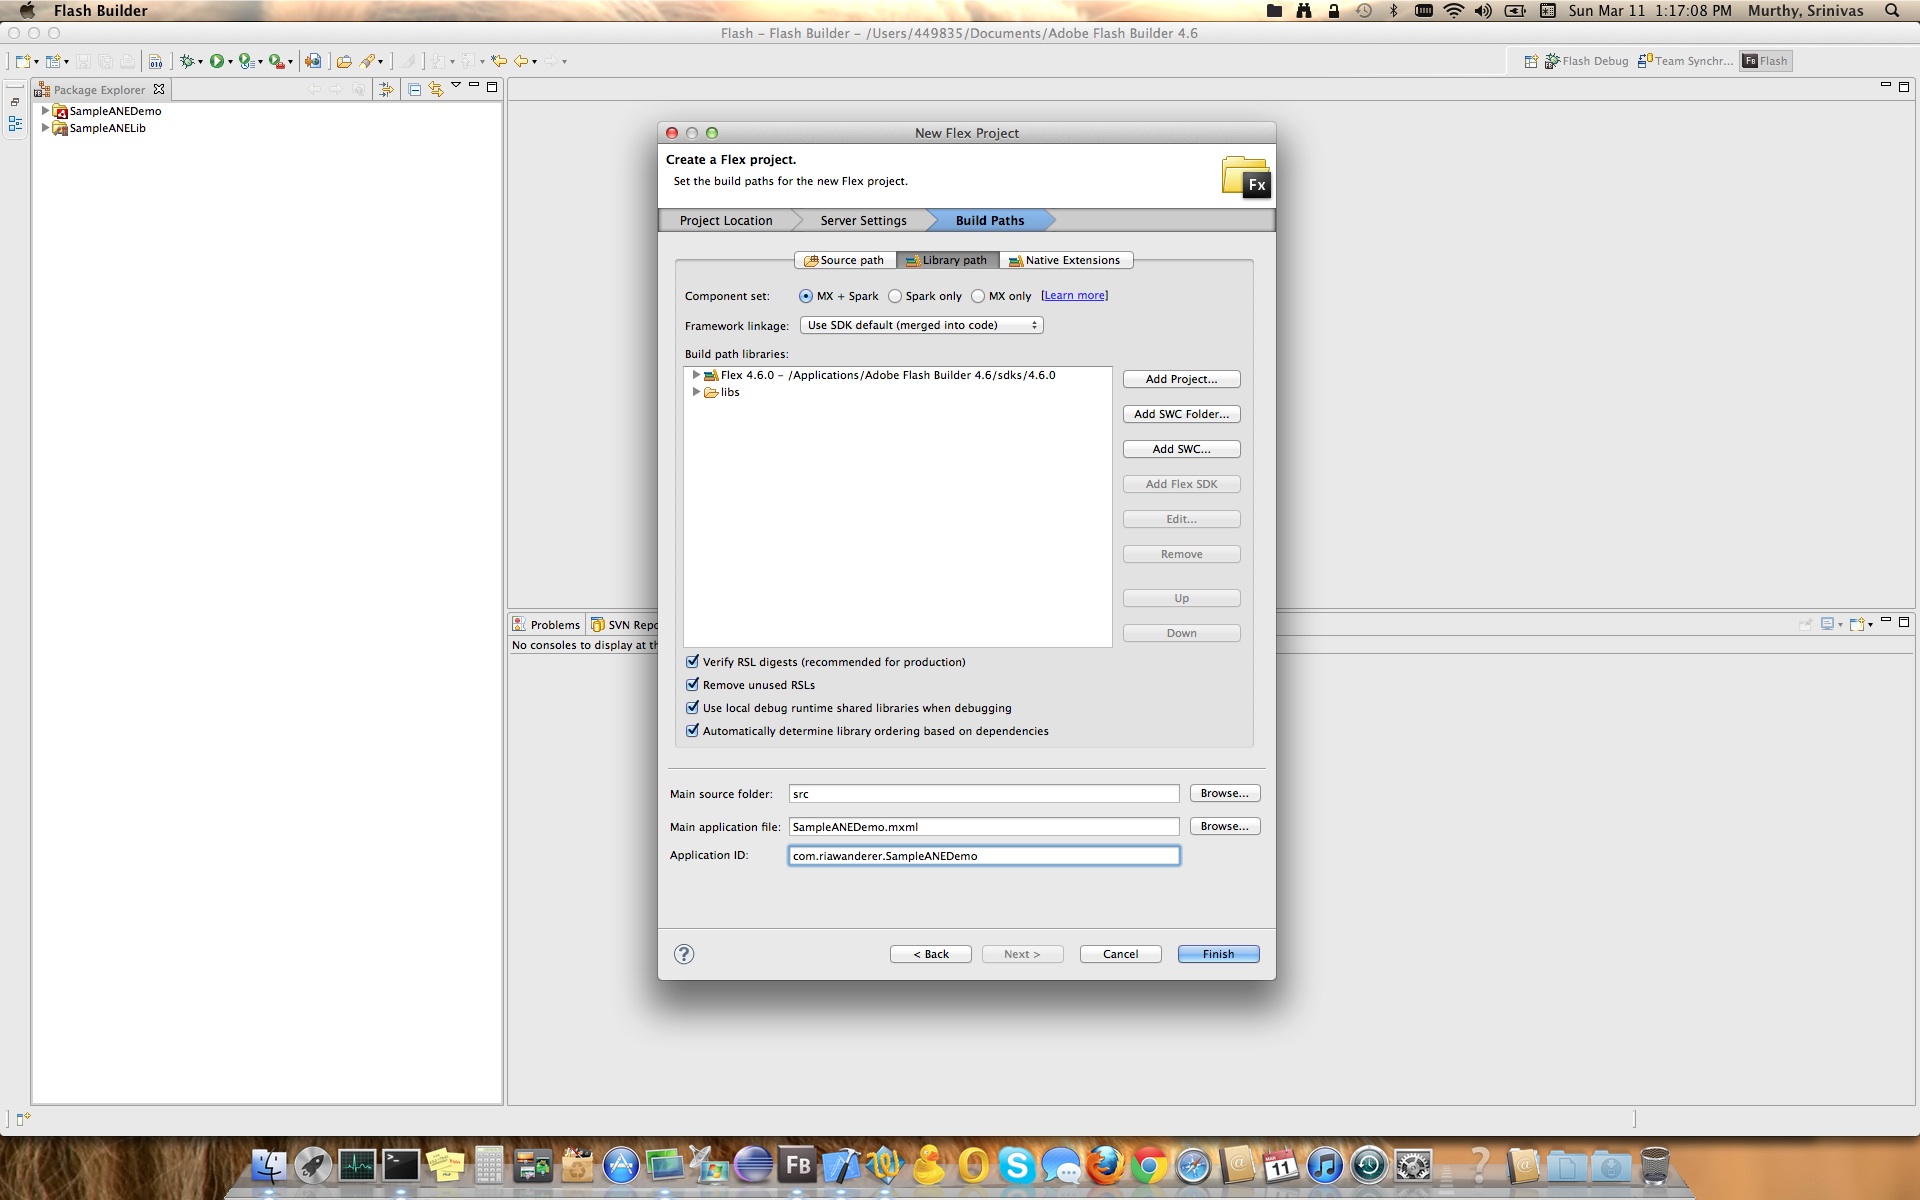
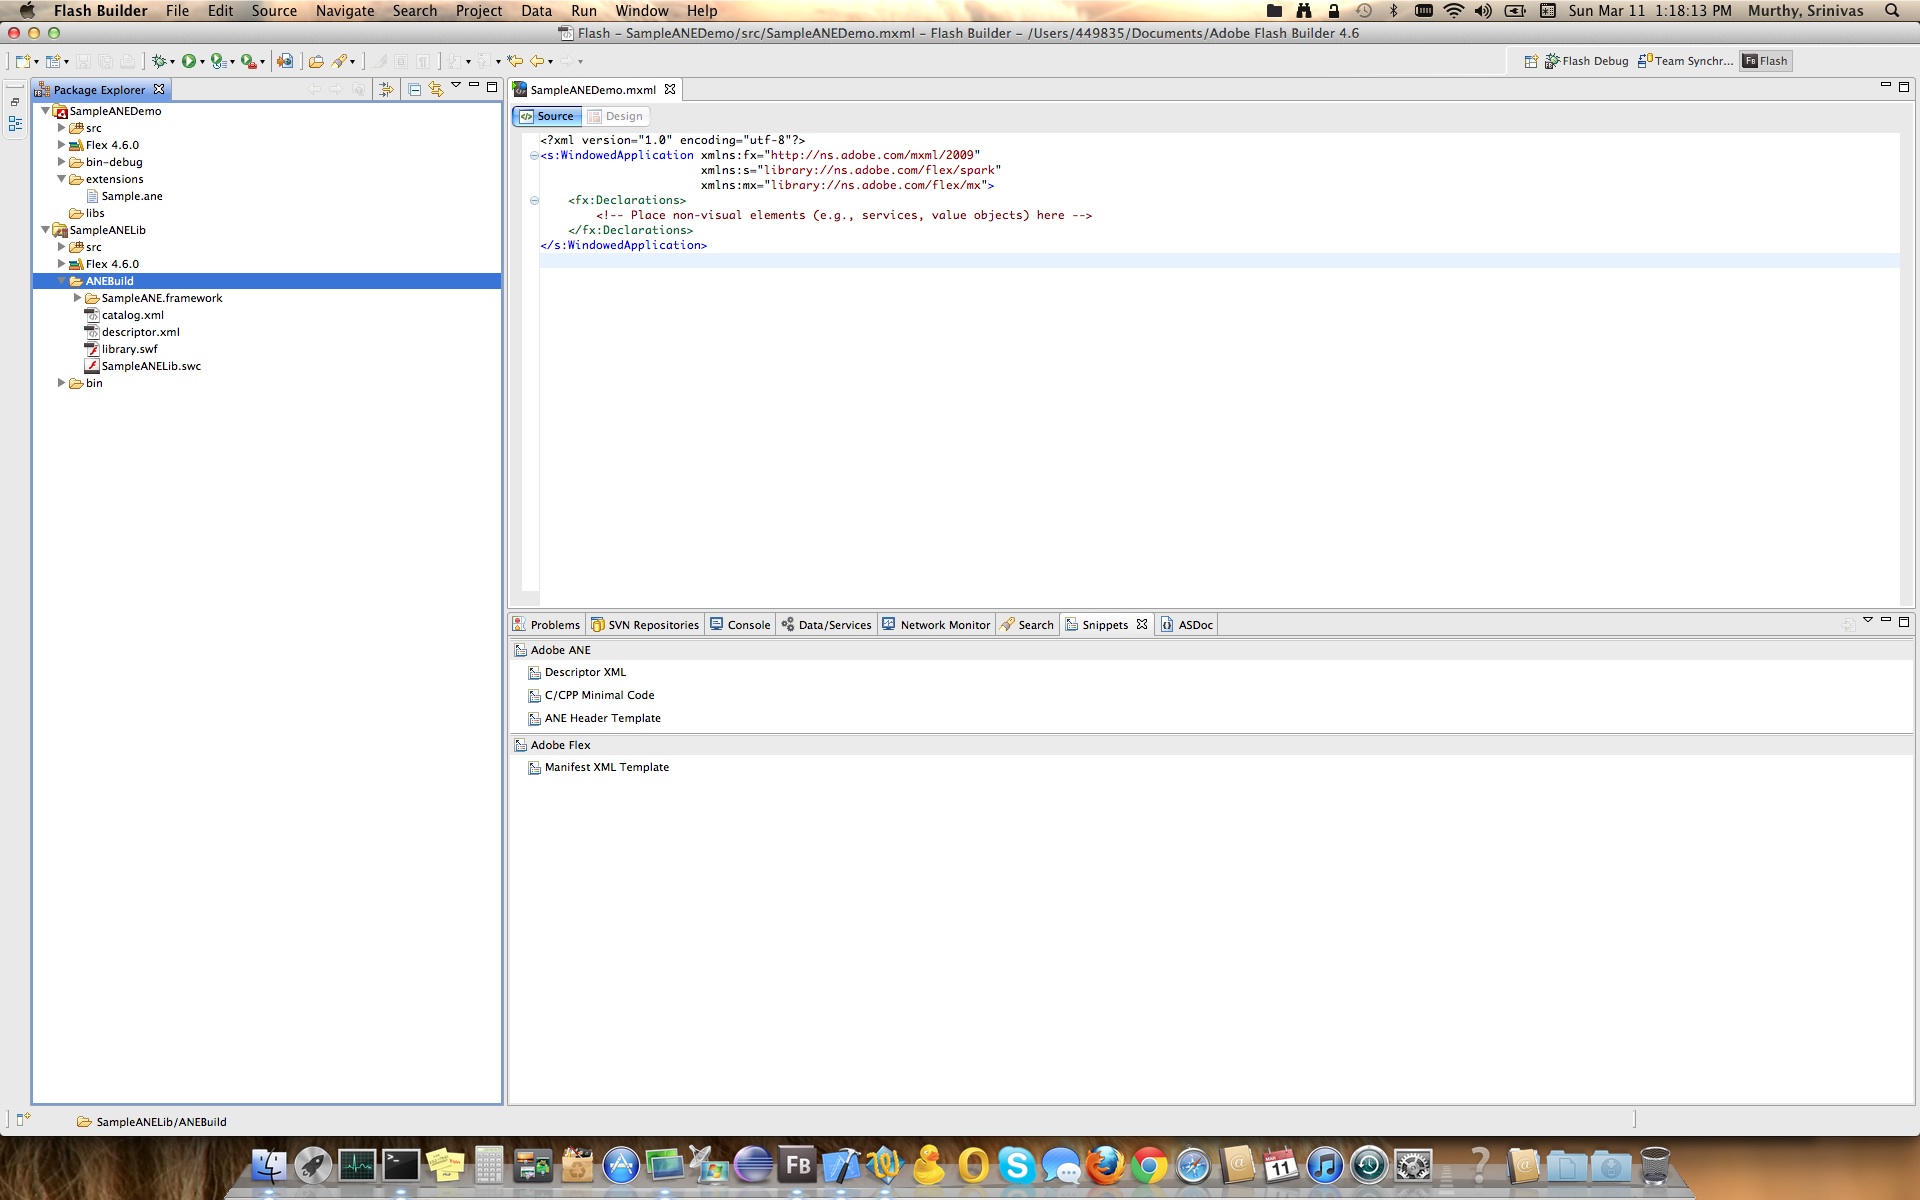
Now that we have created the project, let’s create a folder “extensions” under the project where the ANE file will be copied, this we do cause in Mac, Flex Builder 4.6 has bug which would basically doesn’t link the ANE properly and when you run your app it would complain that the methods in ANE are not defined, so we need to run the app from command line, to do so you would need ANE file to be extracted, as I like my extensions to be present in same directory as my project, we are creating this folder & extract there. You can have your own preference, but ensure while running the app & extracting the ANE, you replace my folder path with your’s.
Copy the Sample.ane from ANEBuild folder. [If you have followed the steps, then your Package Explorer should look like mine :)]
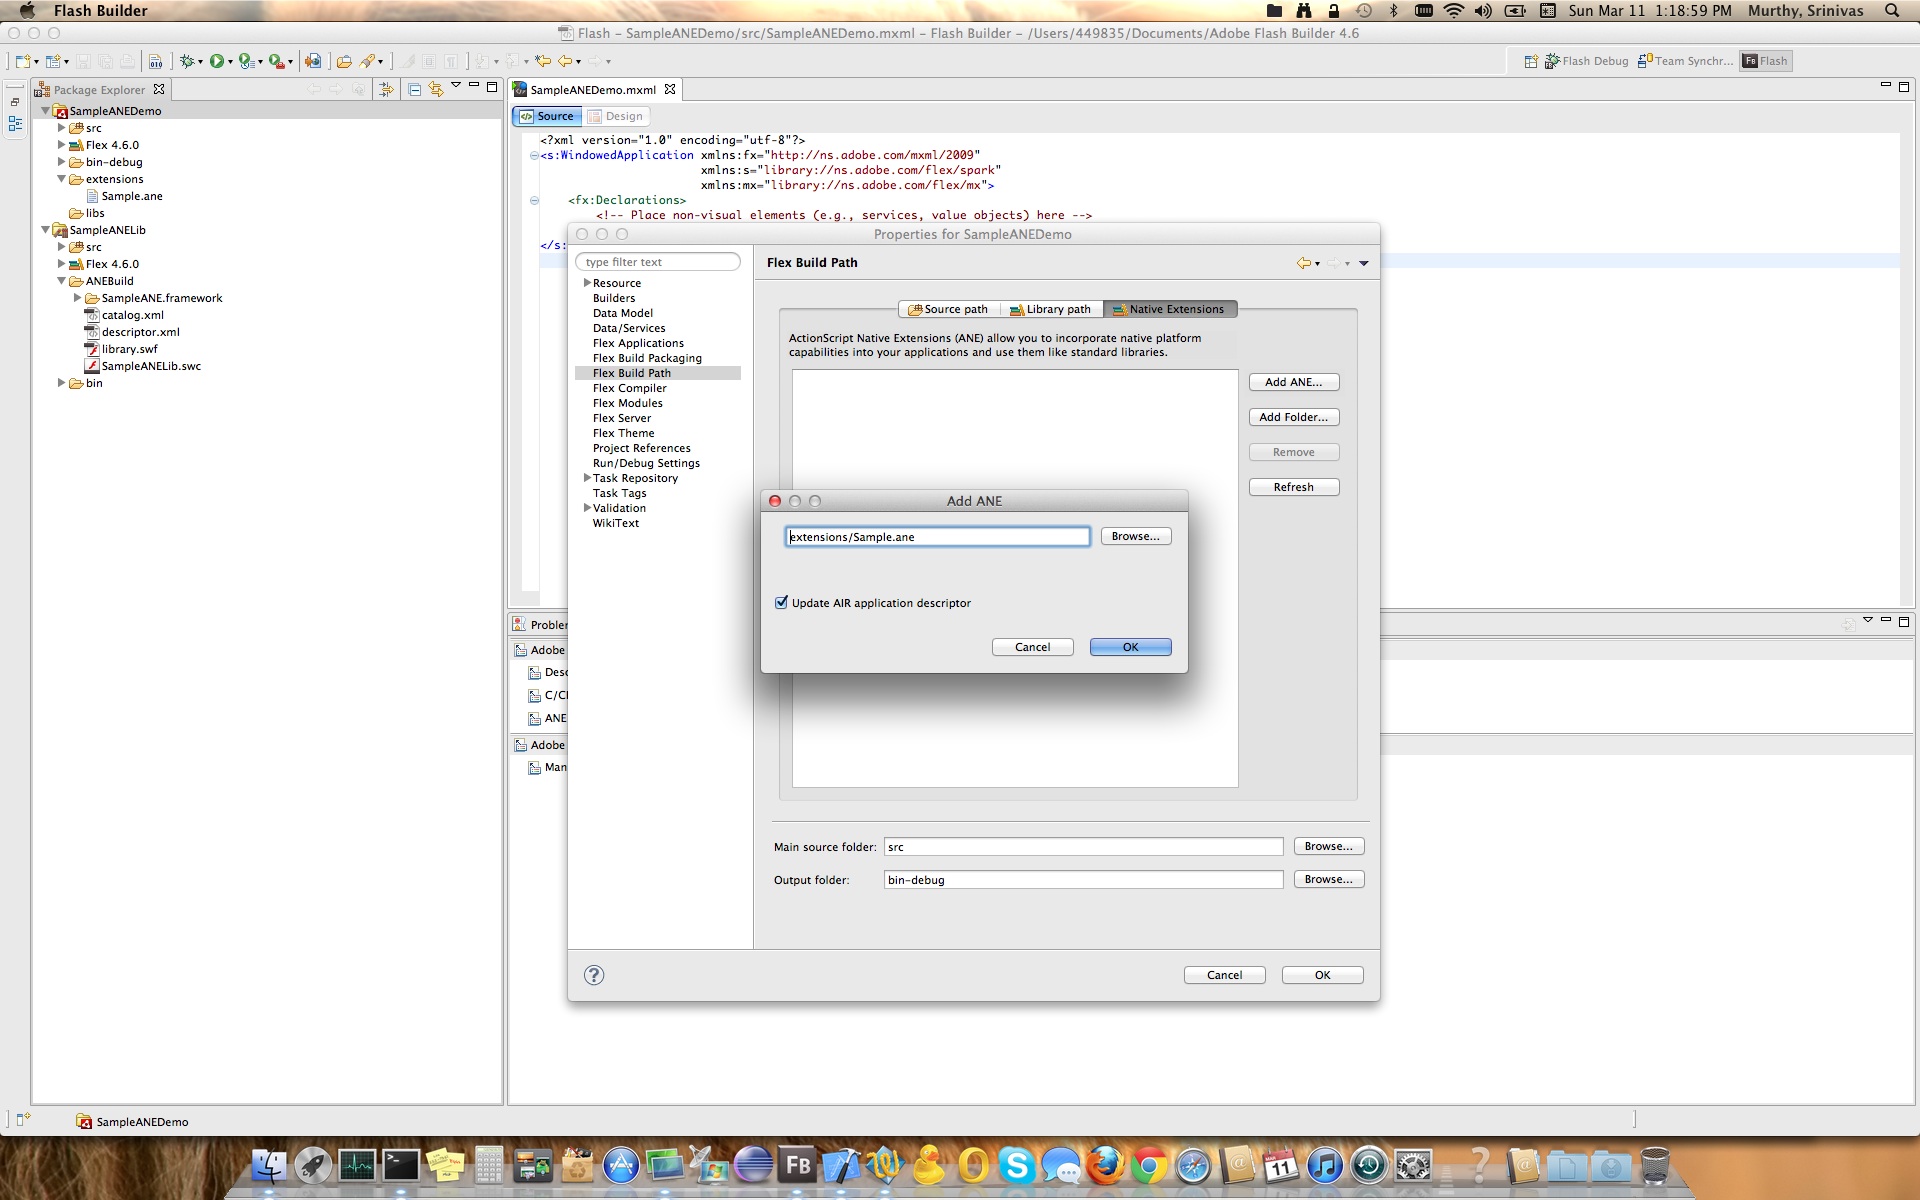
To add the ANE you just copied, go to Flex Project properties, Under Flex Build Path you find a Native Extensions Tab, Click on “Add ANE..” and add your Sample.ane as shown below.
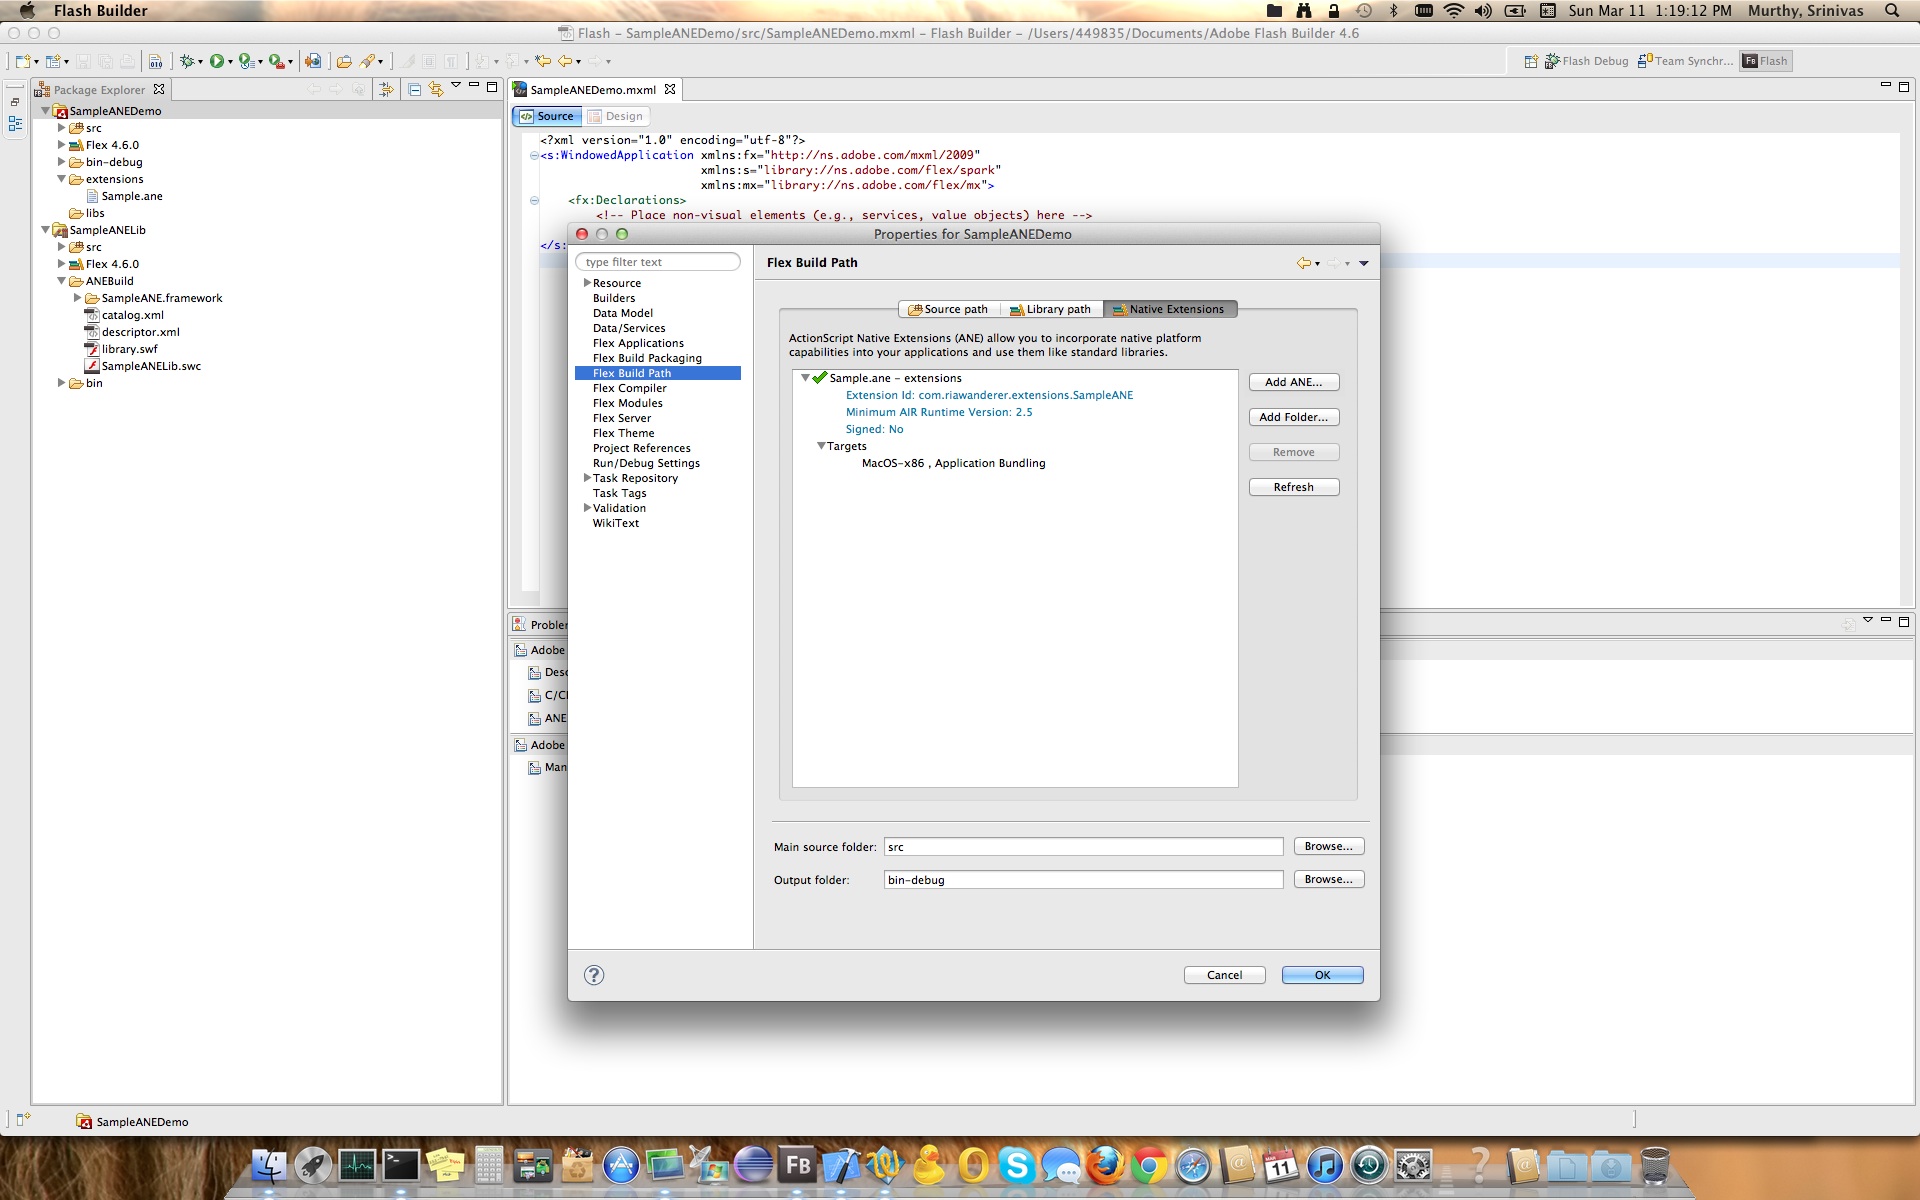
Now that we have added Sample.ane, let’s start our demo project coding, follow the below screen shots for code or you could find it in the end of this post for source code.
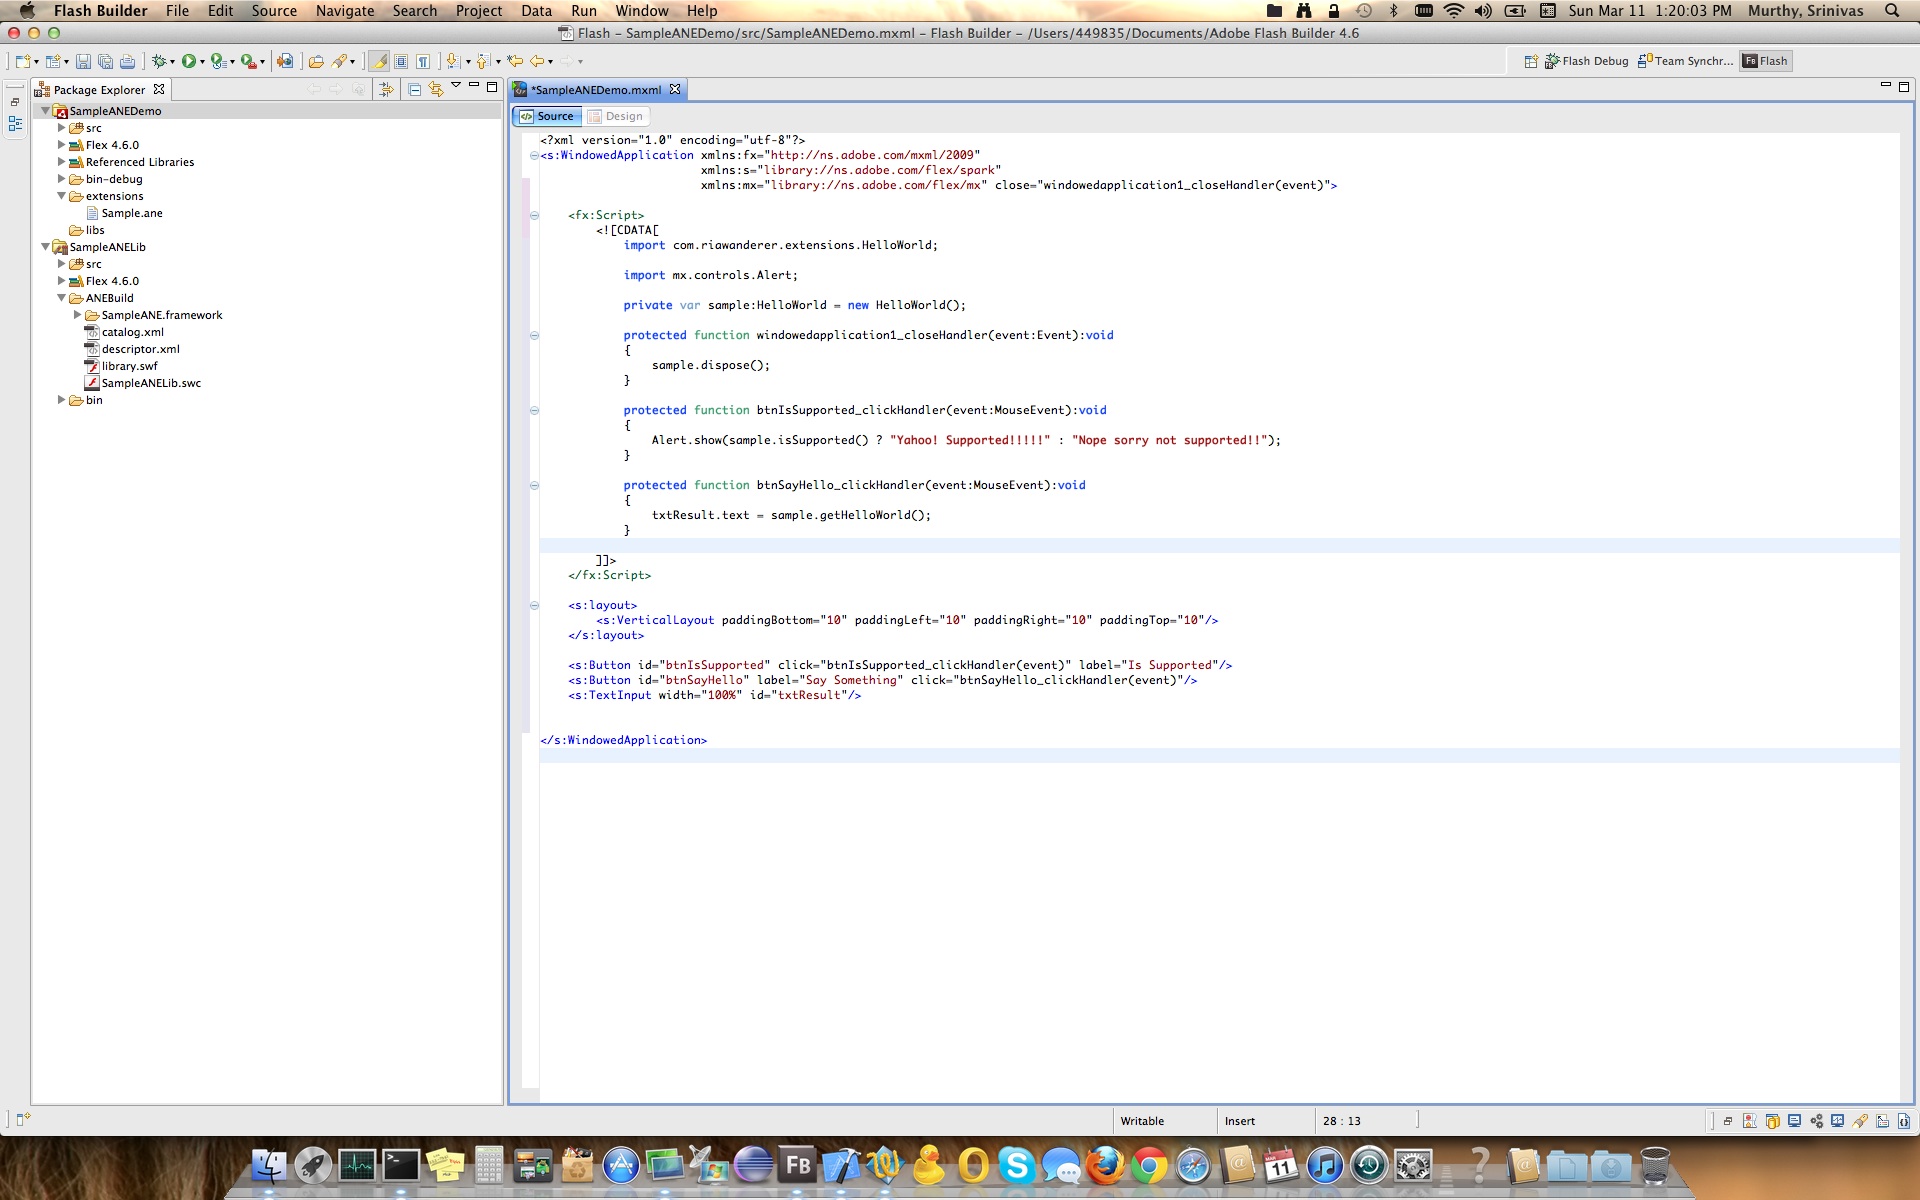
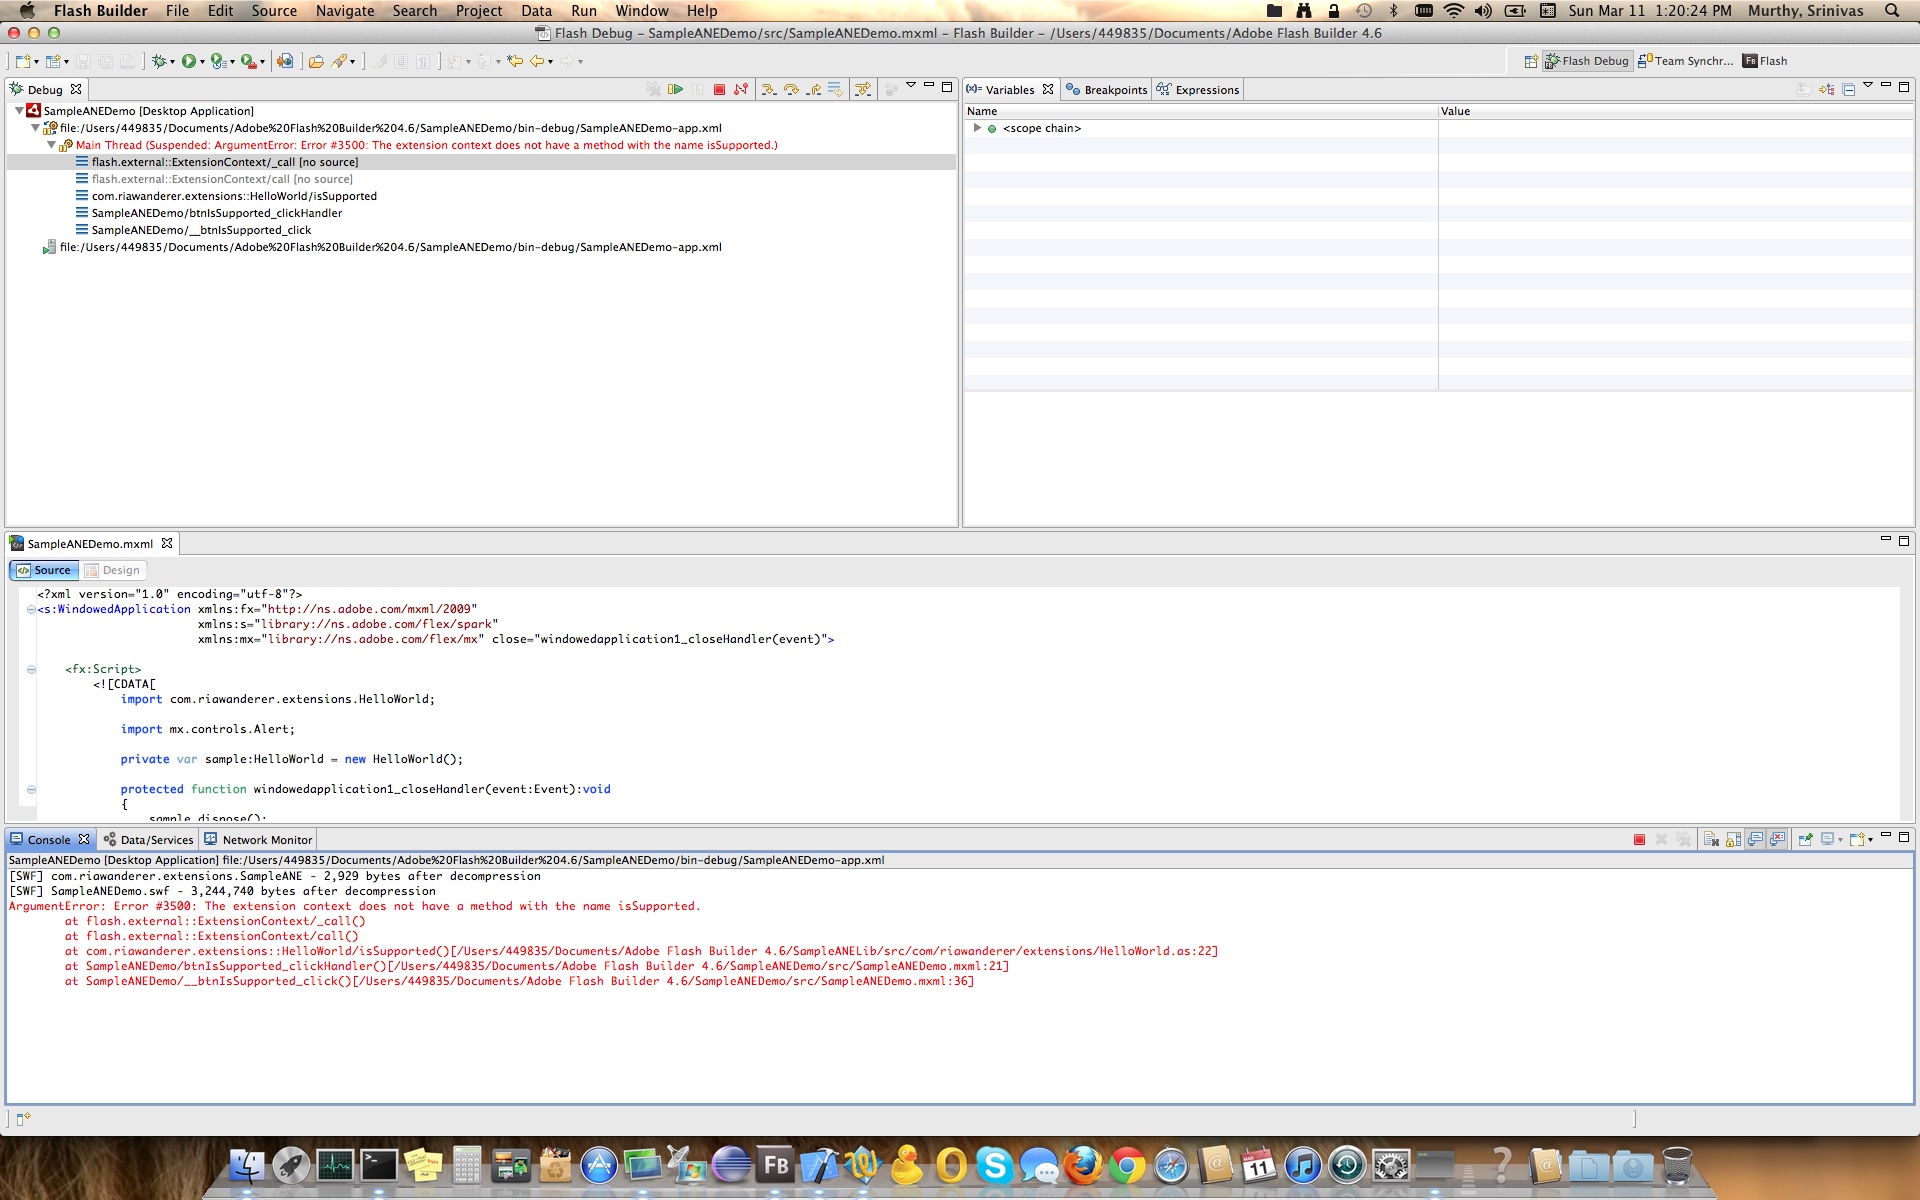
Now that simple demo code is ready, let’s run and see what does it do. When you run the app you should see below error indicating that Flex Builder Bug exists :).
So now, let’s switch gears to command line to run the app.
- Open Terminal
- Ensure PATH variable has Flex SDK path [If it is not, then use “export PATH=$PATH:/Applications/Adobe\ Flash\ Builder\ 4.6/sdks/4.6.0/bin” command to do so]
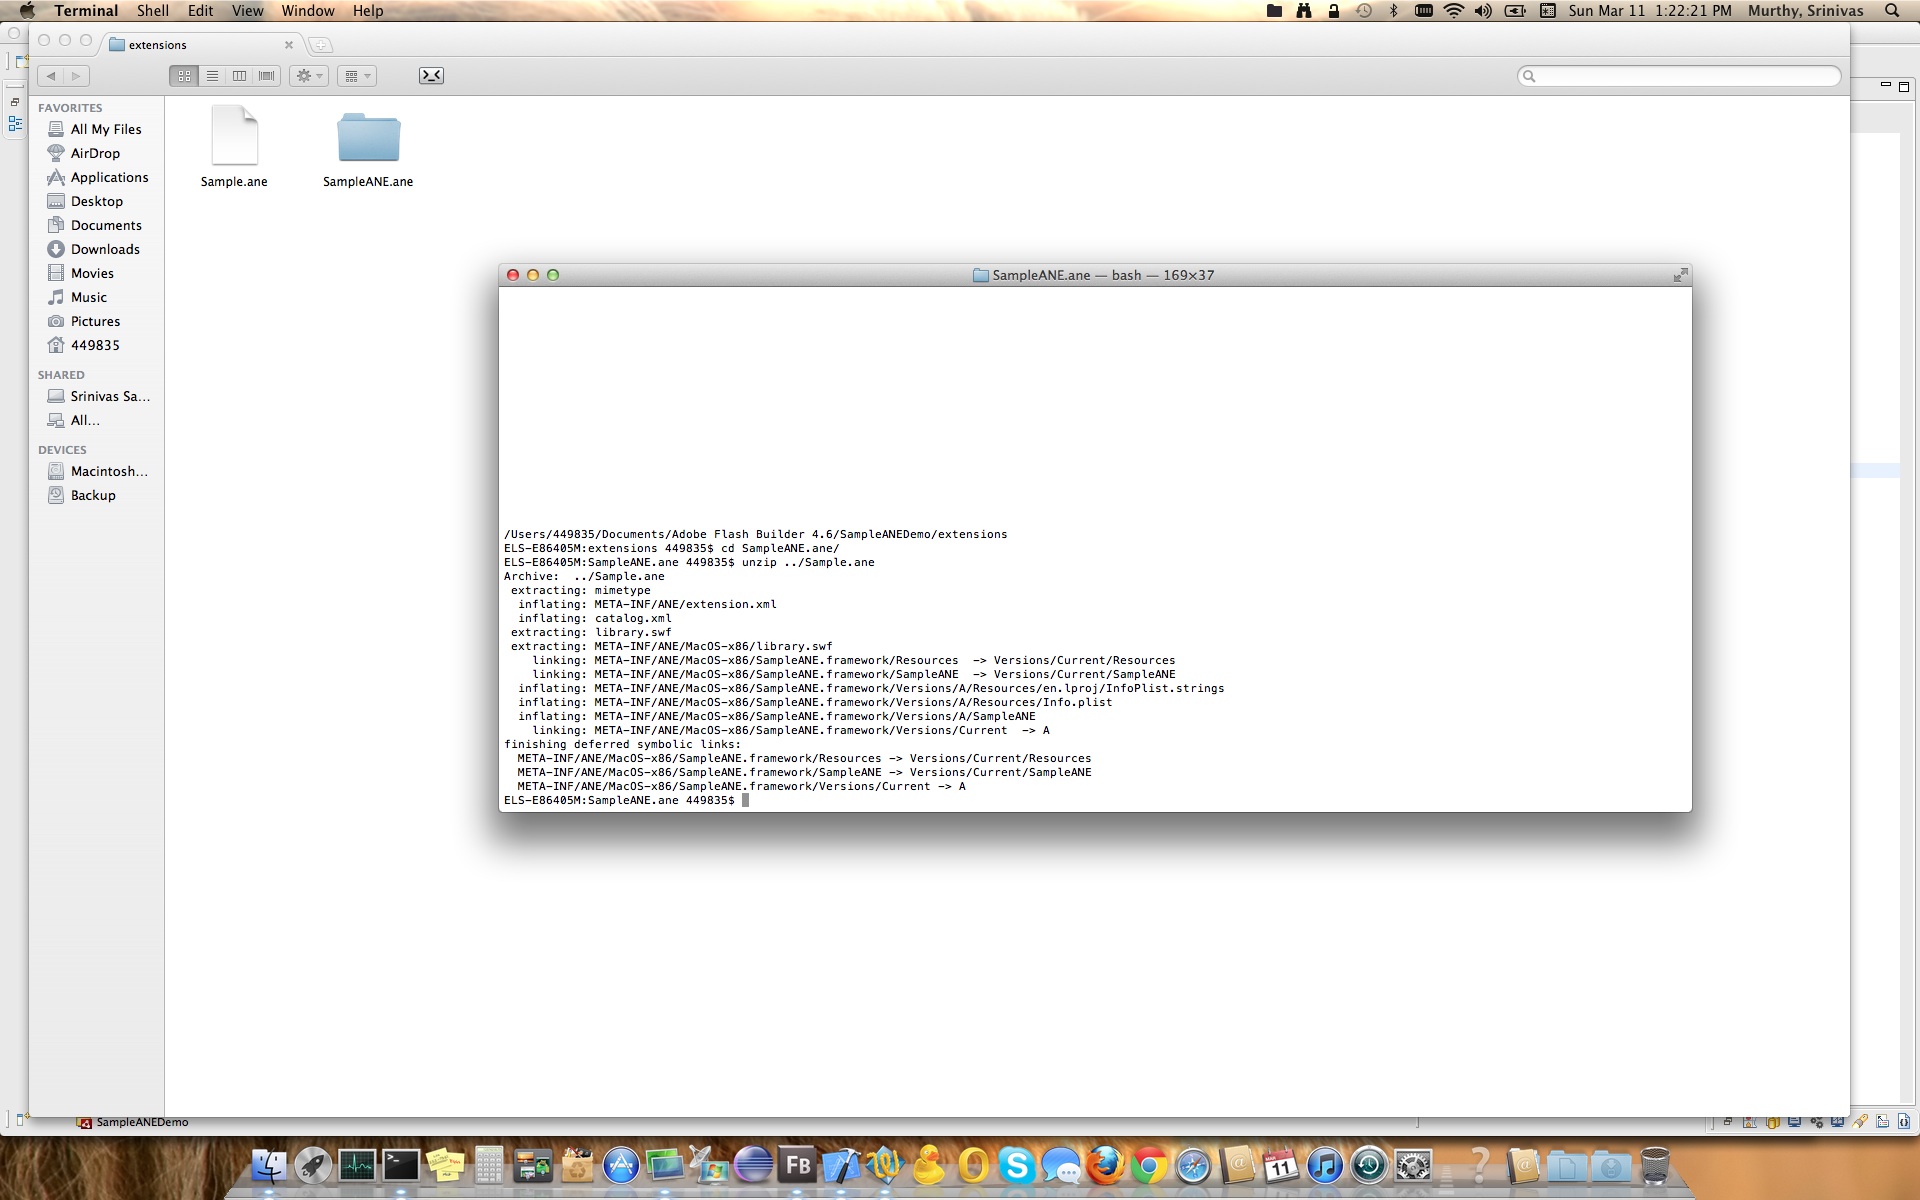
- Navigate to extensions folder & create folder “SampleANE.ane”
- get into “SampleANE.ane” folder & use unzip command to extract the contents of Sample.ane [Command : unzip ../Sample.ane, this from current working directory “SampleANE.ane”]
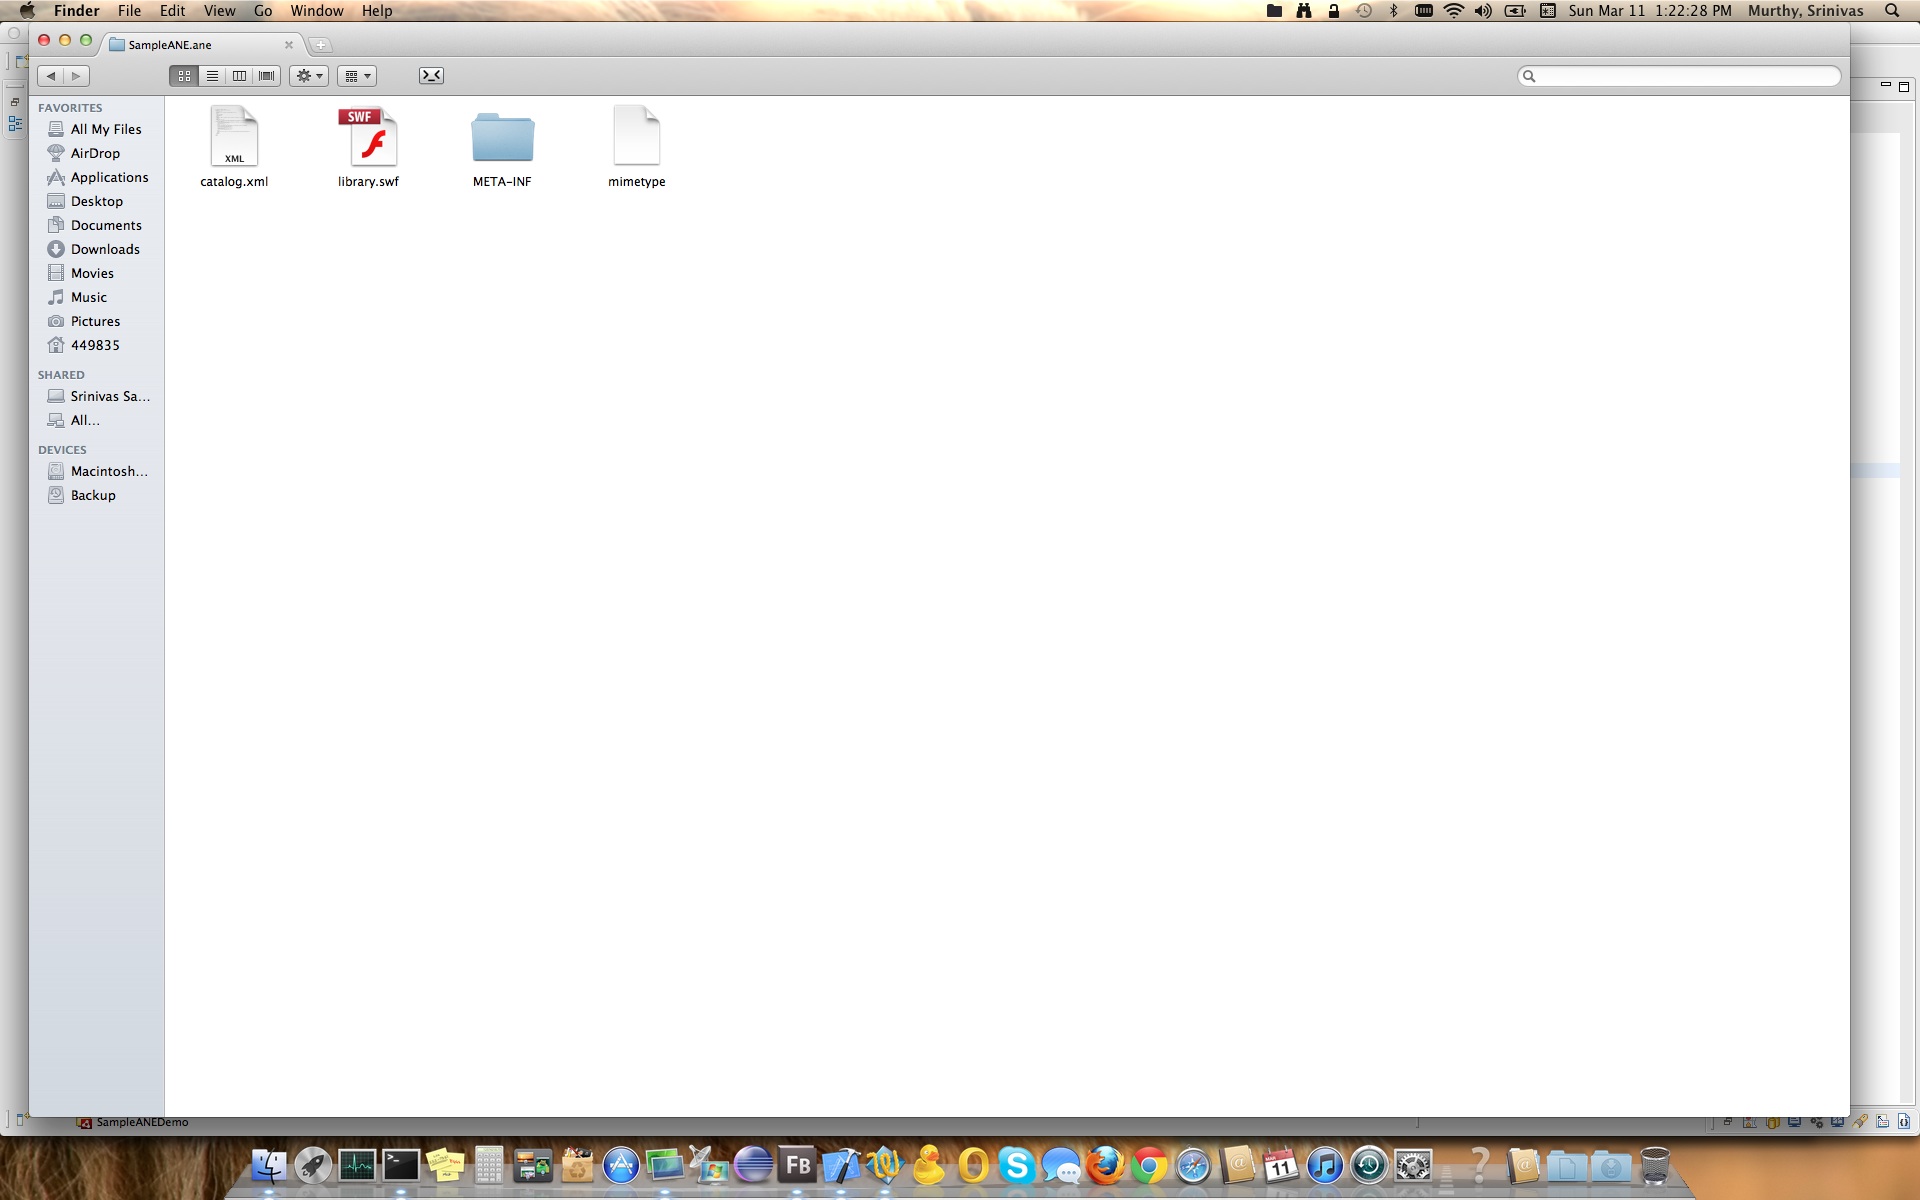
- After running the command, you should see something similar to below screen shots
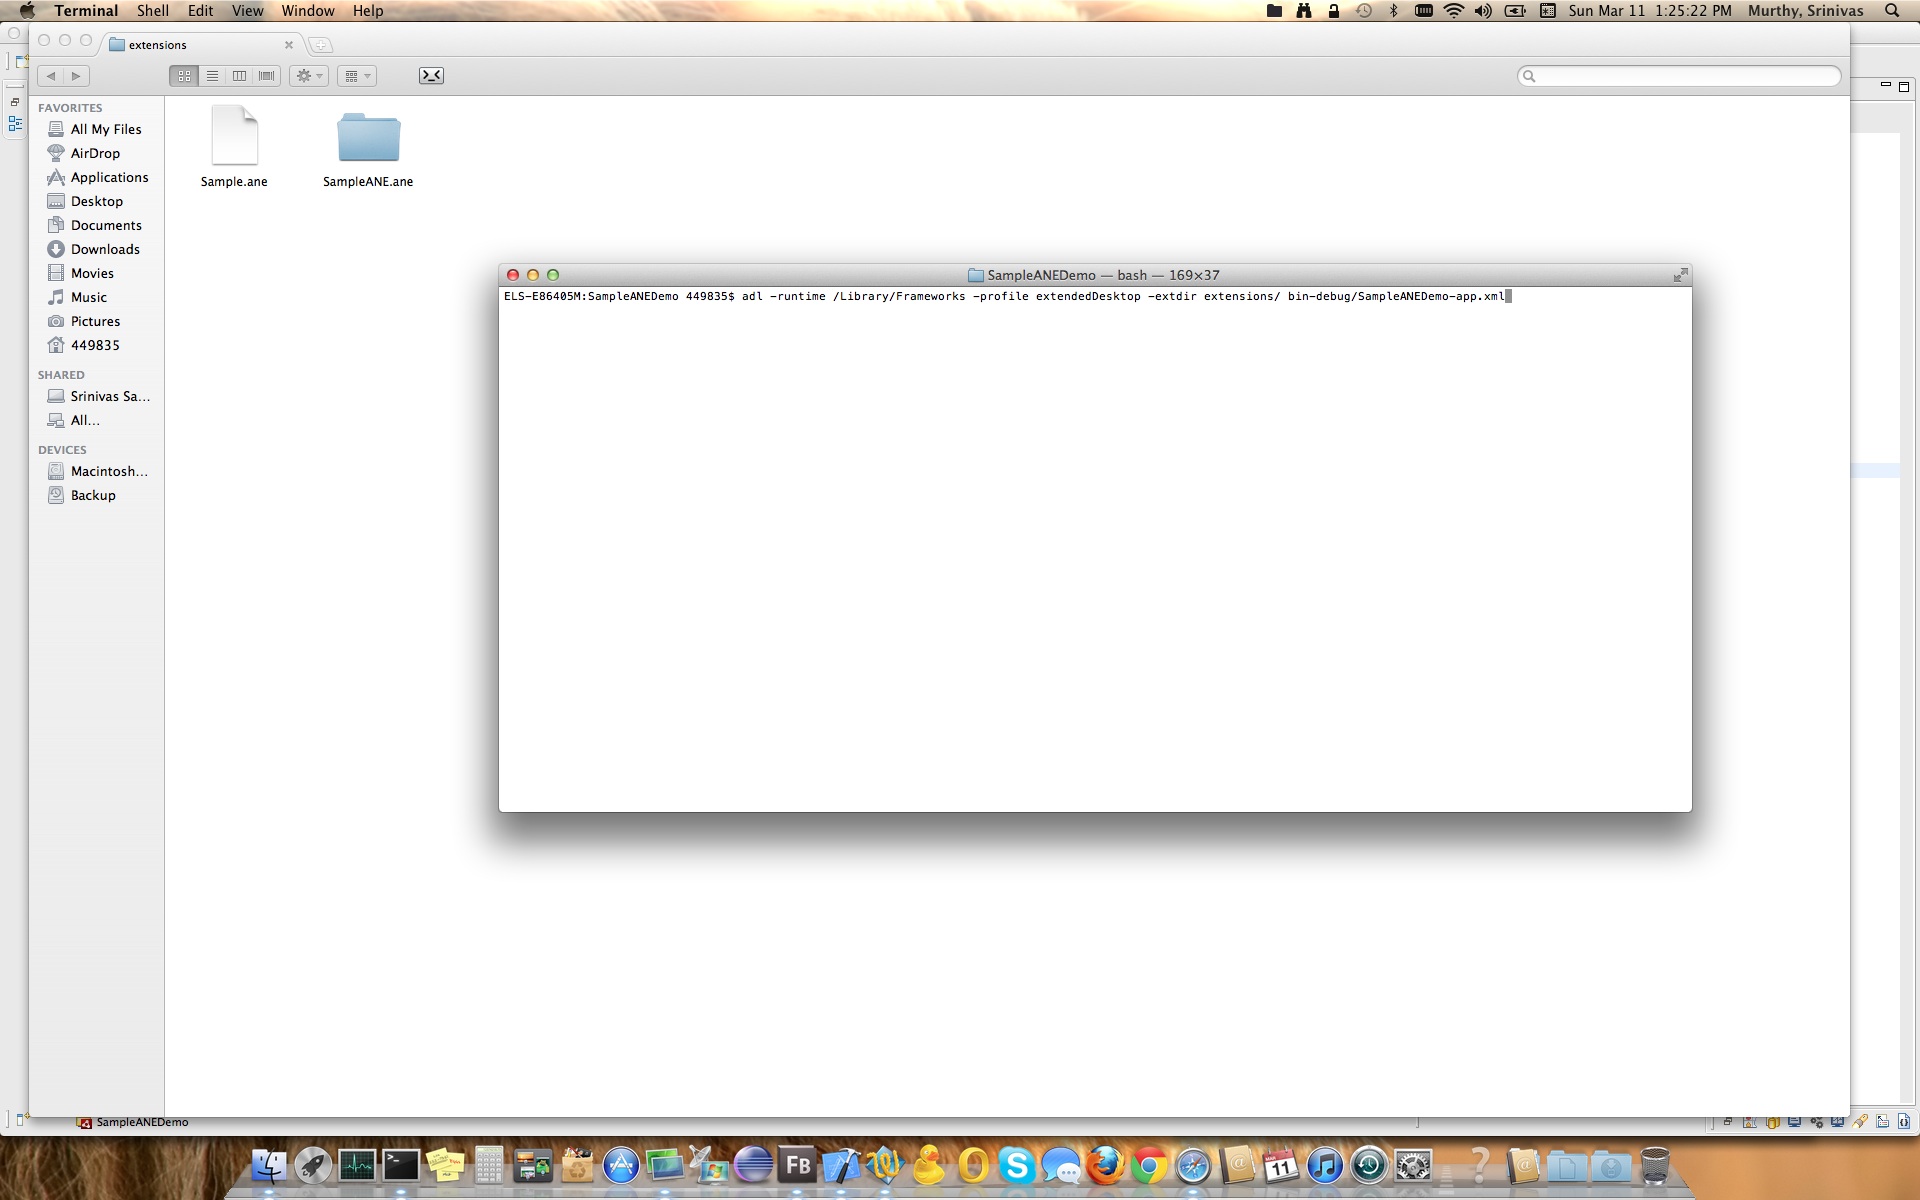
Now that we have extracted the ANE, use the below command to run the app [assumption is that you have navigated two step back and in SampleANEDemo project folder]
[Command: adl -runtime /Library/Frameworks -profile extendedDesktop -extdir extensions/ bin-debug/SampleANEDemo-app.xml]
Once you run the above command you should see below screens
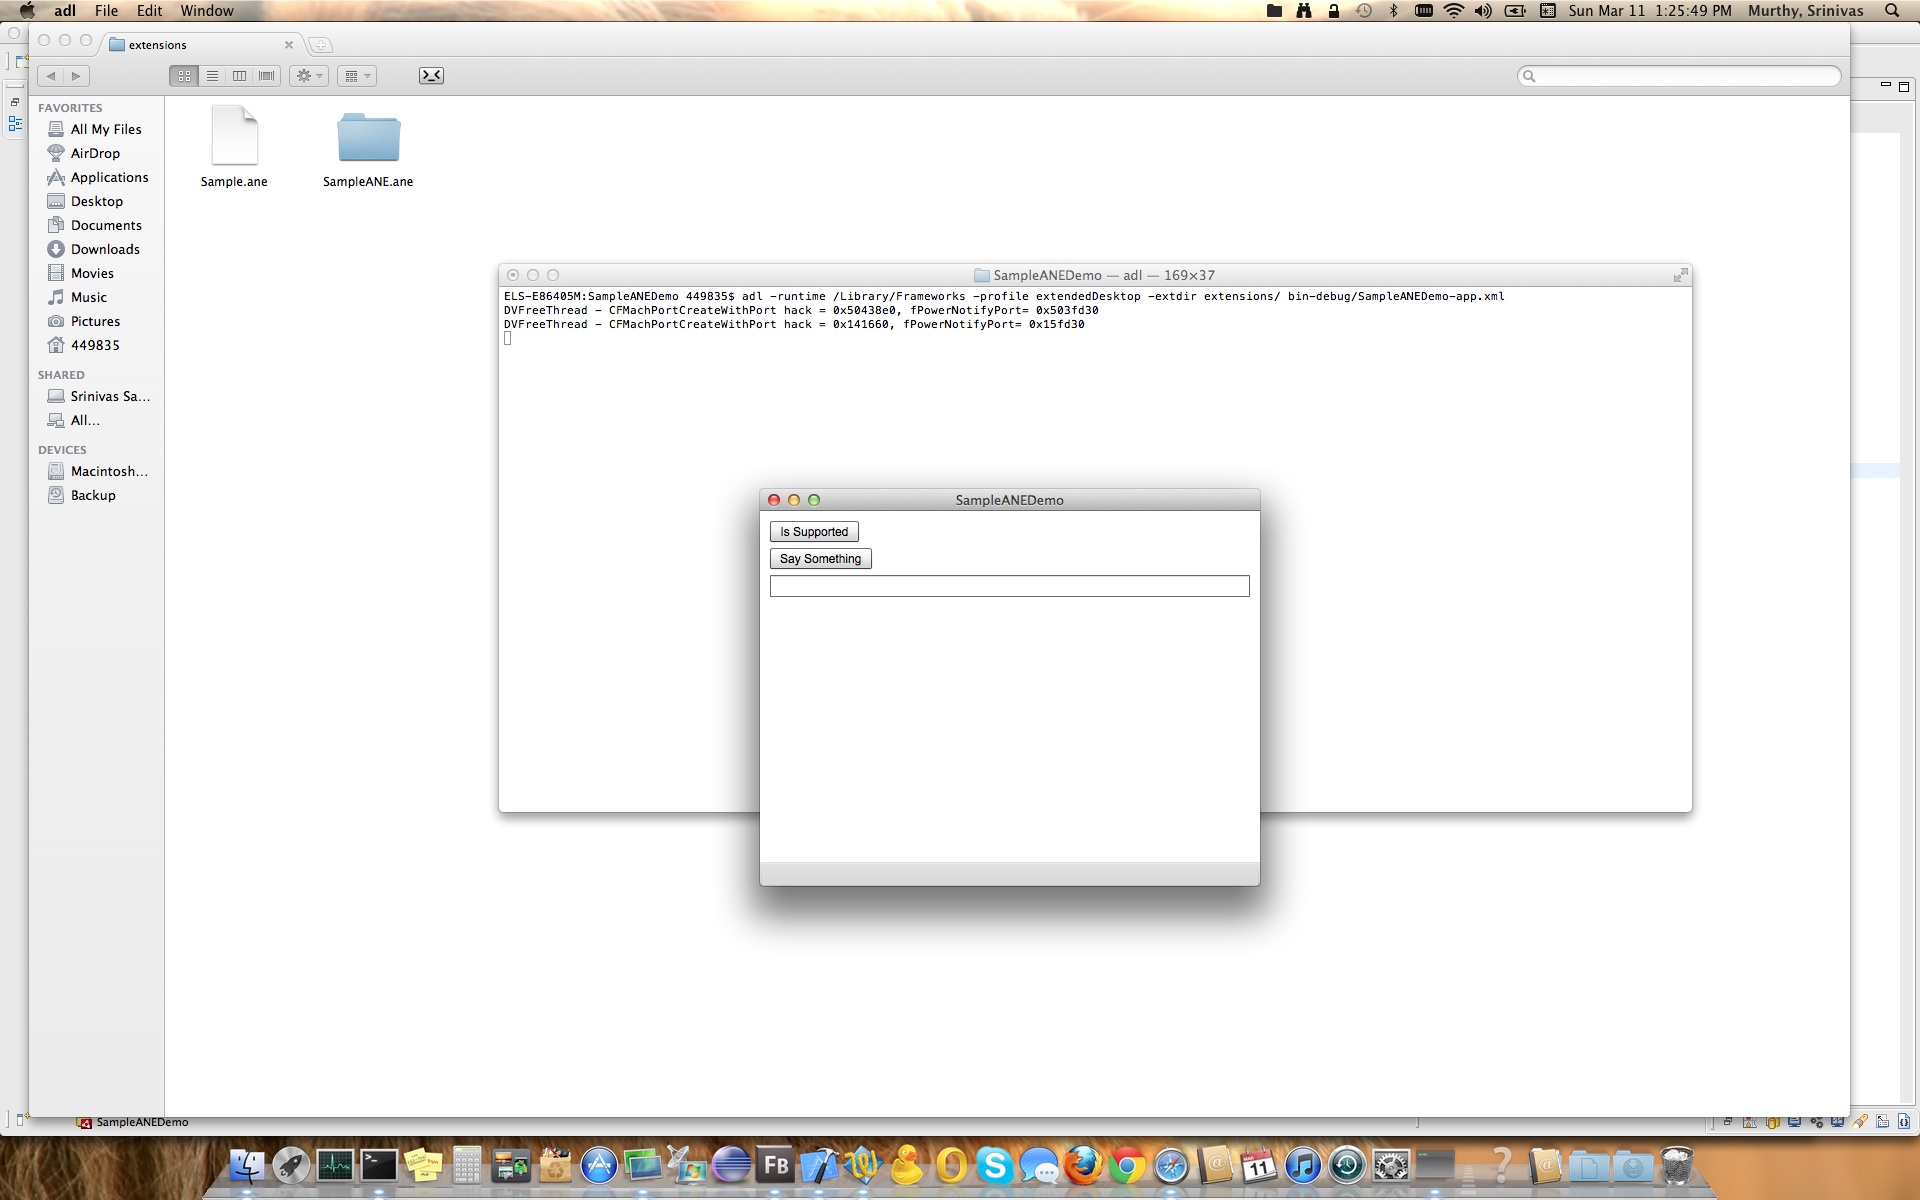
Click on “Is Supported” Button to see below screen shot.
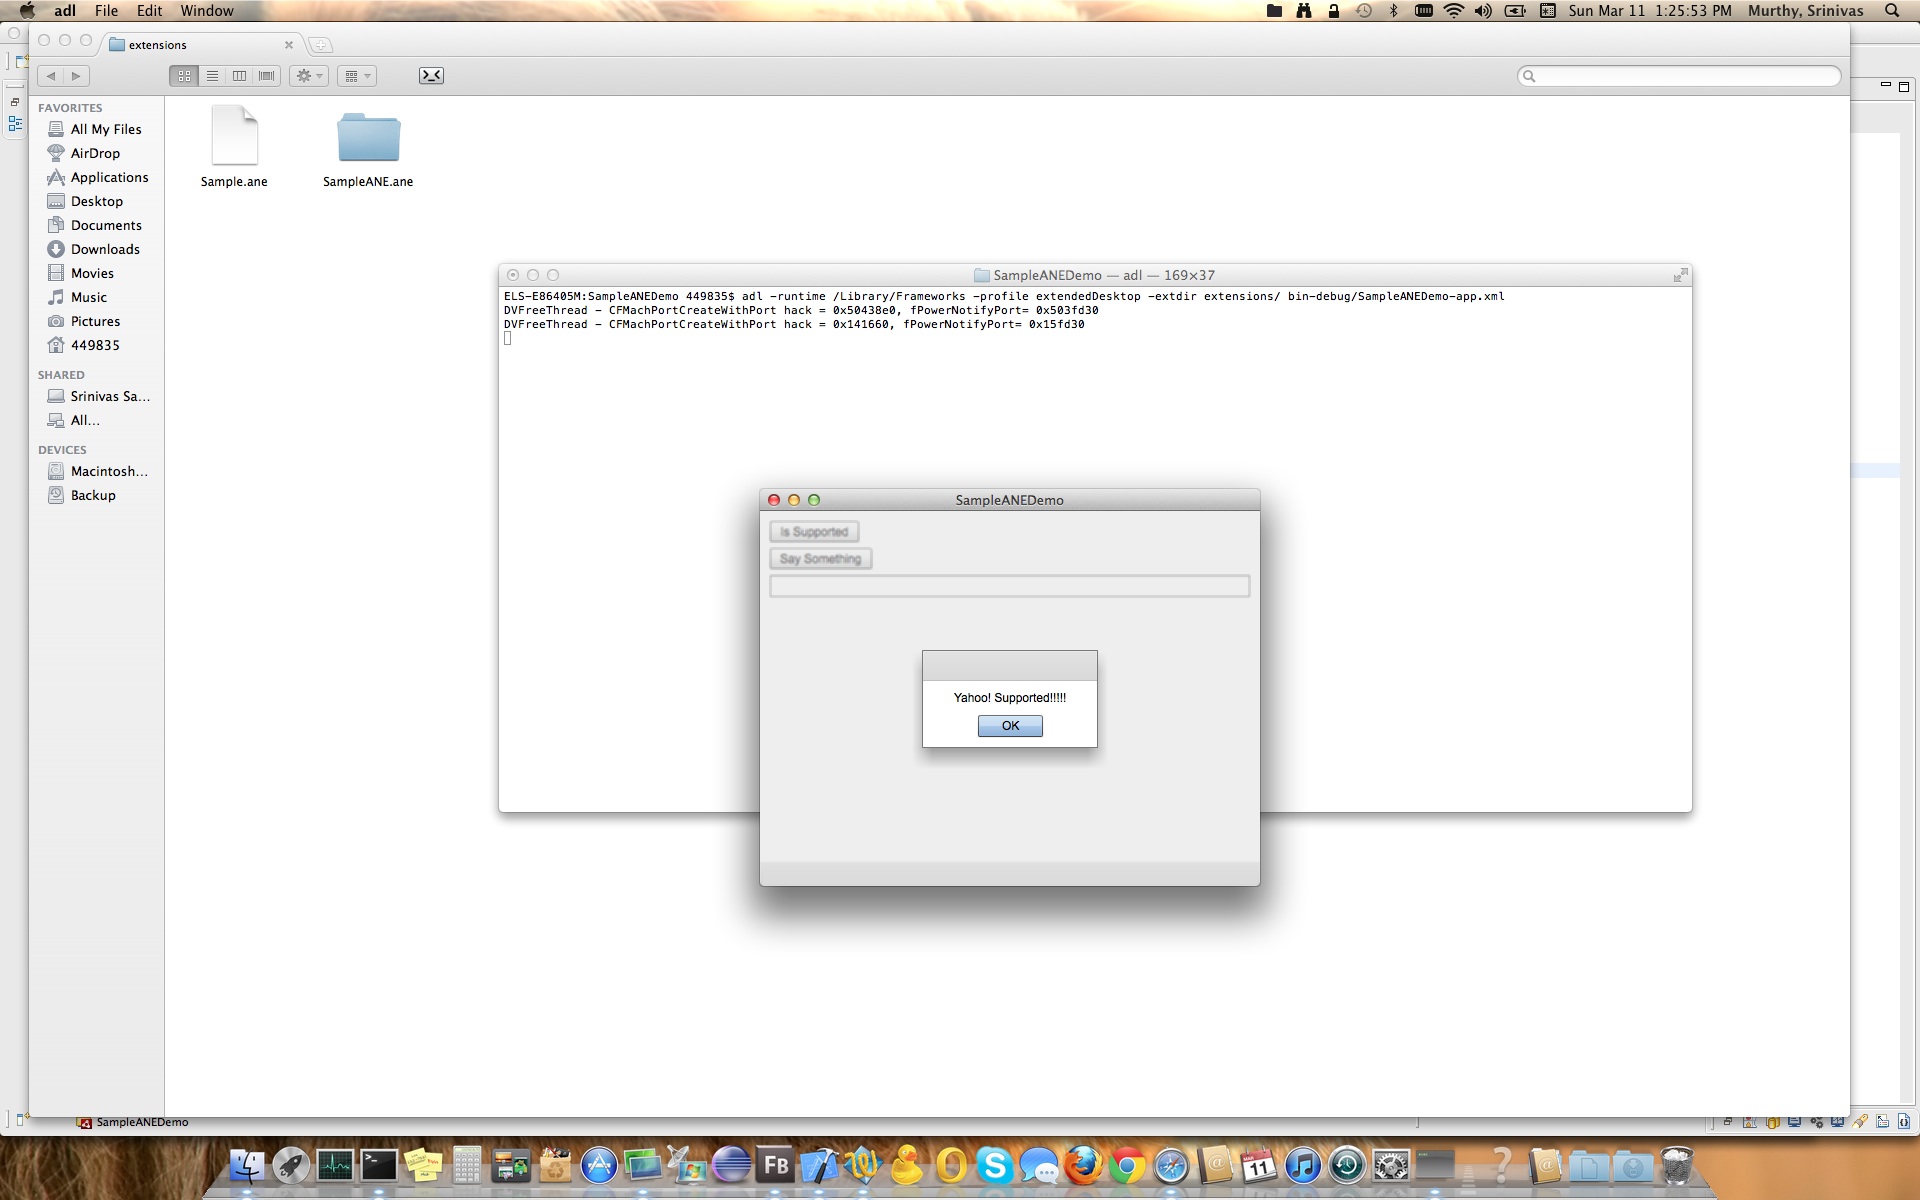
Click on “Say Something” button to see below result.

Congratulations, you have built your ANE successfully & you know now how to write your own ANE’s for AIR-Flex in Mac :).
As promised before here is the zip file that should contain individual projects and also folders mentioned in the screen shots. Please feel free to comment, contact me for any issues or discrepancy you find in the post :).
[signoff]
0 thoughts on “Working with AIR Native Extensions on the Mac”
Is it possible to contact you. I have a couple of questions with the above article? Thanks.
The descriptor.xml file seems to be missing from the zip file.
Sorry will check and ensure descriptor.xml is updated if it’s missing. it’s been couple of months i have updated or seen my blog. sorry about that, will ensure I update them every 15 days once.
I know the “method not found” problem has been ongoing for a long time, but I think I have found a way to at least guarantee that the Framework has the correct Initializer function visibility so that you can rule out an incorrect structure in your code.
– The first and most important thing, is the functions must be wrapped in an extern “C” {} block.
– Secondly, if you create an exported symbols text file and place “_{myInitializerFunction}” in it as text (for example, _MYANEInitializer or whatever matches your code, the underscore is vital), you can tie it in the build settings (just search for “Exported Symbols File” and assign this text file to it.
What this will do is force your symbols to be exposed correctly or else your framework won’t build at all. At least then you can rule out if your problem is the structure of your Framework.
Thanks you very much, this walkthrough saved me days of work.
Just a note though, it’s safe to remove the -flat_namespace flag. It prevents you from adding “private” functions to the framework code.
I wanted to add a method that handles sending events to the ActionScript code using the “FREDispatchStatusEventAsync” method, but the application couldn’t find it until I removed the flag.